Whether a transactional email, post-purchase, or a marketing email to re-engage with your visitors, the way you communicate with them is important, as it might define how they see you continuously, but also whether or not they will re-engage with you and your offer.
Transactional emails include:
After payment form
Marketing emails include:
We strongly advise you to have your purchase confirmation, reservation confirmation, and input required to complete order and input required to complete reservation enabled at all times to ensure a smooth reservation and purchase experience, while providing all details necessary.
Customise your email templates
To customise your email templates and include the message you would like to send to your visitors, follow this easy guide & advice:
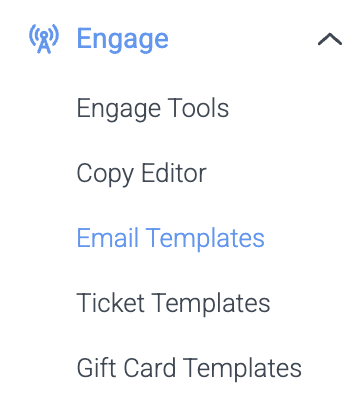
1. Navigate to your left-hand menu and select Email Templates within the Engage section.
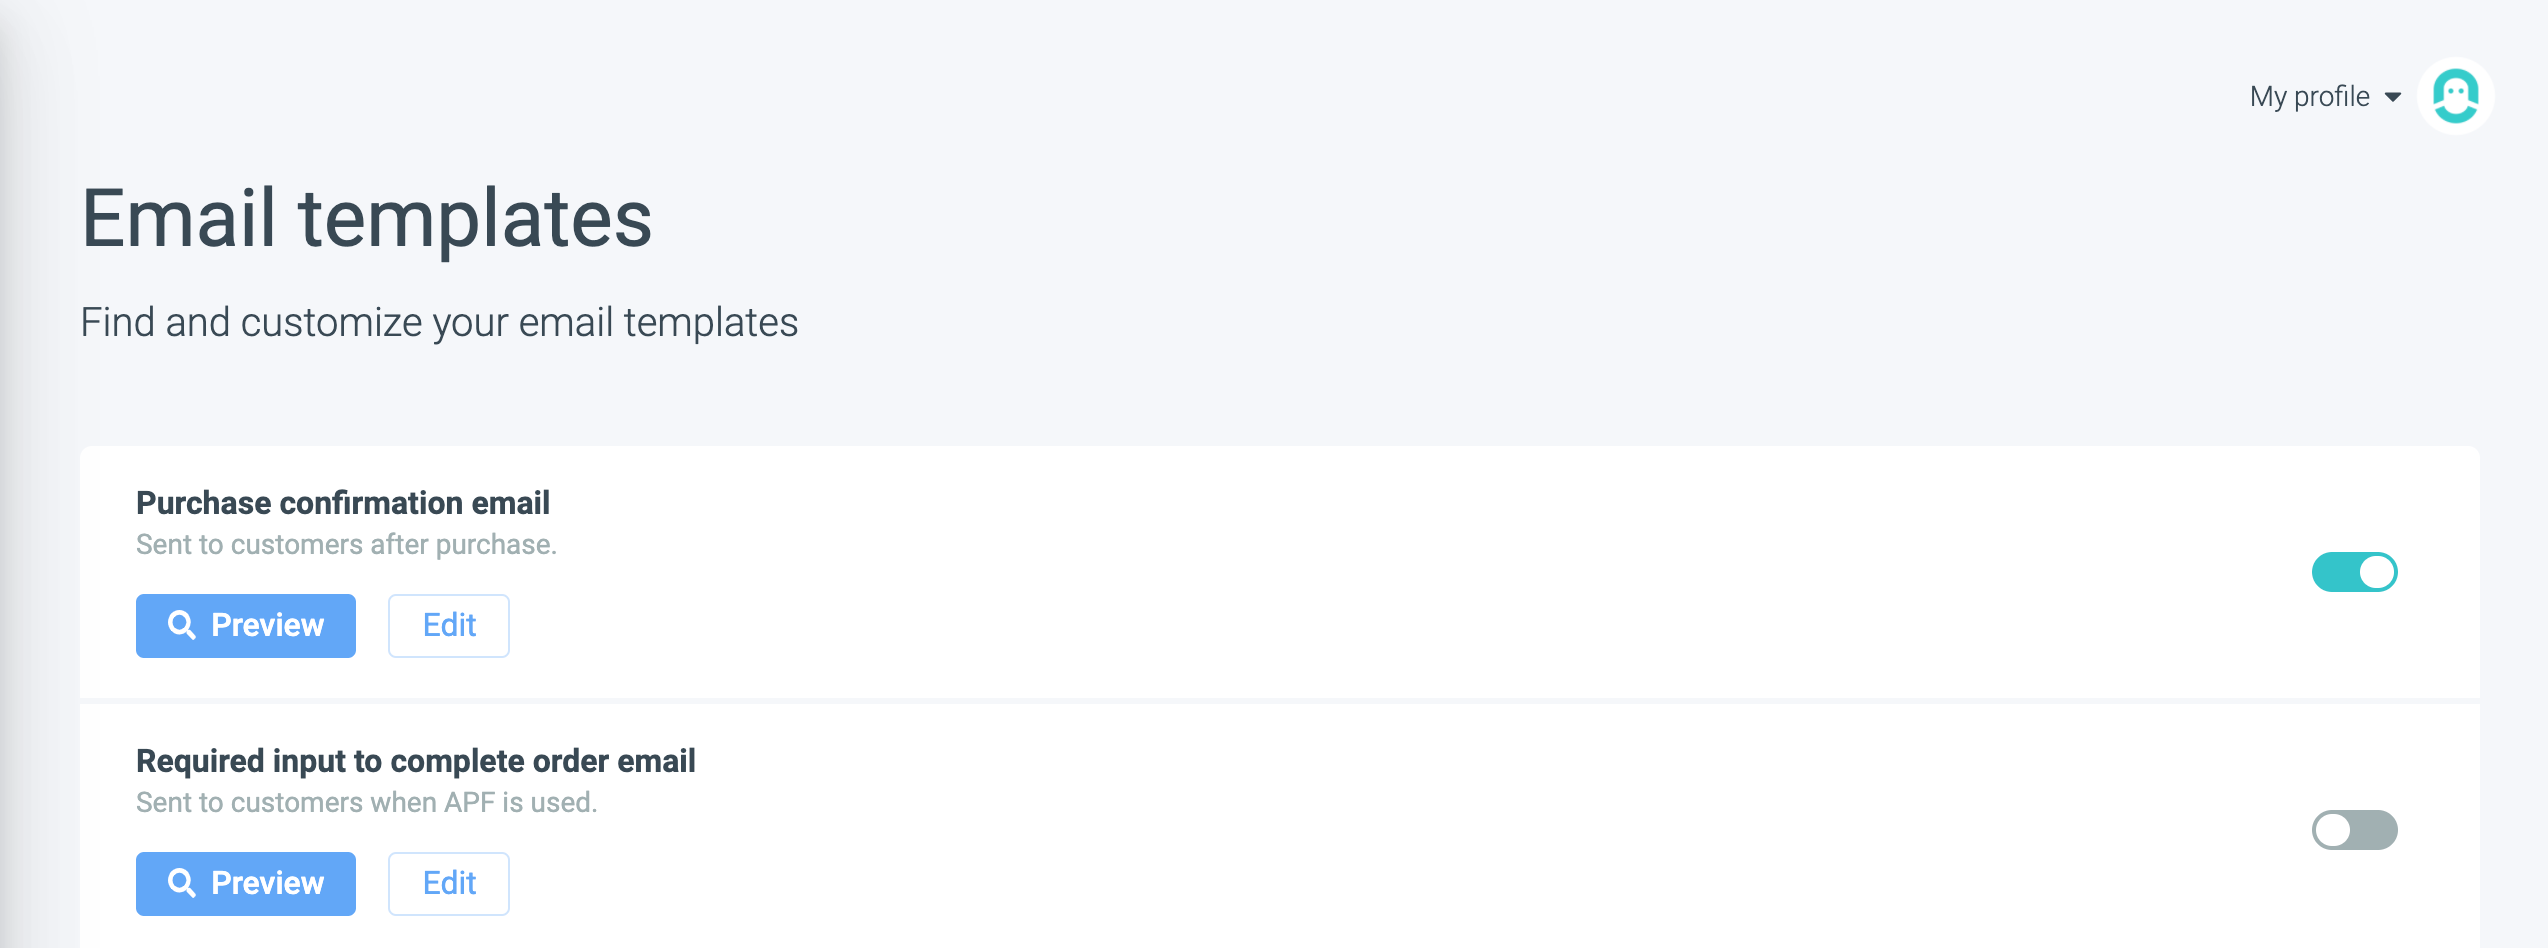
Here you will see all the emails you can and have activated.
You can see whether or not you have an email activated by the toggle on the right-hand side. If it is turquoise and to the right: your email is active! If it is grey and to the left: your email is inactive.
Keep in mind:
You should always have the purchase confirmation activated if you don't have an After payment form & always have an input required mail if you do have an After payment form.
If you have an After payment form activated, the input required mail is going to be sent, no matter if people completed the After payment form or not. However, they are not going to receive the second email. In case they haven't filled the form, the button "download tickets" will lead to After payment form page. If they completed the form already, they can immediately download their tickets.
Here you can do two things:
Preview your email template
Edit your email template
If you preview your email template, you will be able to scroll through it from your visitors, so the receiver's perspective. However here, the preview is available in English only. To preview your email in other languages you will need to enter the Convious Studio.
NOTE:
If Edit appears for you greyed out, this is because we used custom template for your emails. In this case, please contact us at convious@support.com for changes you would like to make.

To edit a specific email, please choose Edit to enter the Convious Studio.
All emails can be edited in the same manner, for the purpose of briefly guiding you through this process, we will use the Purchase Confirmation Email.
3. The first step is editing the Global Settings and Uploads. This is where you can customize your email.
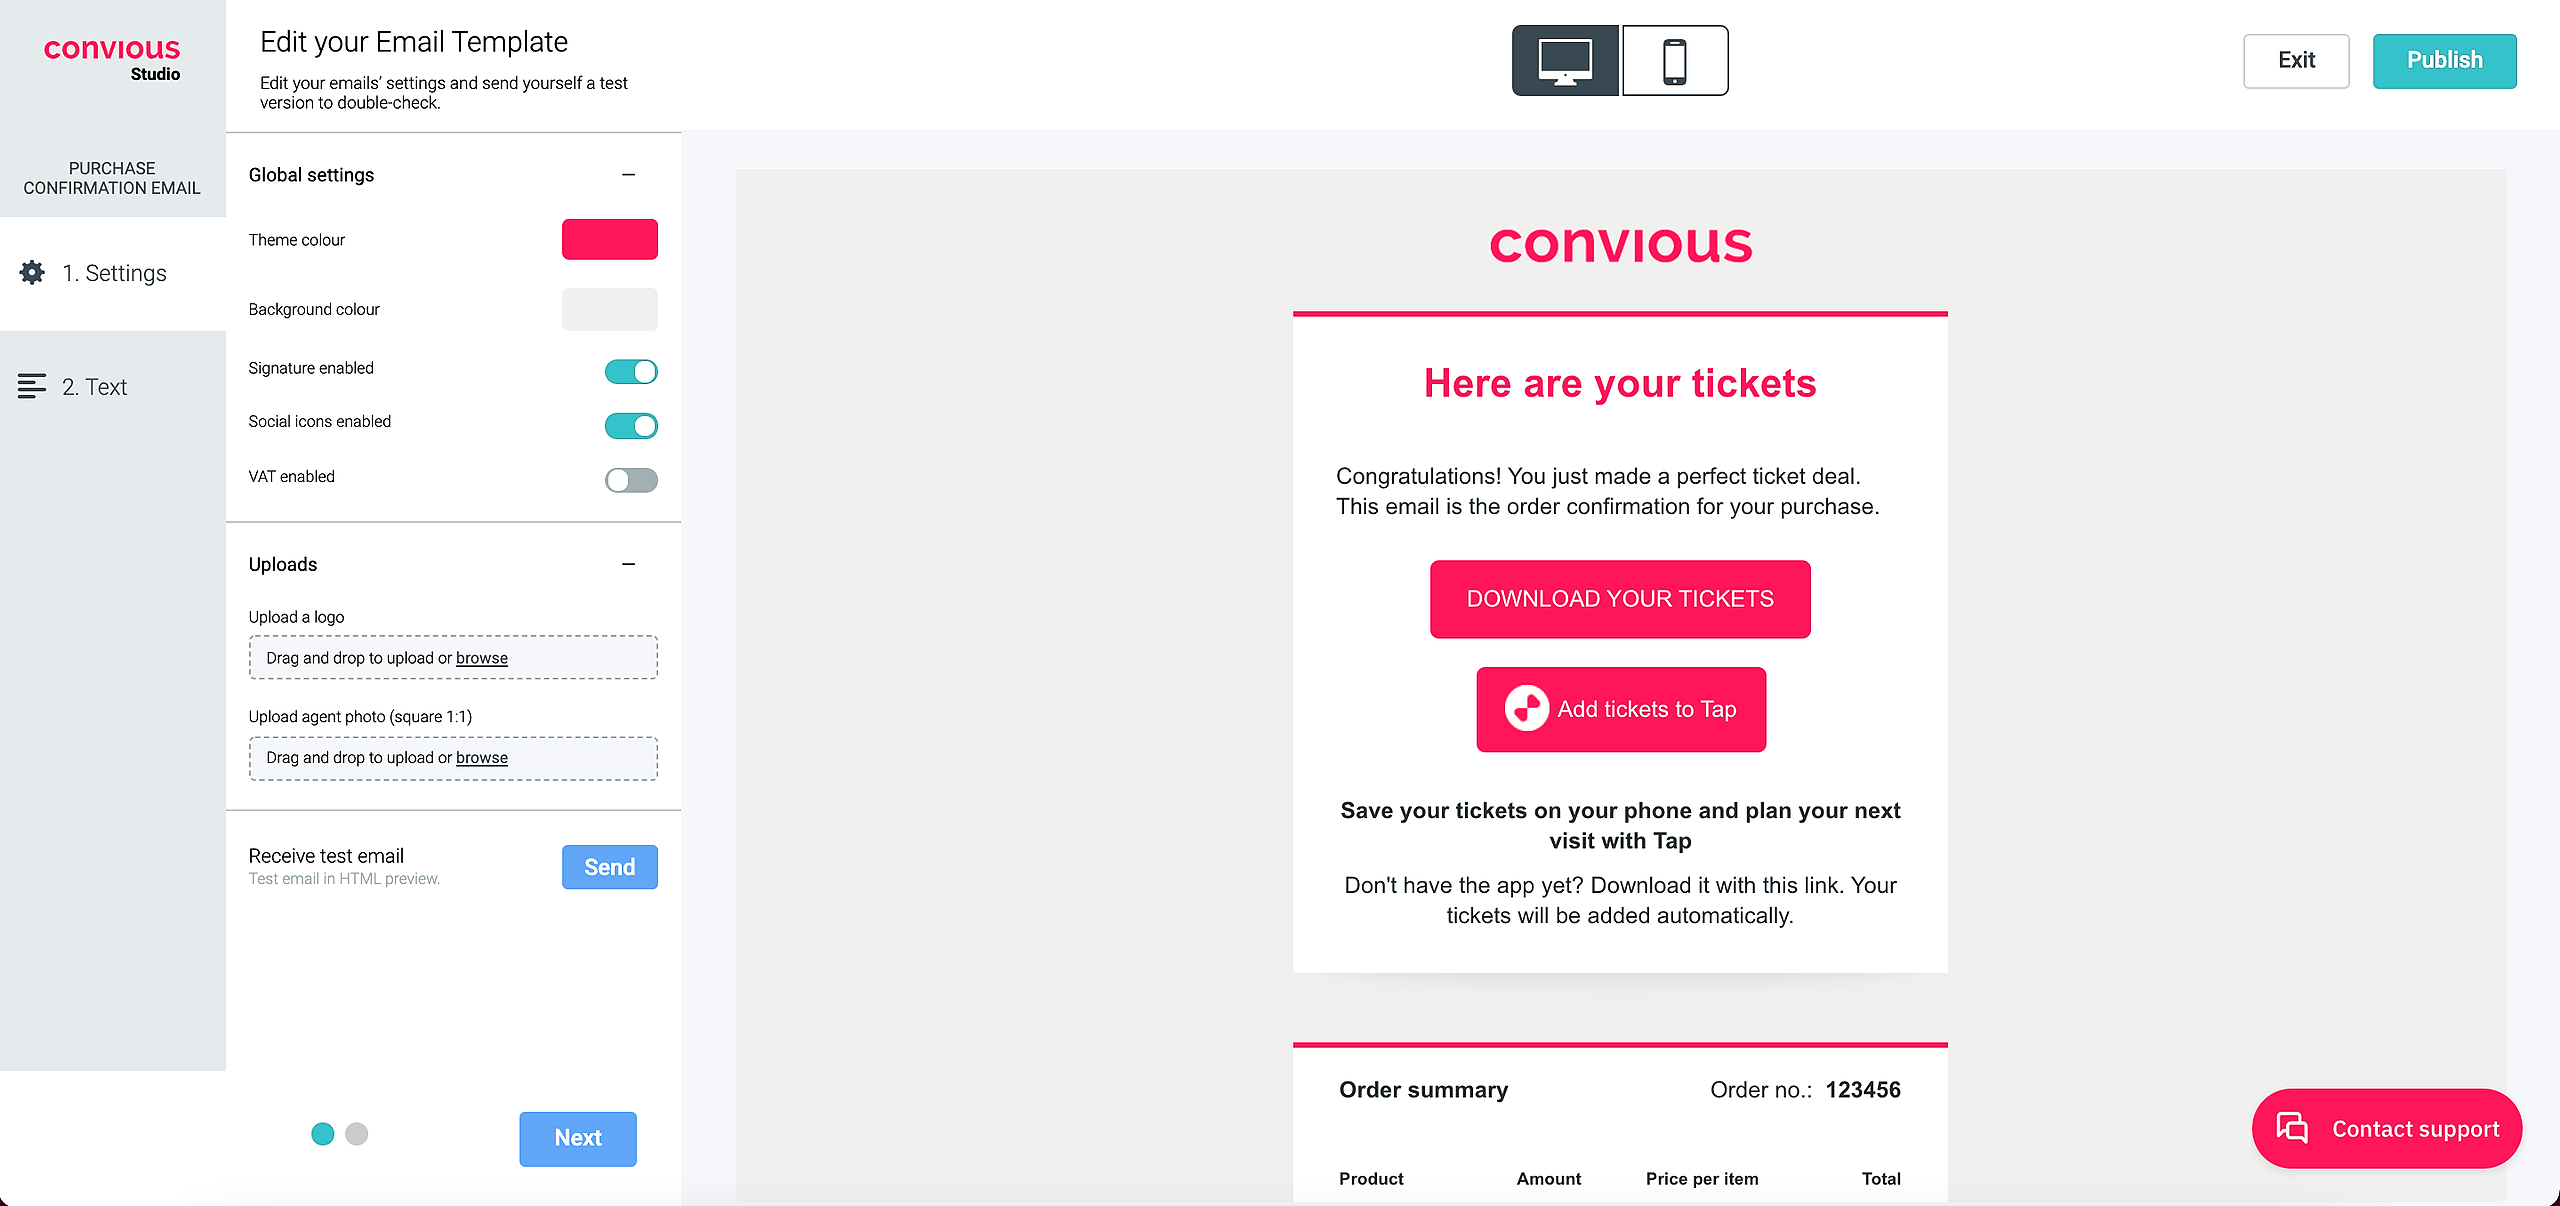
Choose a theme colour by entering a HEX code, RGB code, or finding the color with the cursor.
Choose a background colour by, again, using a HEX code, RGB code, or finding the color with the cursor.
PRO TIP: use your brand colours to make sure the email is visually associated with you and appears as native as possible!Decide if you want a signature enabled.
PRO TIP: We highly recommend using a signature to give your emails a more personal touch. The content of the signature itself is preset by us and is not commonly subject to change frequently, but in case you would like to make a permanent change, please inform us and forward your adjustments to support@convious.com.
Decide if you want your social icons enabled.
PRO TIP: Here again, we highly recommend that you have this feature enabled within all your emails as it gives your customers the chance to reach out to you or discover more about you on different channels, while giving you, at the same time, the chance to gain traffic on your various channels.Upload a Logo
PRO TIP: Again, it is important that your customers know where your emails come from and that they are easily associated and recognizable. Uploading a Logo is the first step in doing so.Upload an agent's photo to further personalize your signature.
PRO TIP: A fun and out-of-the-box idea might also be to include a picture of your mascot instead!
4. Further, you can already send yourself a test mail to assess if you have all Global Settings just right. The mail will be sent to the email address you are logged in when editing.
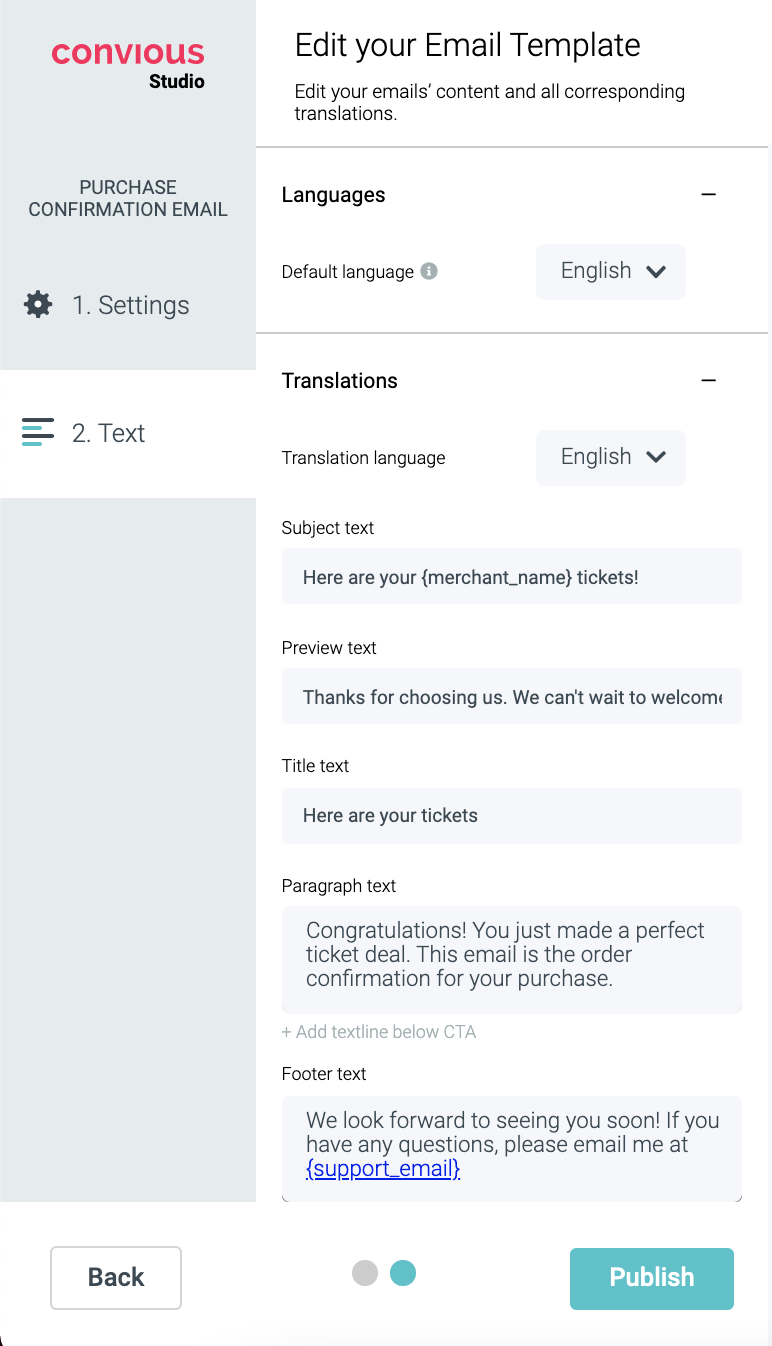
5. Hit Next to head to the core of the mail: the text - including all translations.
First, as always, you see the set the default language of your email. As this should always be the main language used on your website, we doubt that there will be editing needs. In case there are changes to your website, however, make sure to adjust this here and within all your engagement tools.
Here you can edit the
Subject text
Pre-header text
Title text
Paragraph text
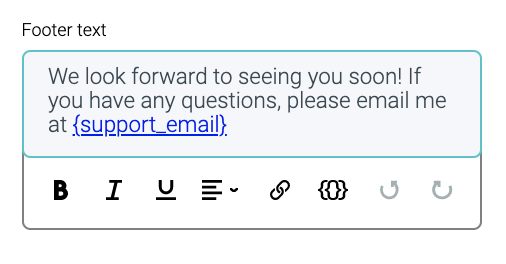
Footer text
per each translation!
To do that, choose the language of the translation you would like to edit and there you go!
PRO TIPS:
For the purchase confirmation mail it is important your mail, is descriptive and informative: the Subject line and Pre-header text should tell your customer about what he just purchased. If you are, however, editing a marketing mail, make sure these fields are inducing and elicit curiosity to heighten open rates!
We strongly advise you to include the merchant name or name of the article your customer just purchased. You can do that by including
{merchant_name}in the Subject line and Pre-header text.
Include a support email and phone number in the footer in case your customer has further questions. You can do that by adding the following keys:
{support_email}and{phone_number}You can also refer your customers to pages you consider as useful for them to see before heading to your venue. Maybe you would like to add your FAQ page or Safety & Hygiene Measures and rules. You can do that by easily hyperlinking the text in your mail.
Don't forget to preview your mail on mobile as well to deliver a great experience for mobile users!
As you adjust the text, head back to the Settings section to resend multiple test mails. This can help you find a great complimentary and engaging Subject line and Pre-header text.
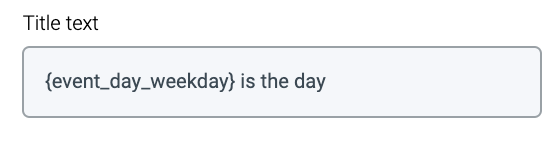
For pre-event mails it is nice to include a countdown or a reminder of when the customers day of visit is to create excitement. To do that, use
{event_day_weekday}
PRO TIP: You can edit all other copies in your emails via the Copy Editor!
Explore it for yourself: Here is a guide to explain a quick and simple way to adjust and maintain your copies!
6. Once you are done with editing & testing your new email text, HIT PUBLISH & you're good to go!
NOTE: Make sure the email you have edited is enabled!
And don't forget: this process works for all your email templates you can access within your Control Panel. So please, go ahead and start customizing your emails to deliver your customers the best experience!
But what is all this changing good for if you do not monitor how your changes perform?
Check out how you can make the most out of your Email reports.