If you are here, your Checkout acts as your main vehicle to bring your tickets and offers to the world. This means it needs to be super and easily adjustable for you in case you have new promotions, regulations, or events planned. This is precisely what the copy editor is for, and this is a guide to explain a quick and simple way to modify and maintain your Checkout by yourself!
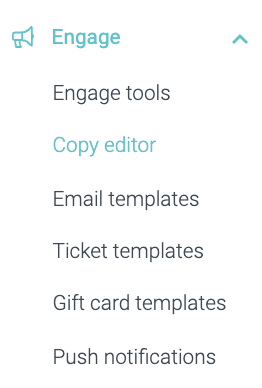
1. Navigate to Copy editor in the Engage section of the main menu to your left-hand side.
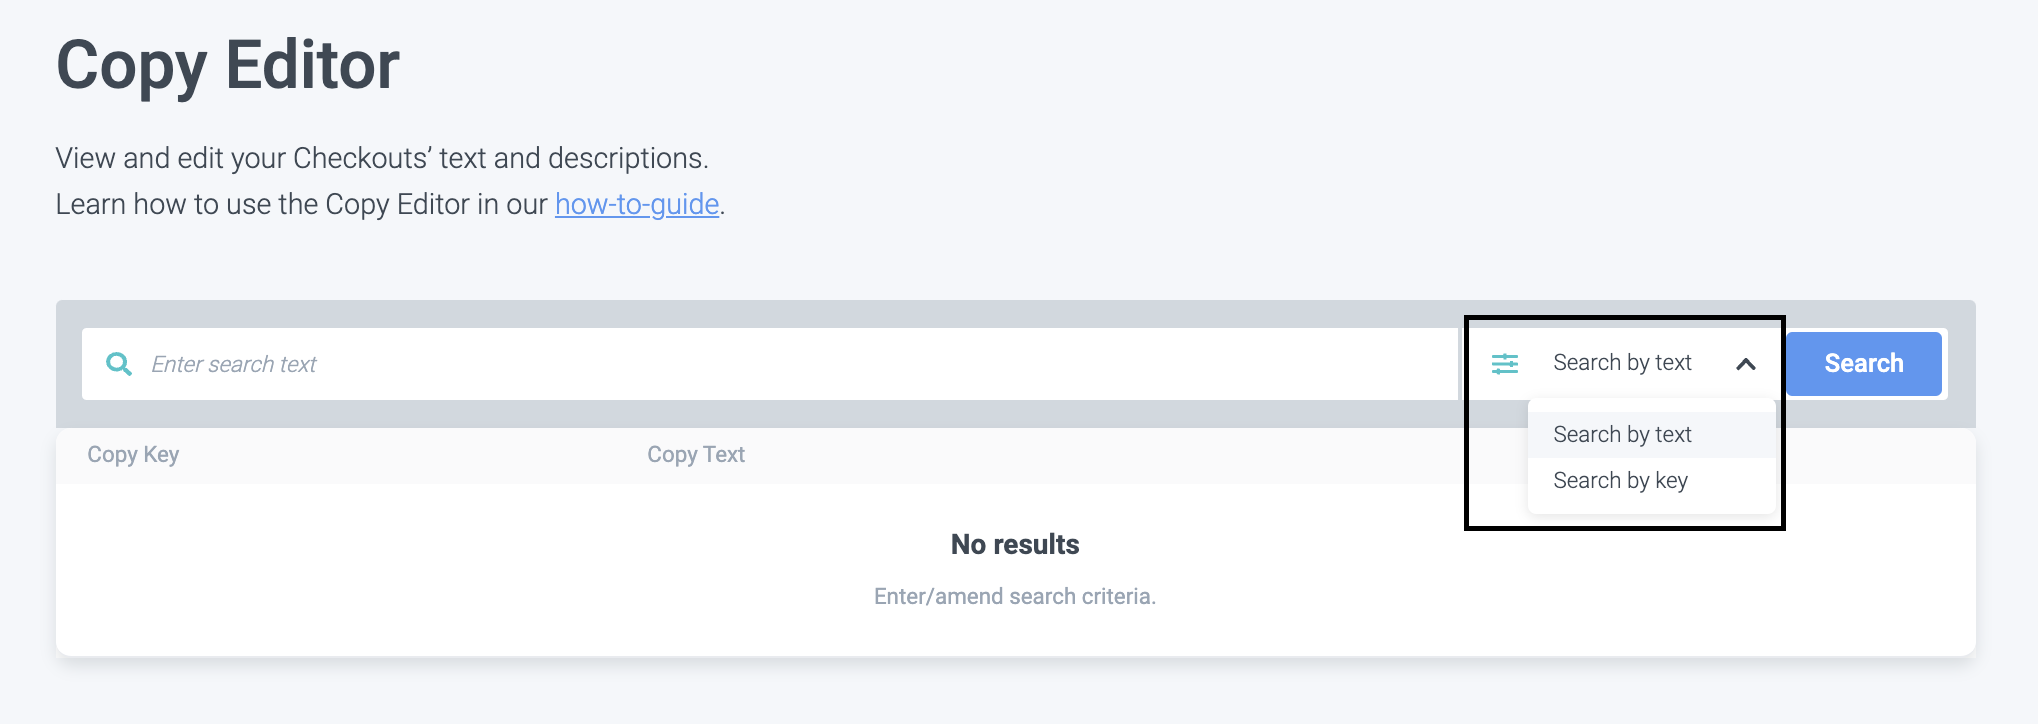
2. Before entering characters into the search bar, select whether you are searching by name or key. We strongly recommend searching by name as this equals the text and will be the easiest for you to locate.
Notice you can search in all the languages you have available in your Checkout.
Keep in mind that the minimum search length is 3 characters.
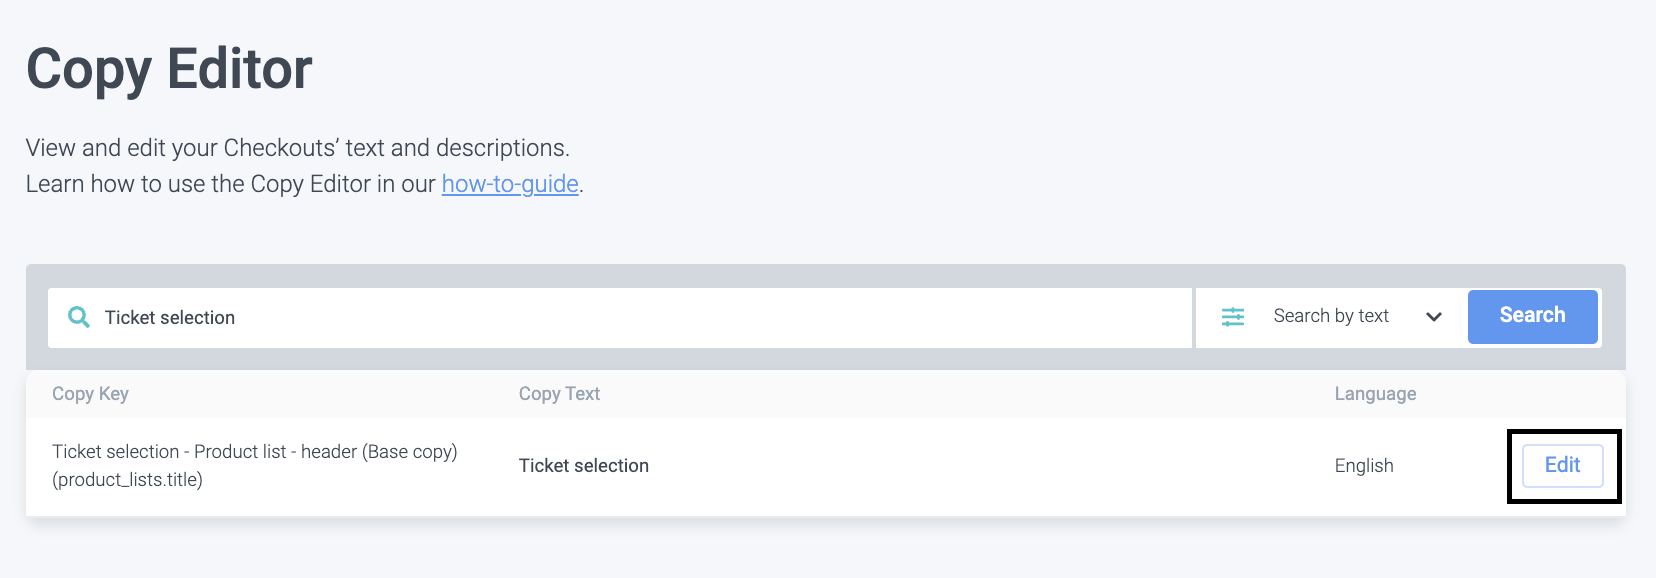
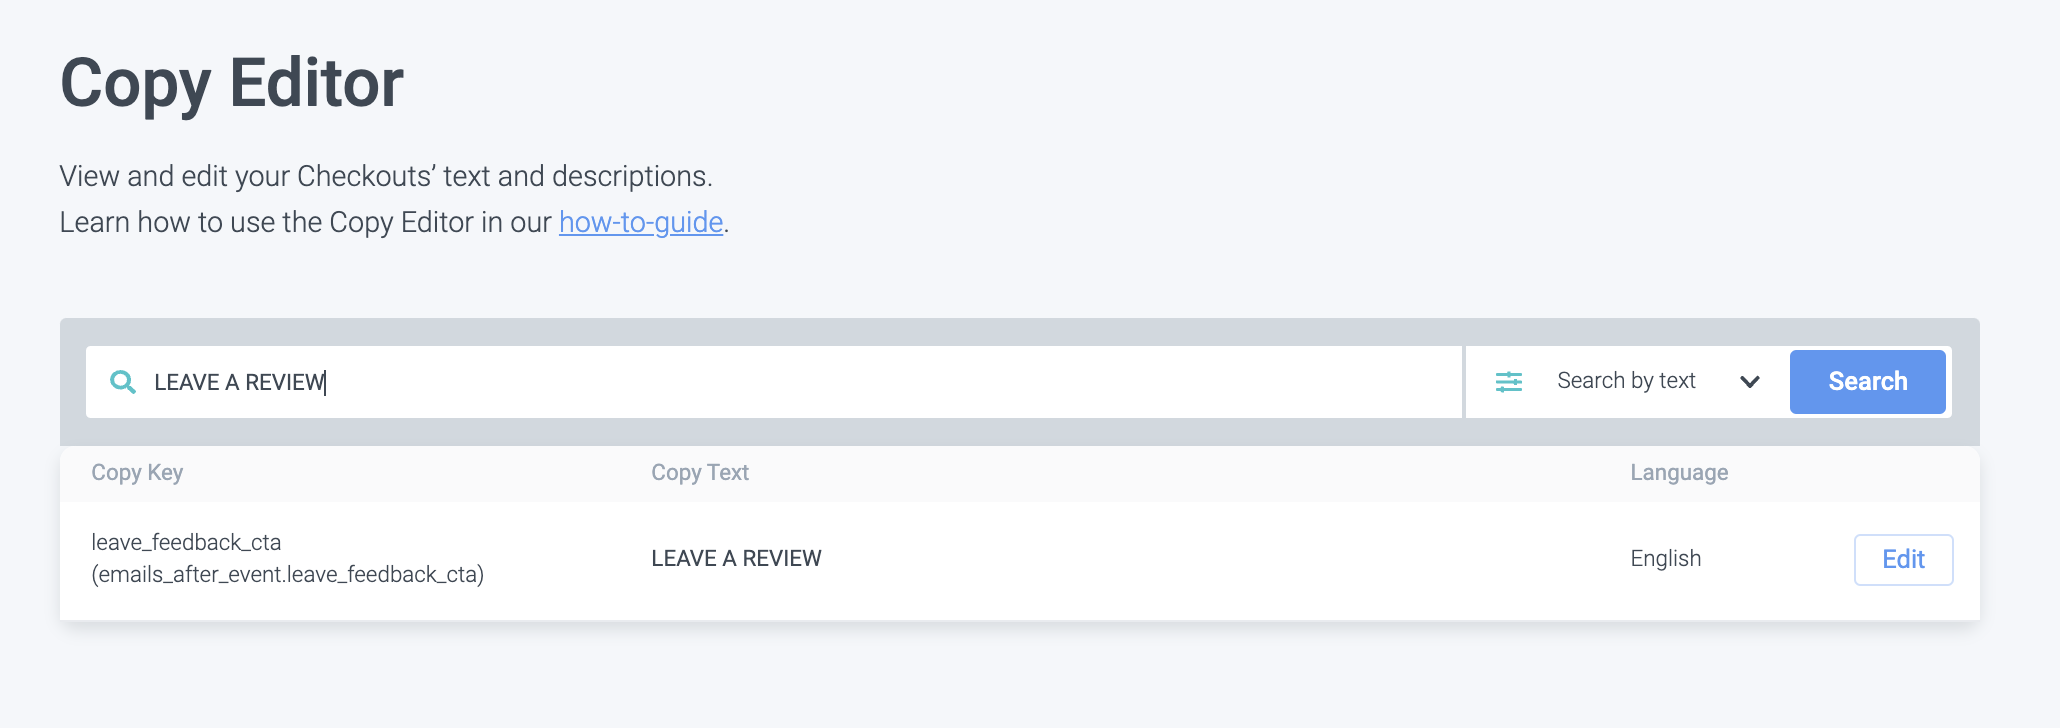
To provide an example, imagine you want to view or edit the title 'Ticket Selection' of the product list below:
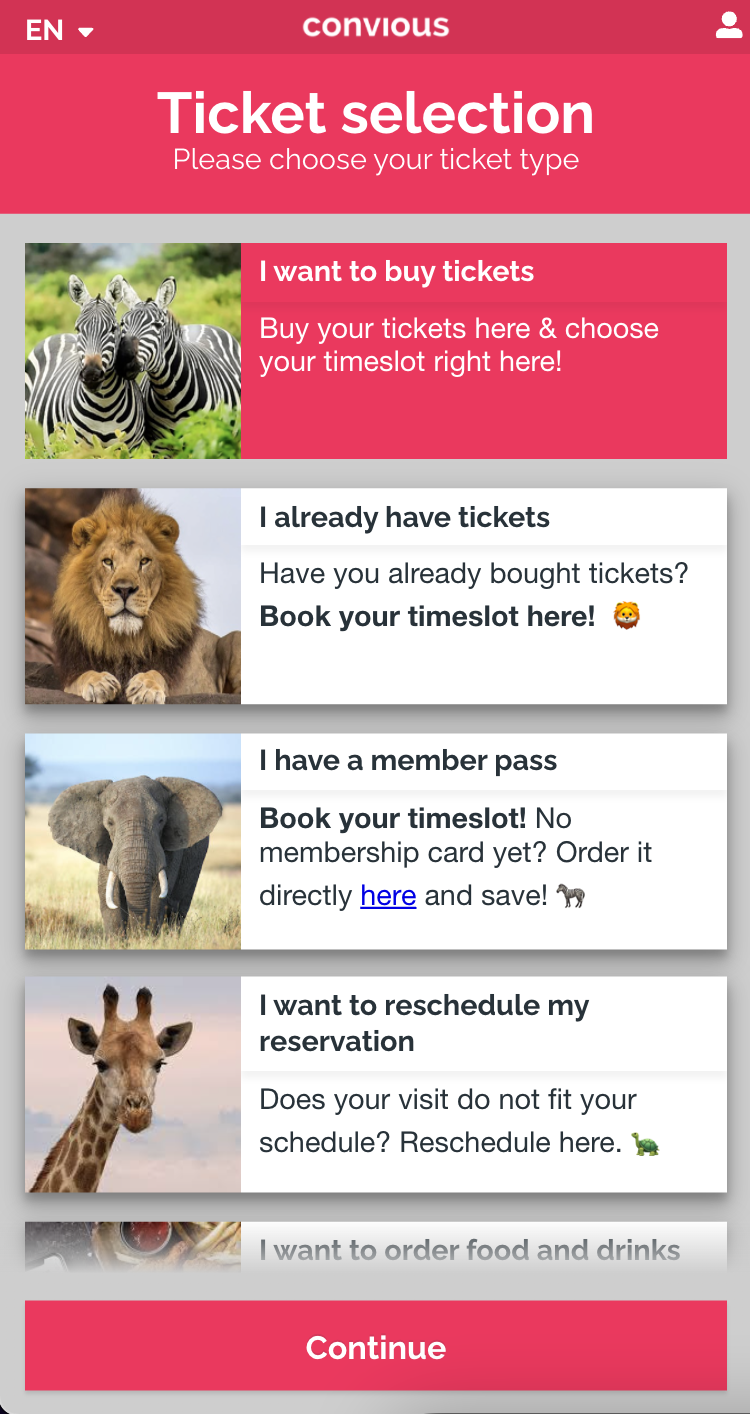
Remember: the product names and descriptions can also be adjusted within the products themselves (e.g., I want to buy tickets).
3. Enter the name of the field you are looking to view or edit, in this case: 'Ticket Selection,' and hit Search or hit enter on your keyboard.
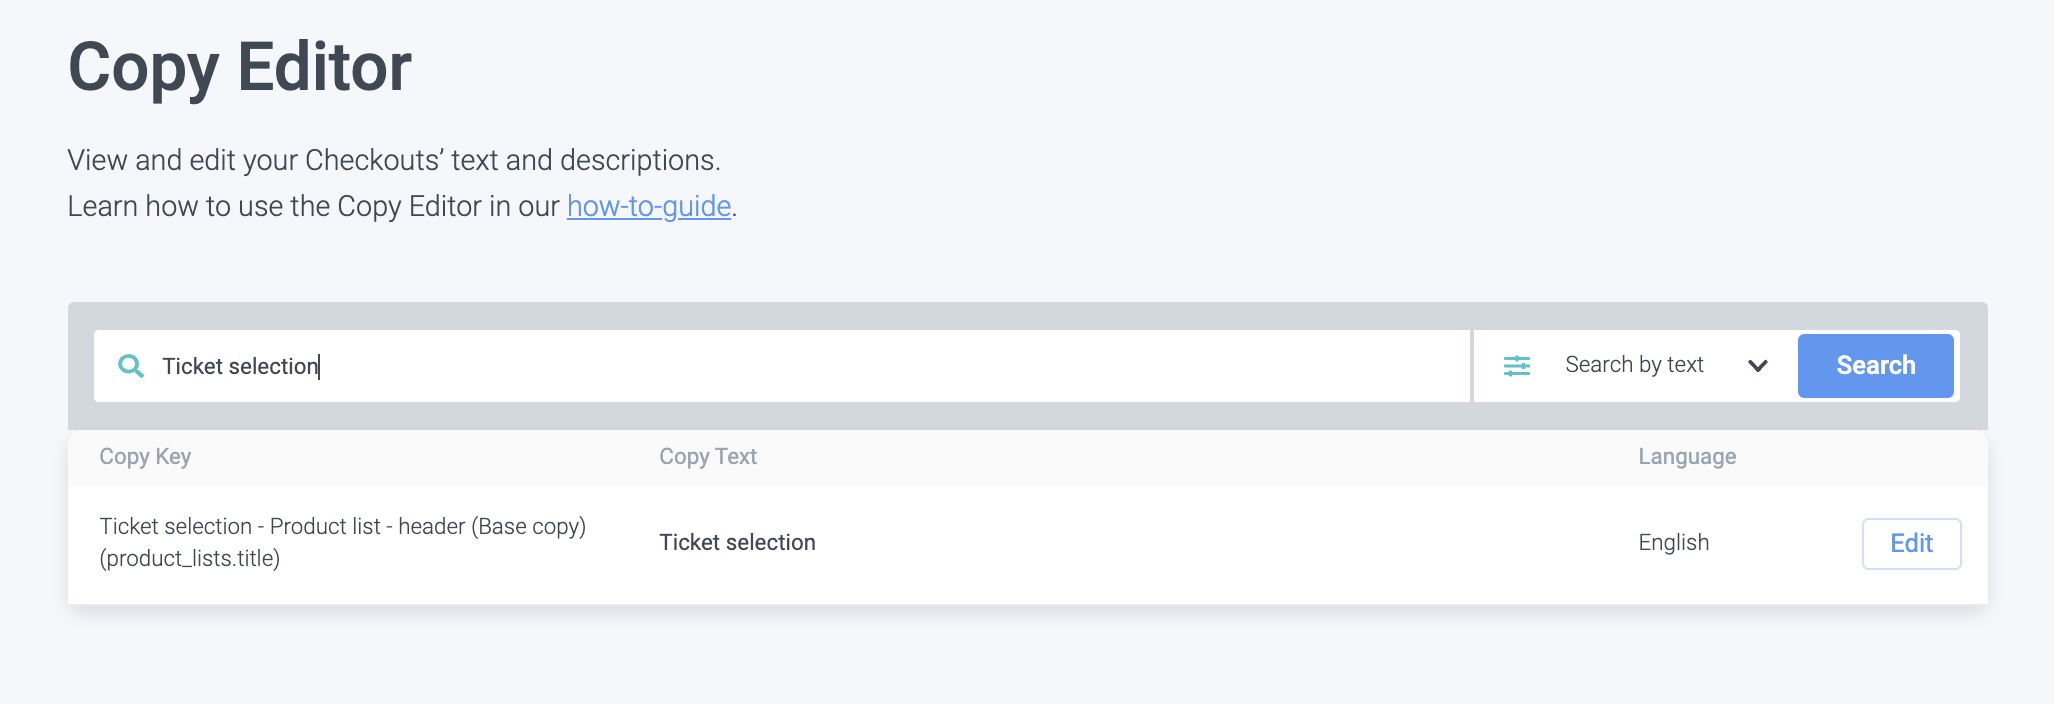
Now you see the copy text you are looking for, including its key and language.
4. Click on Edit to view all translations.
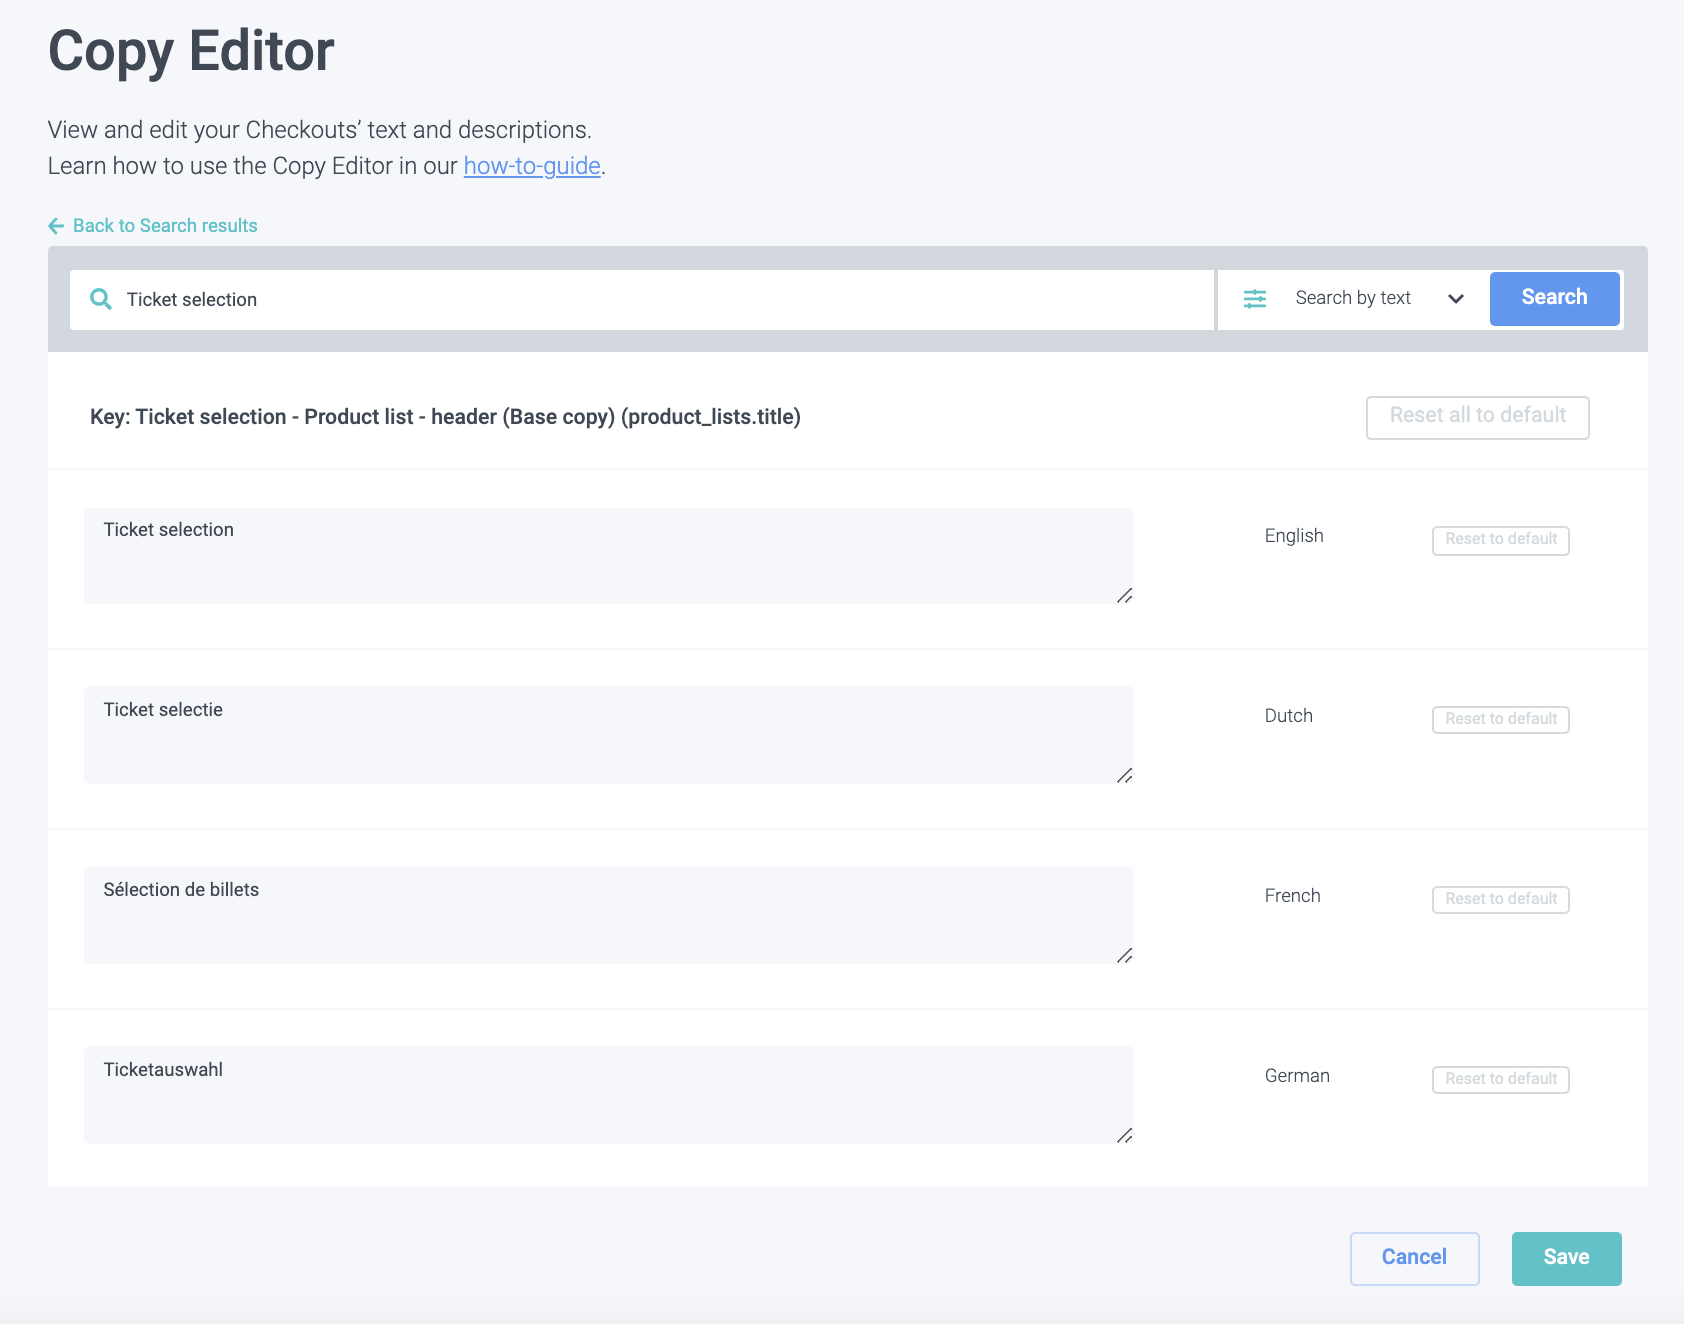
5. To edit either of your translations, click into the field and change the copy.
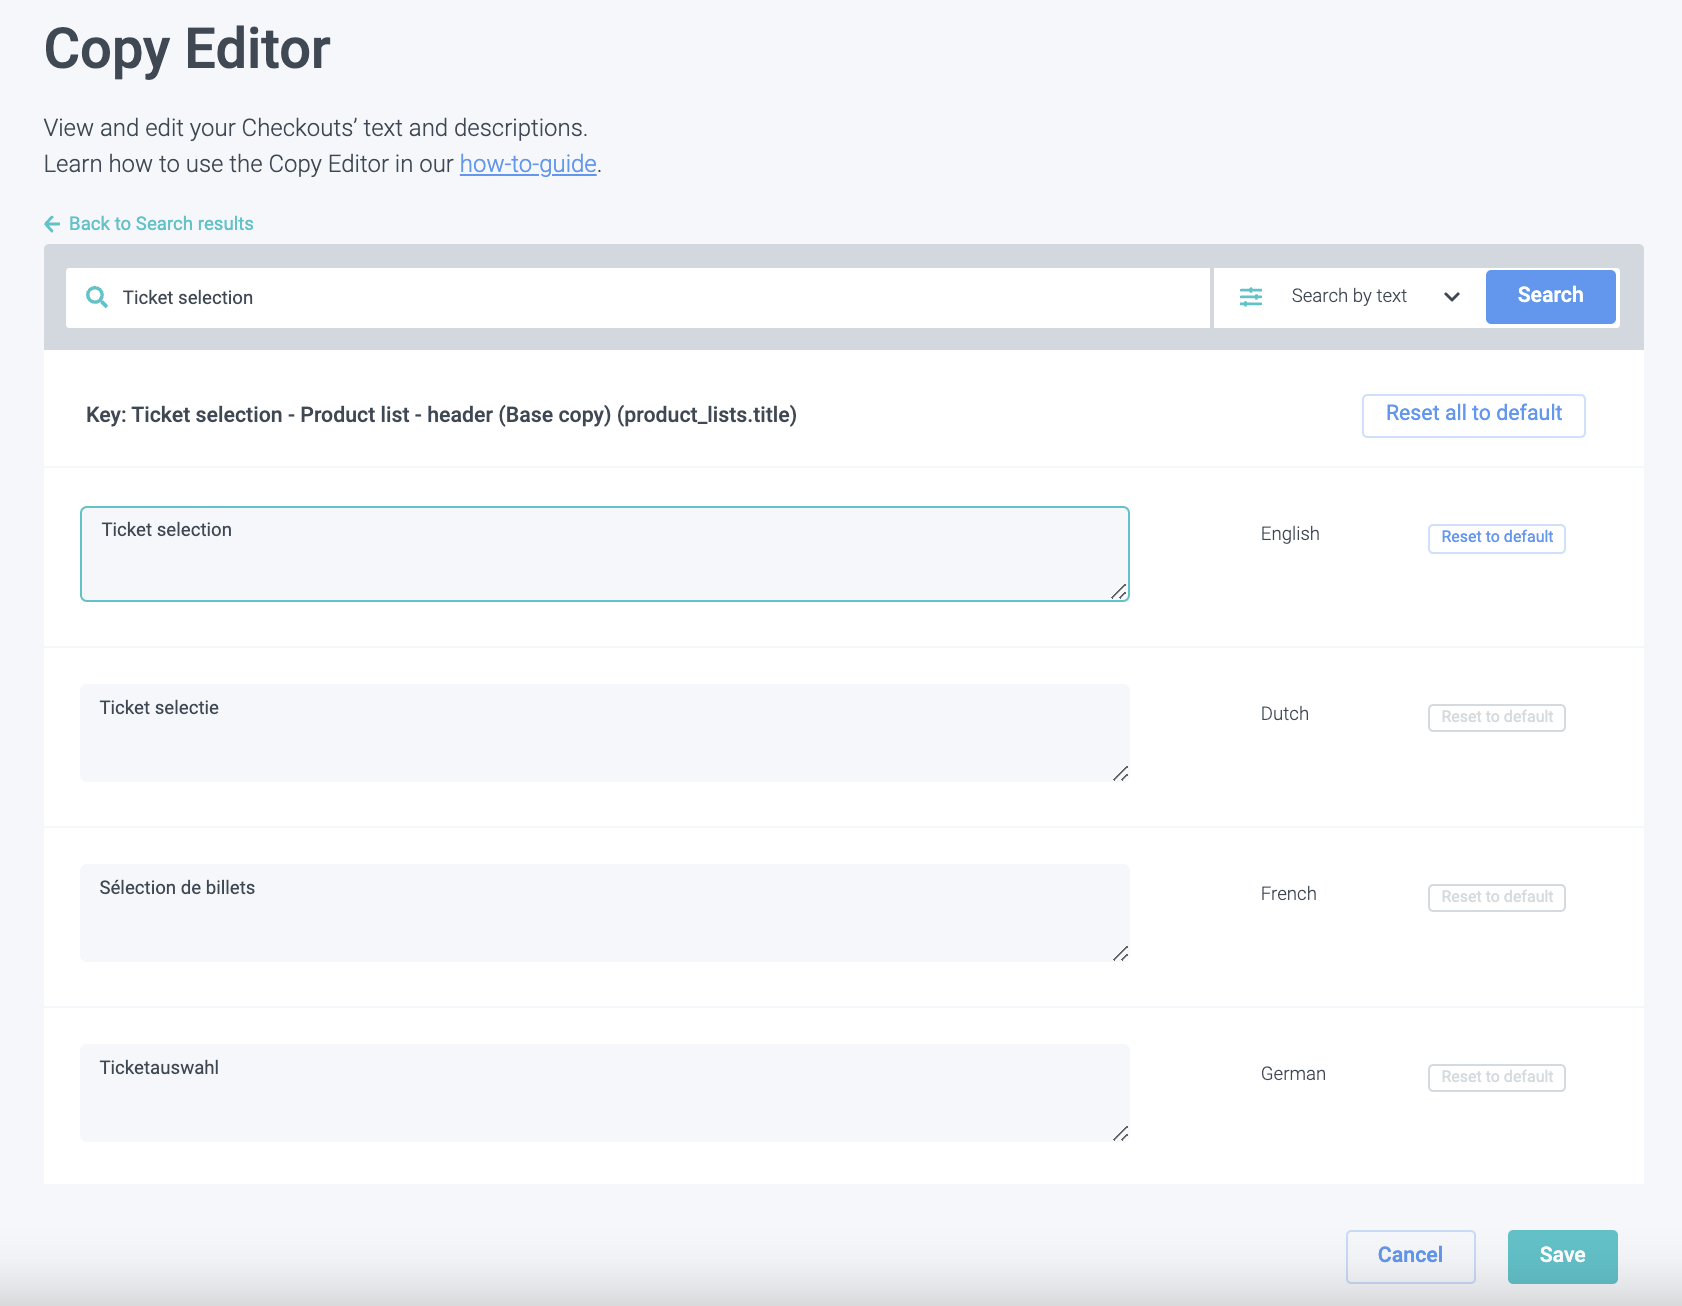
In the example above, we are editing the English translation.
In case you want to discard your edits or want to go back to the previous version, all you need to do hit Reset to default.

6. In case you change a copy, make sure to go on and complete editing all translations accordingly before hitting save.
Here as well, you can discard all edits and start new by hitting the Reset all to default at the top of the translations.
7. Hit Save & you're done!
Tips & Tricks: Our favourite copy editor hacks
Hack 1: You can also edit your email copies from the copy editor!
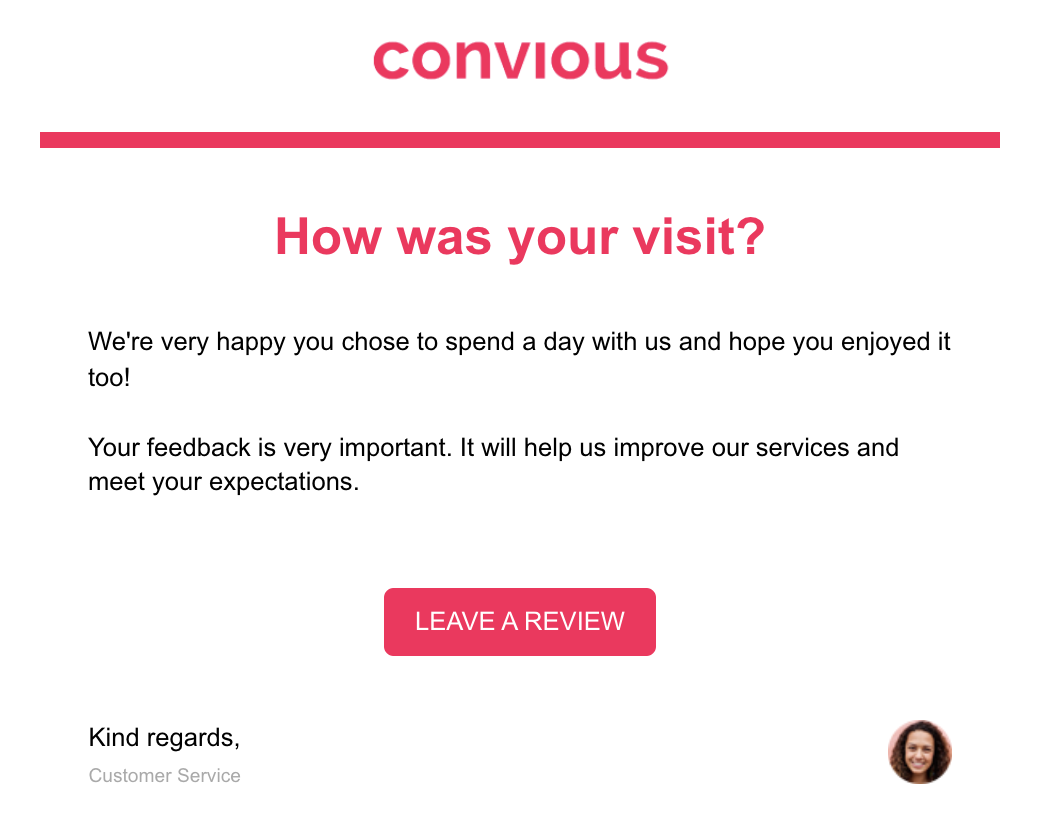
For example, the Call-to-action button of your post-event email.
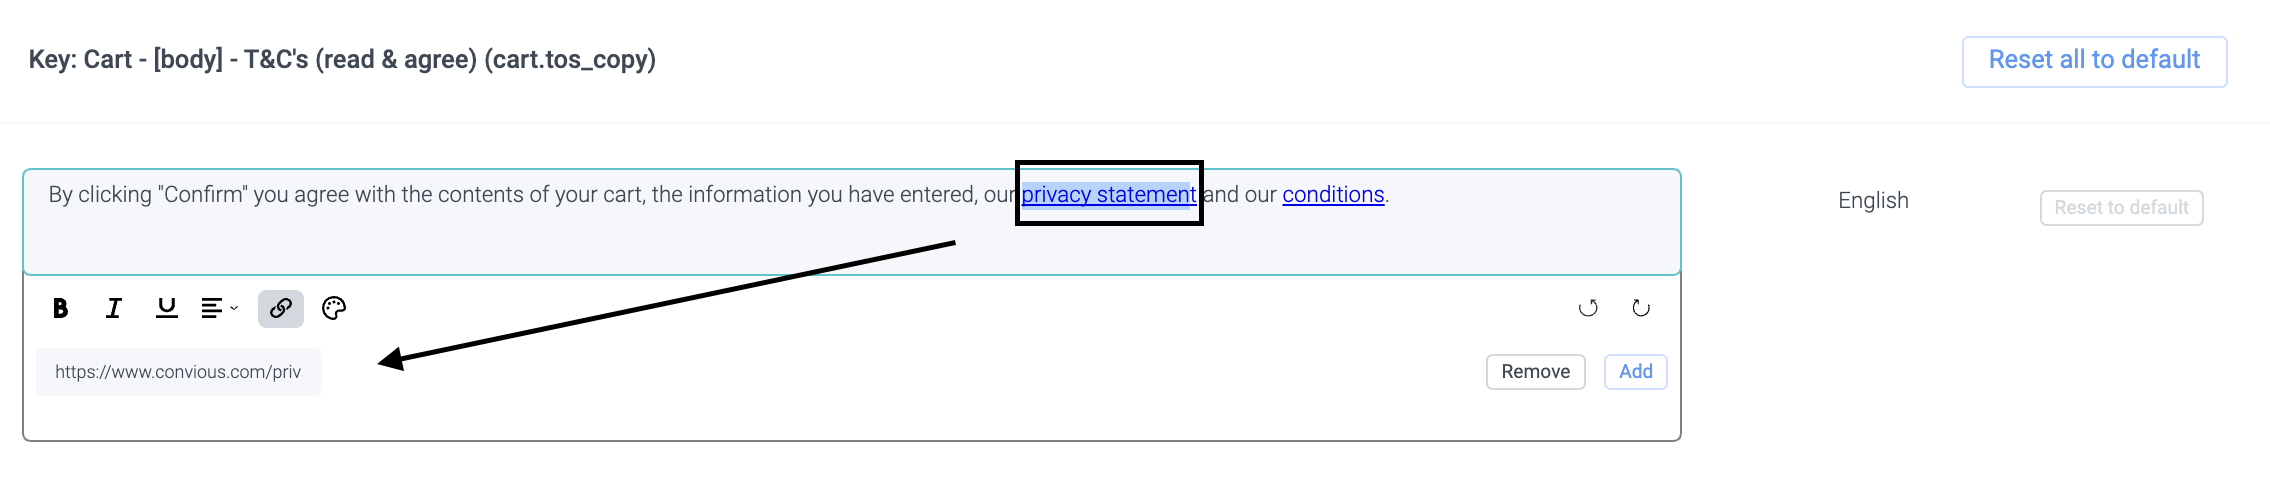
Hack 2: You can hyperlink.
As we usually do with, for example, privacy statement and terms and conditions.
Make sure to hit Add after you inserted the url and before you save! Otherwise, your linkage won't be applied.
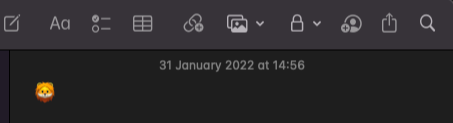
Hack 3: You can insert emojis to make your Checkout more engaging and playful.
All you have to do is copy the emoji you want from a note and drop it into the editor.

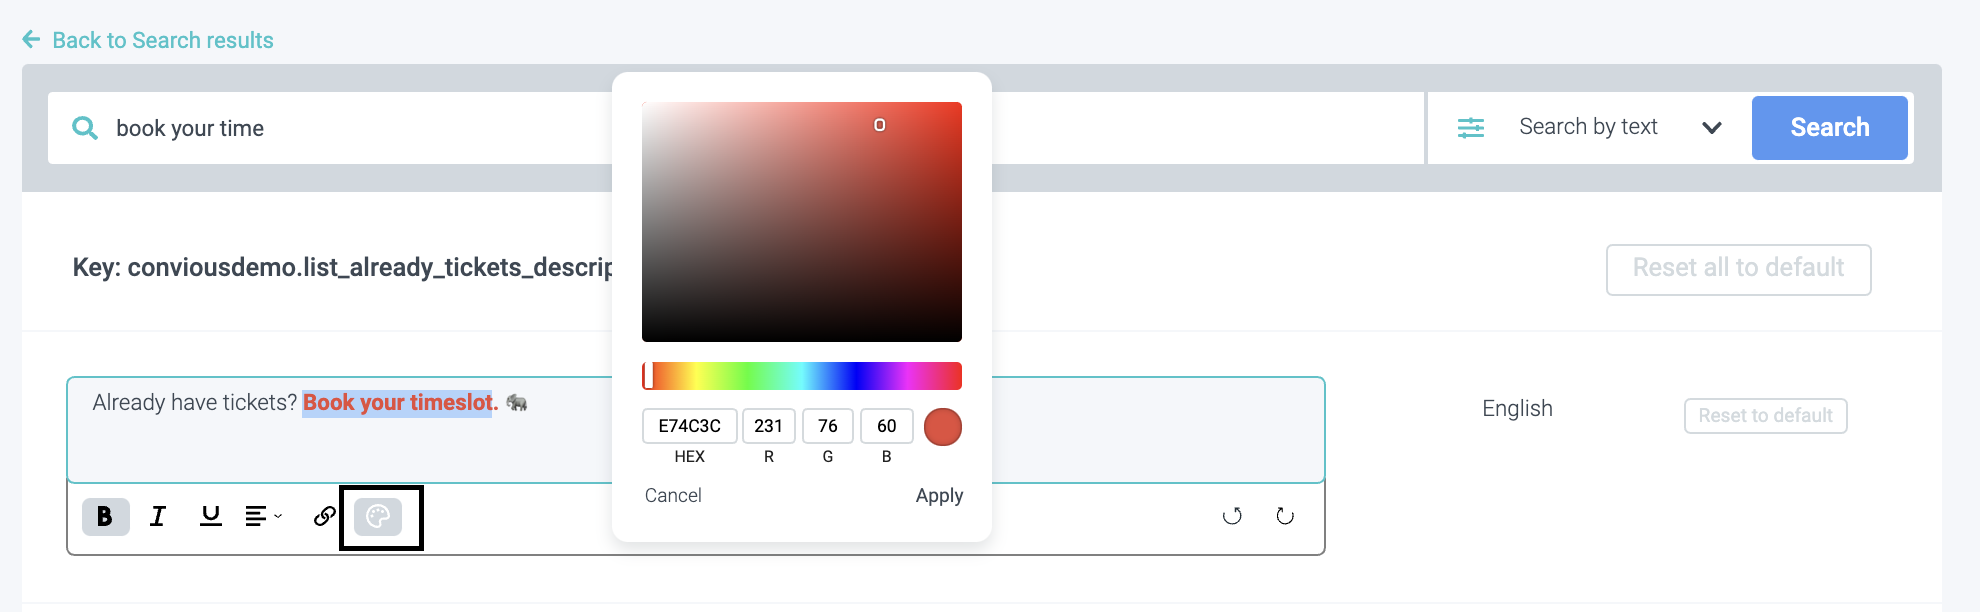
Hack 4: You can use colour to highlight certain aspects.
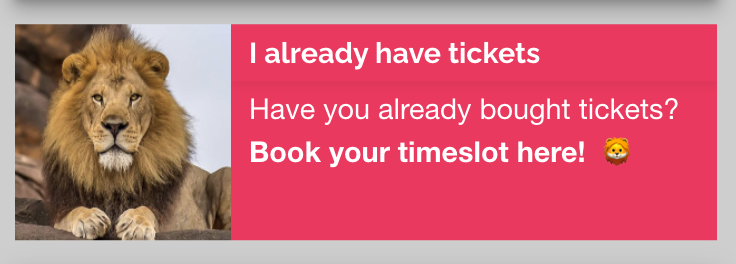
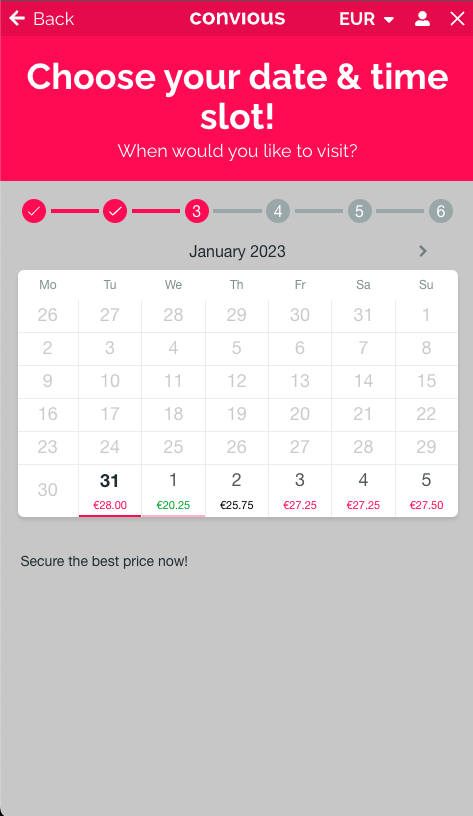
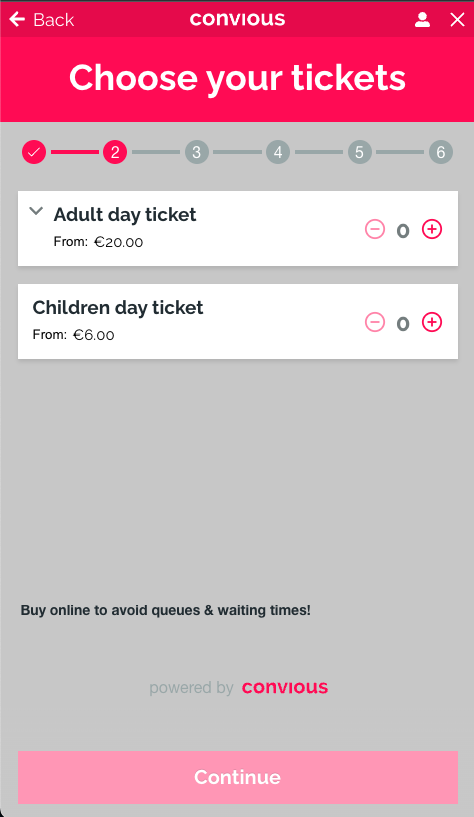
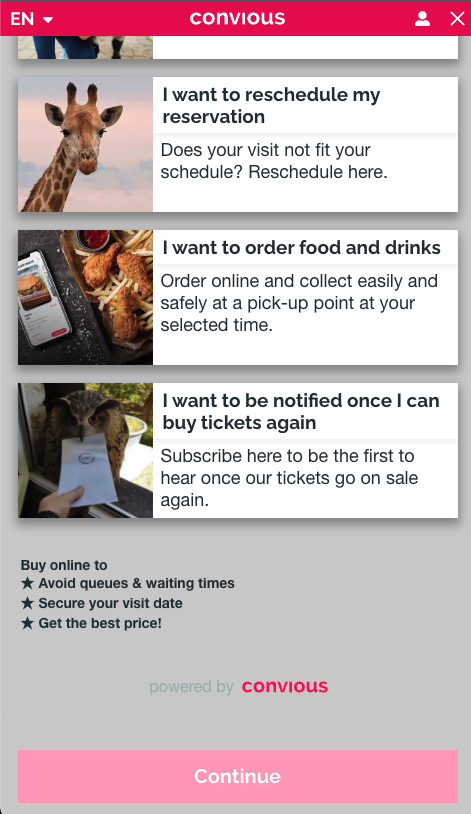
Hack 5: Use special under banner on the different pages of your ticket shop.
To enable the banners, you need to find the following keys:
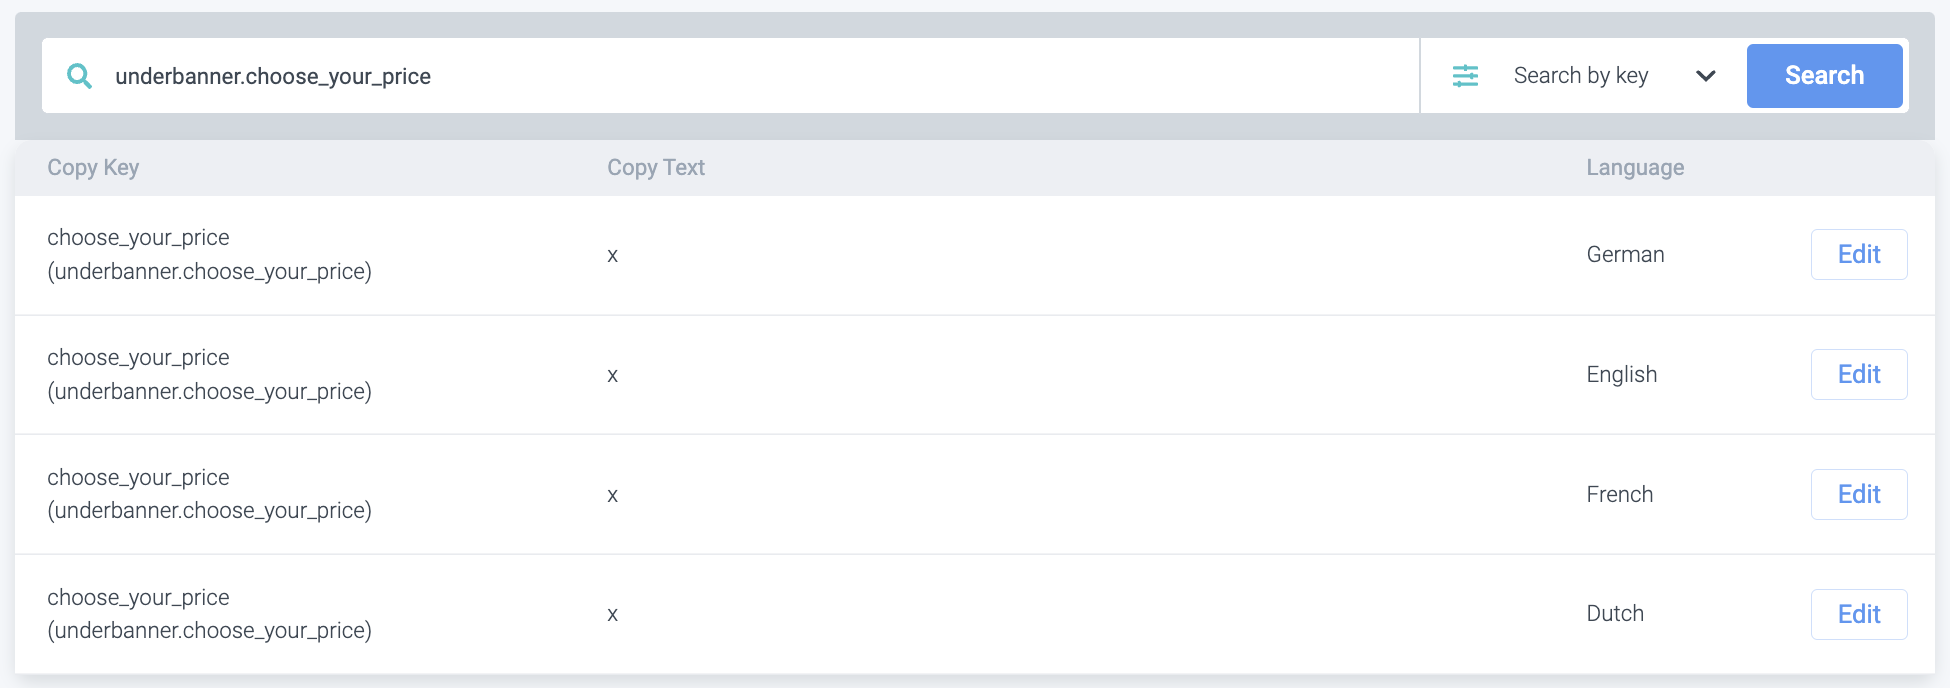
Search for
underbanner.choose_your_priceto add a banner to the page with the calendar view.
Search for
underbanner.choose_your_ticketsto add a banner to the page product selection of both - dated and undated tickets.
Search for
underbanner.pick_your_placeto add a banner to the front page.
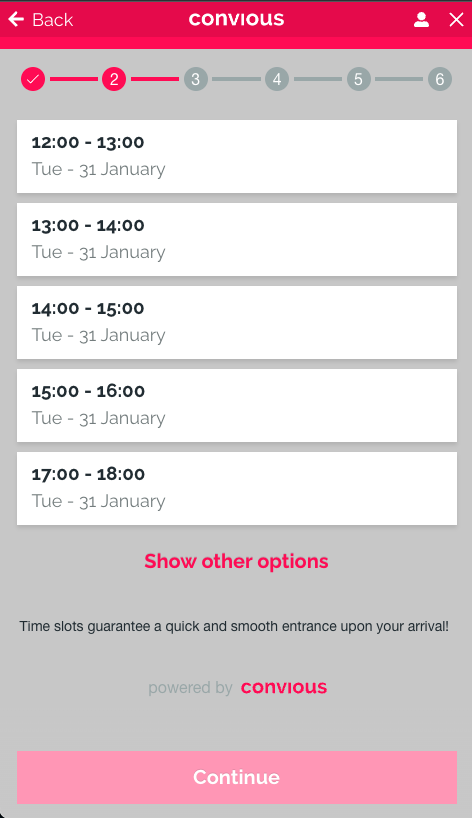
Search for
underbanner.pick_your_timeto add a banner below the time slot selection for the dated ticket flow. Please note, this banner will not appear below the time slot selection for a real time pricing flow.
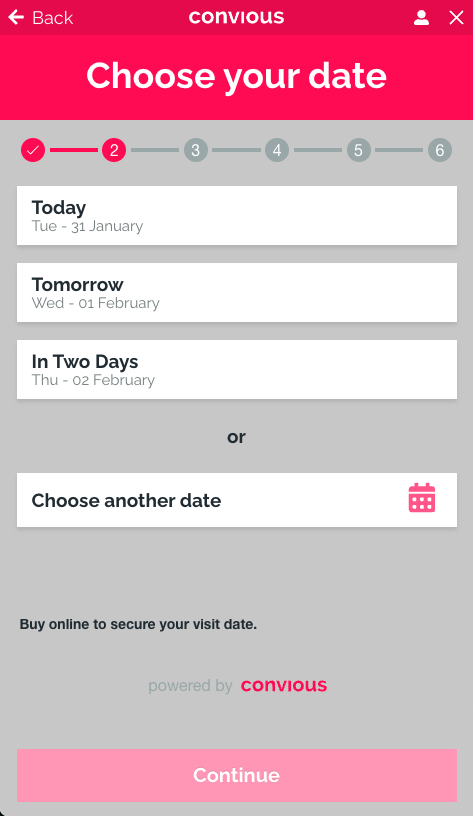
Search for
underbanner.widgetto add a banner the date selection page of the dated flow.Here is how you search for keys:
Why are banners great, you wonder? This is your chance to communicate important information and the benefits of booking online and in advance.
If you cannot see this copy - don't worry! Our support team can activate it for you. Just send an email to support@convious.com