1. Two ways to set up your Gift Vouchers
a) Gift voucher for a specific product
This product can be for example a day ticket or a season pass. The gift voucher can be sold either as an article or an upsell.
Please be aware that a reservation barcode pool has to be attached to this gift voucher product. If you use this gift voucher option you always have to configure a separate category in your Convious Control Panel that is called: "I already have a gift voucher". With this category, the visitor can redeem the gift voucher that they received.
By selecting the ticket that has a reservation code attached to it in the ticket shop, the voucher field(s) underneath will have the same amount of field(s) for which the gift voucher(s) can be used. ➡️ Go to this article to set up reservation barcodes for gift vouchers.
💡Pro tip: You can also give the option to send the gift voucher gift-wrapped 🎁 to the gift receiver. Just make sure to create an upsell article that is called something like send as a gift and make sure that an After Payment Form is created for this upsell product. With this option you can send printed-out gift vouchers nicely wrapped directly to the gift receiver.
b) Gift voucher with an exact amount
This gift voucher with an exact amount is usually valid for 1-3 years and contains a remainder usable. For example, you would like to sell 10€ gift voucher that can be redeemed in the ticket shop for any product.
2. Set up & Upload
1. Create a new barcode pool for your gift voucher product ("uploaded" barcode type):

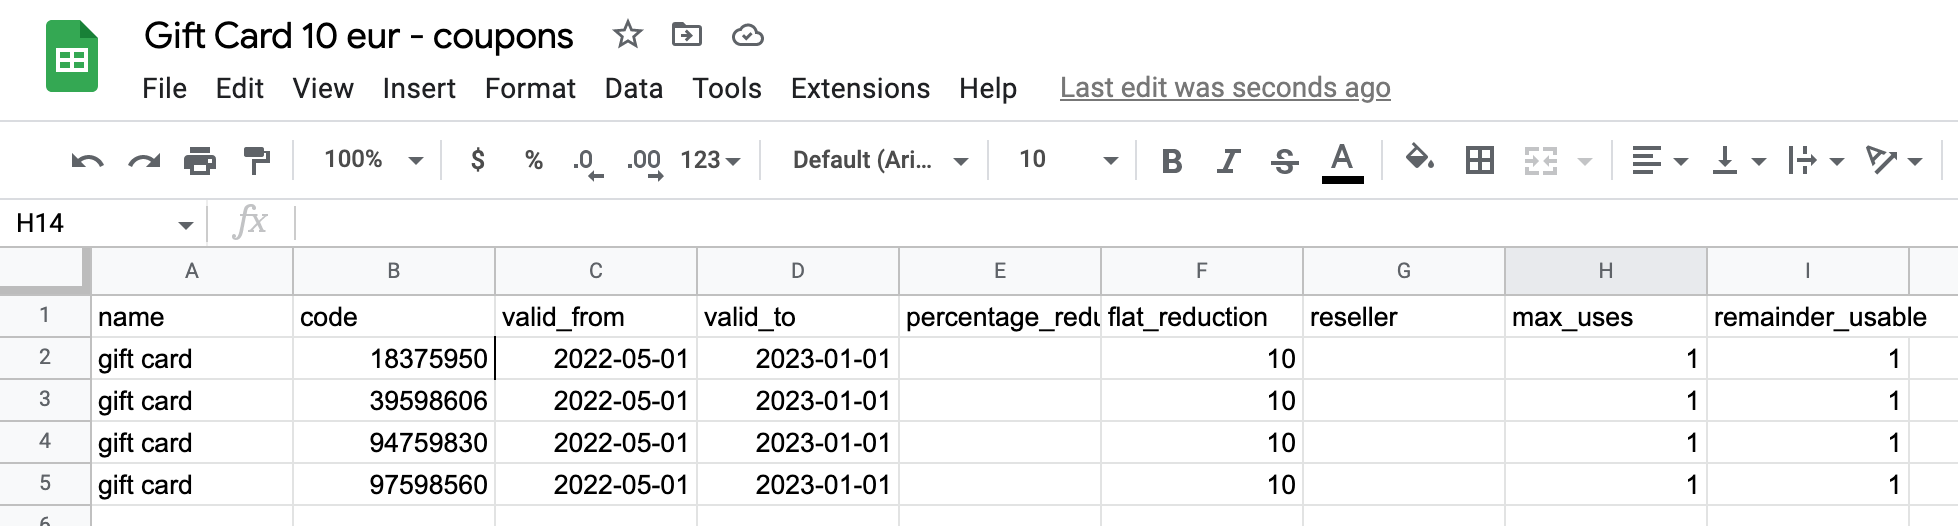
Generate barcodes in the Excel file:
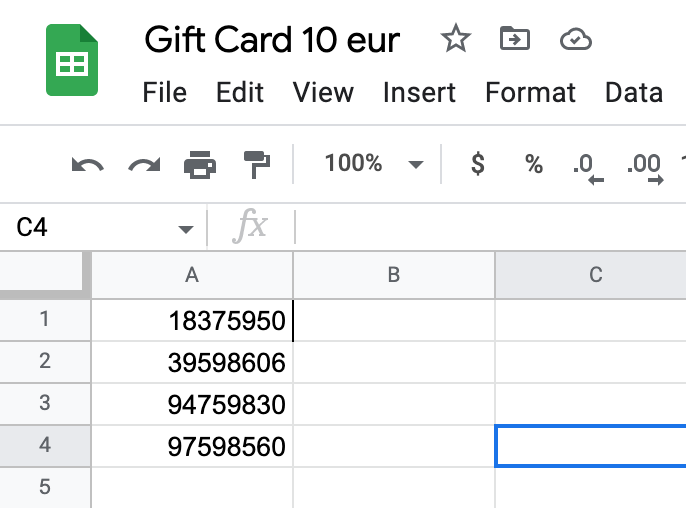
In this case, we are uploading four gift voucher codes:
18375950 |
39598606 |
94759830 |
97598560 |
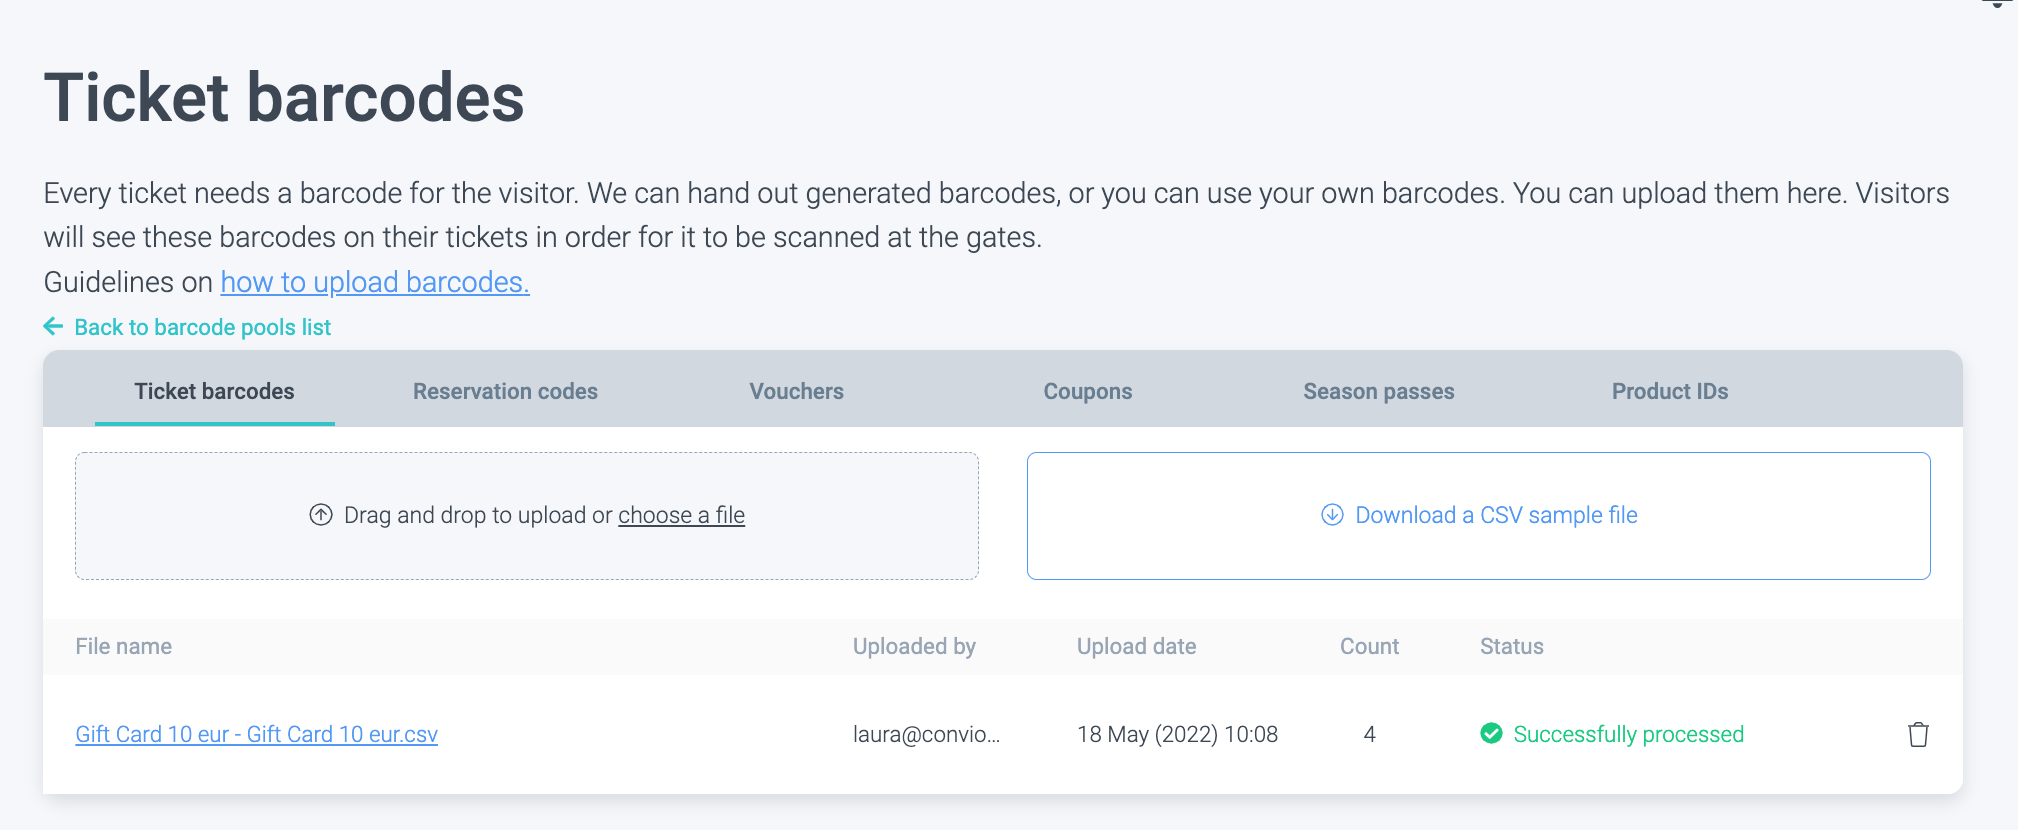
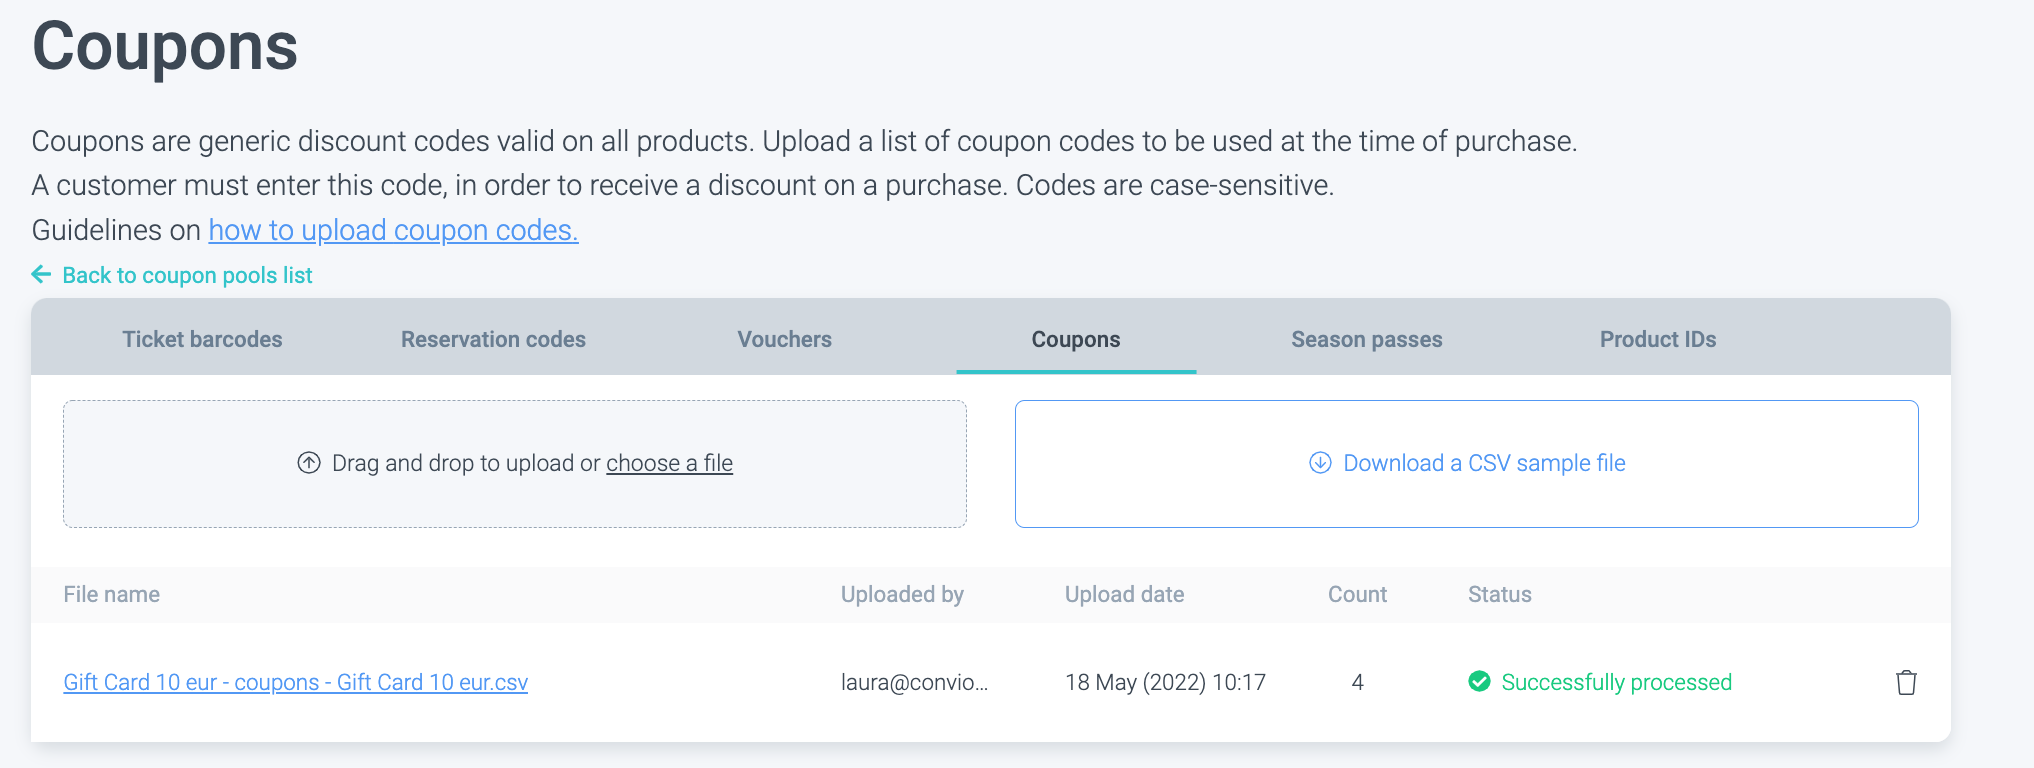
Download the file as a CSV file and upload it under the pool you created:
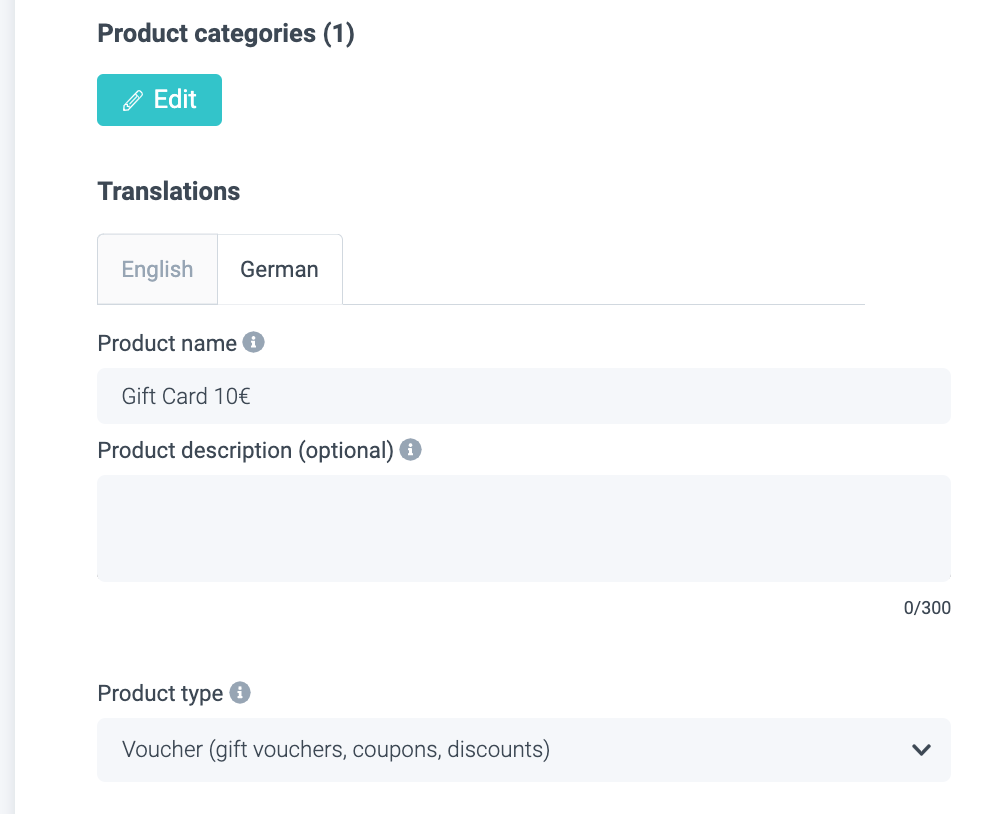
3. Create your gift voucher product ("Gift Voucher 10€") and select the new pool in the product settings:

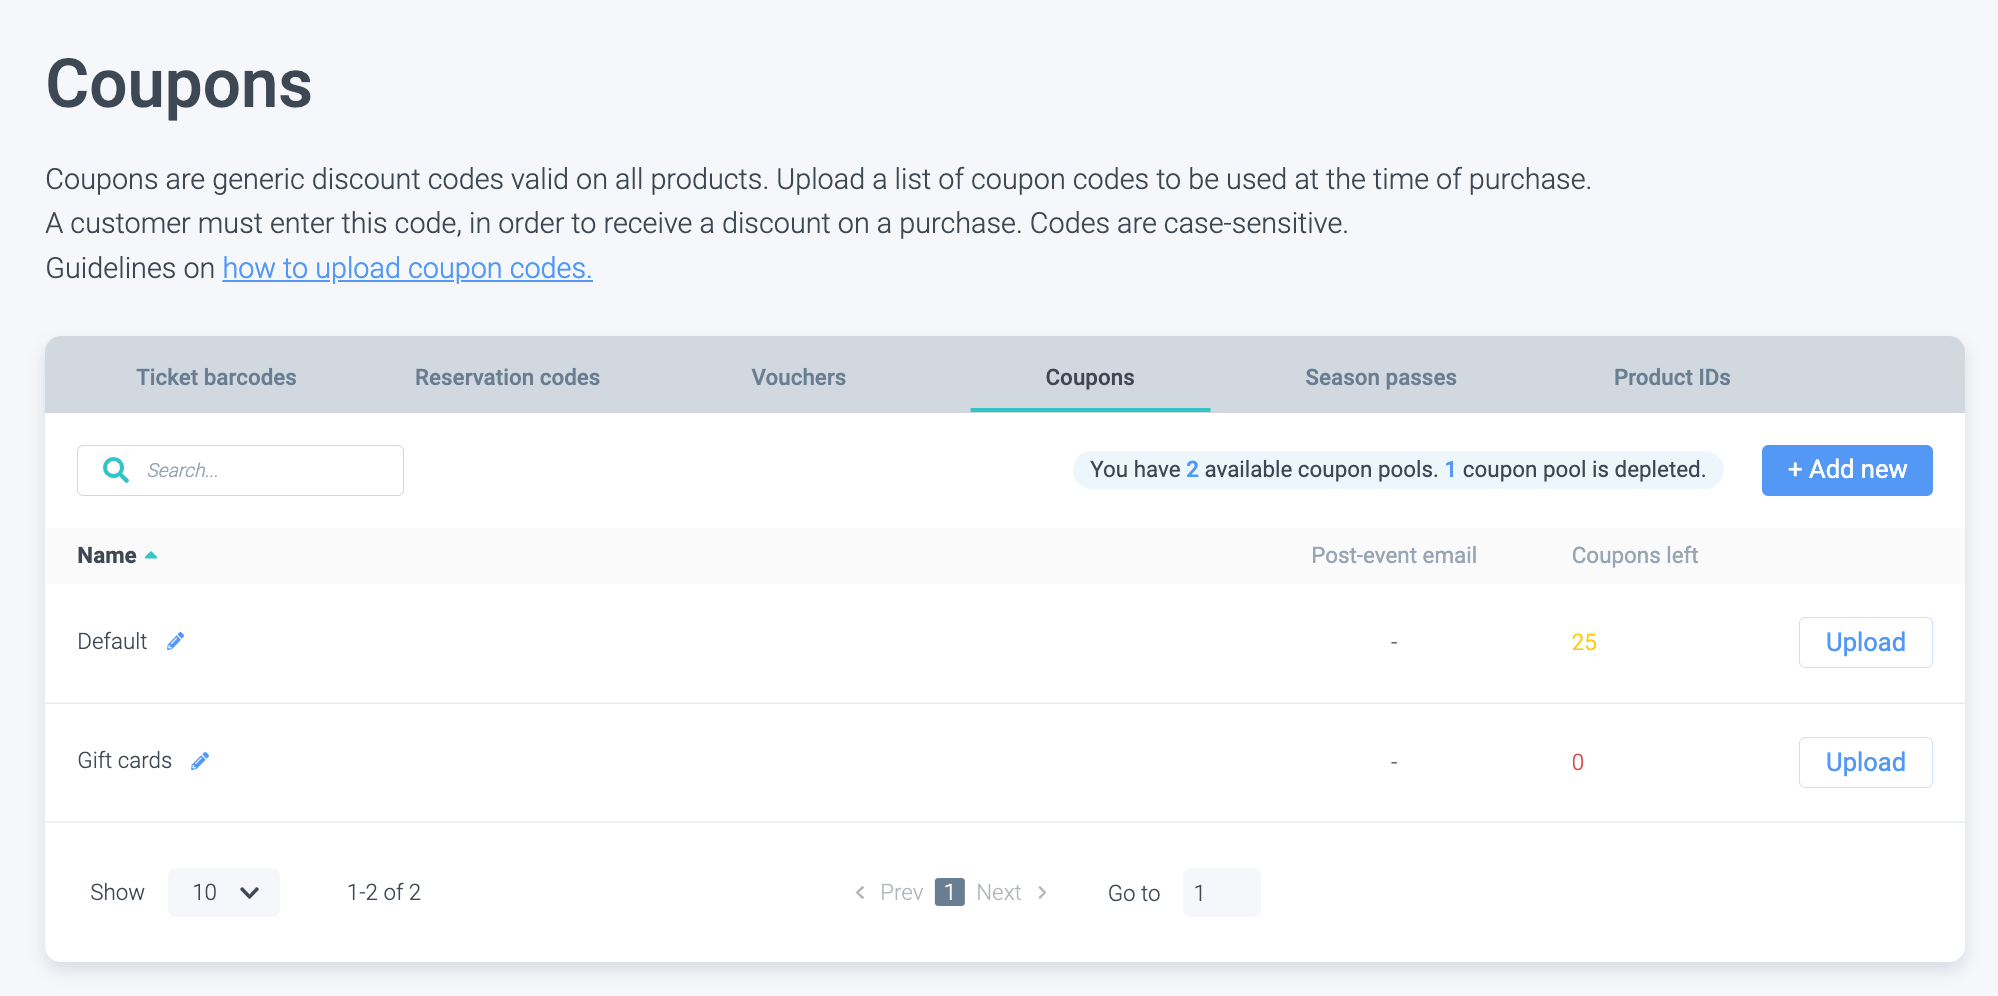
4. Create a new coupon pool "Gift Voucher":
Create a new file using the barcodes you uploaded to upload them as coupon codes with the following structure:
Add the flat_reduction value according to gift voucher value. Set max_uses to 1. If you want the remainder of the gift voucher to be usable, set value to remainder_usable to 1.
Upload the coupon file under the Gift Voucher coupon pool:
Now, gift voucher codes should be redeemable at the checkout and give a discount of 10€ of the total cart value and you can proceed with creating your gift voucher template.
3. How to design your Gift Voucher template
From value vouchers to season passes and day tickets, now you can create all of them as separate gift vouchers!
1. Navigate to Gift card templates in your Engage section.
2. Now you will see the gift voucher template overview page. Once you have created your first gift voucher, you will see it here.
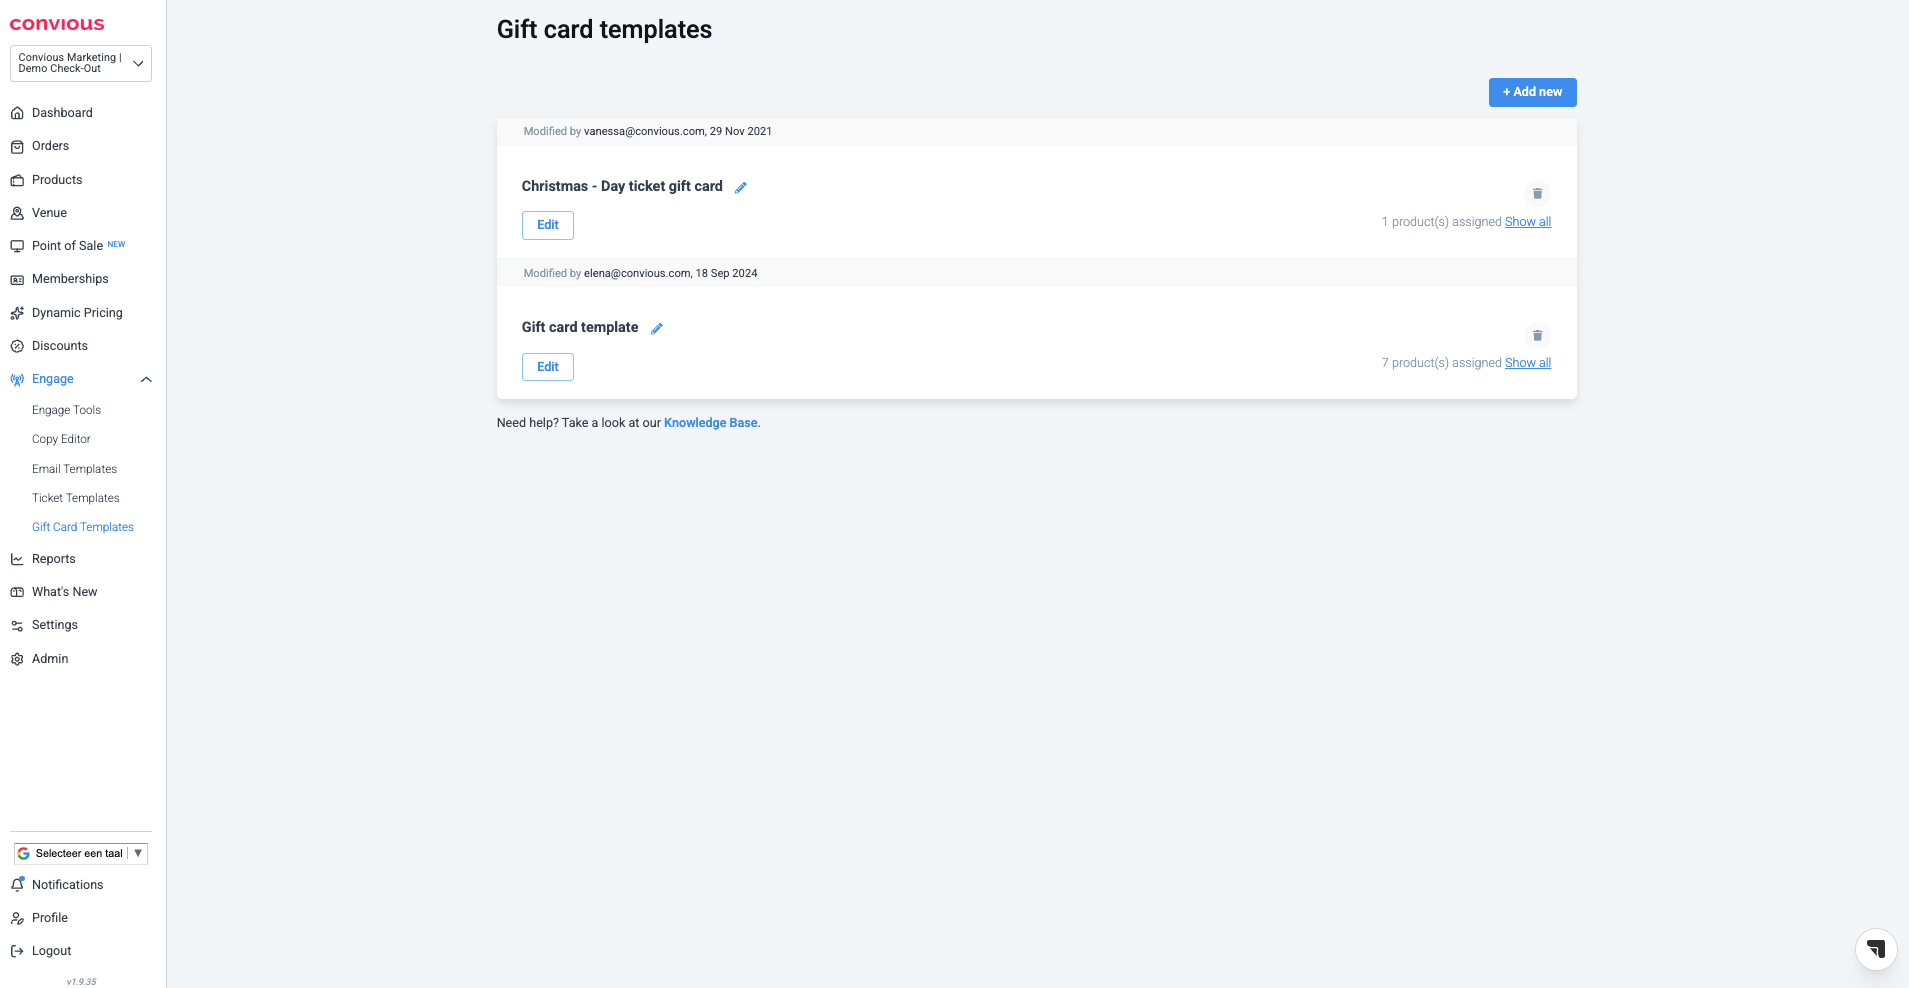
3. To create a Gift Voucher template, choose + Add new.
Now you enter the Convious Studio.
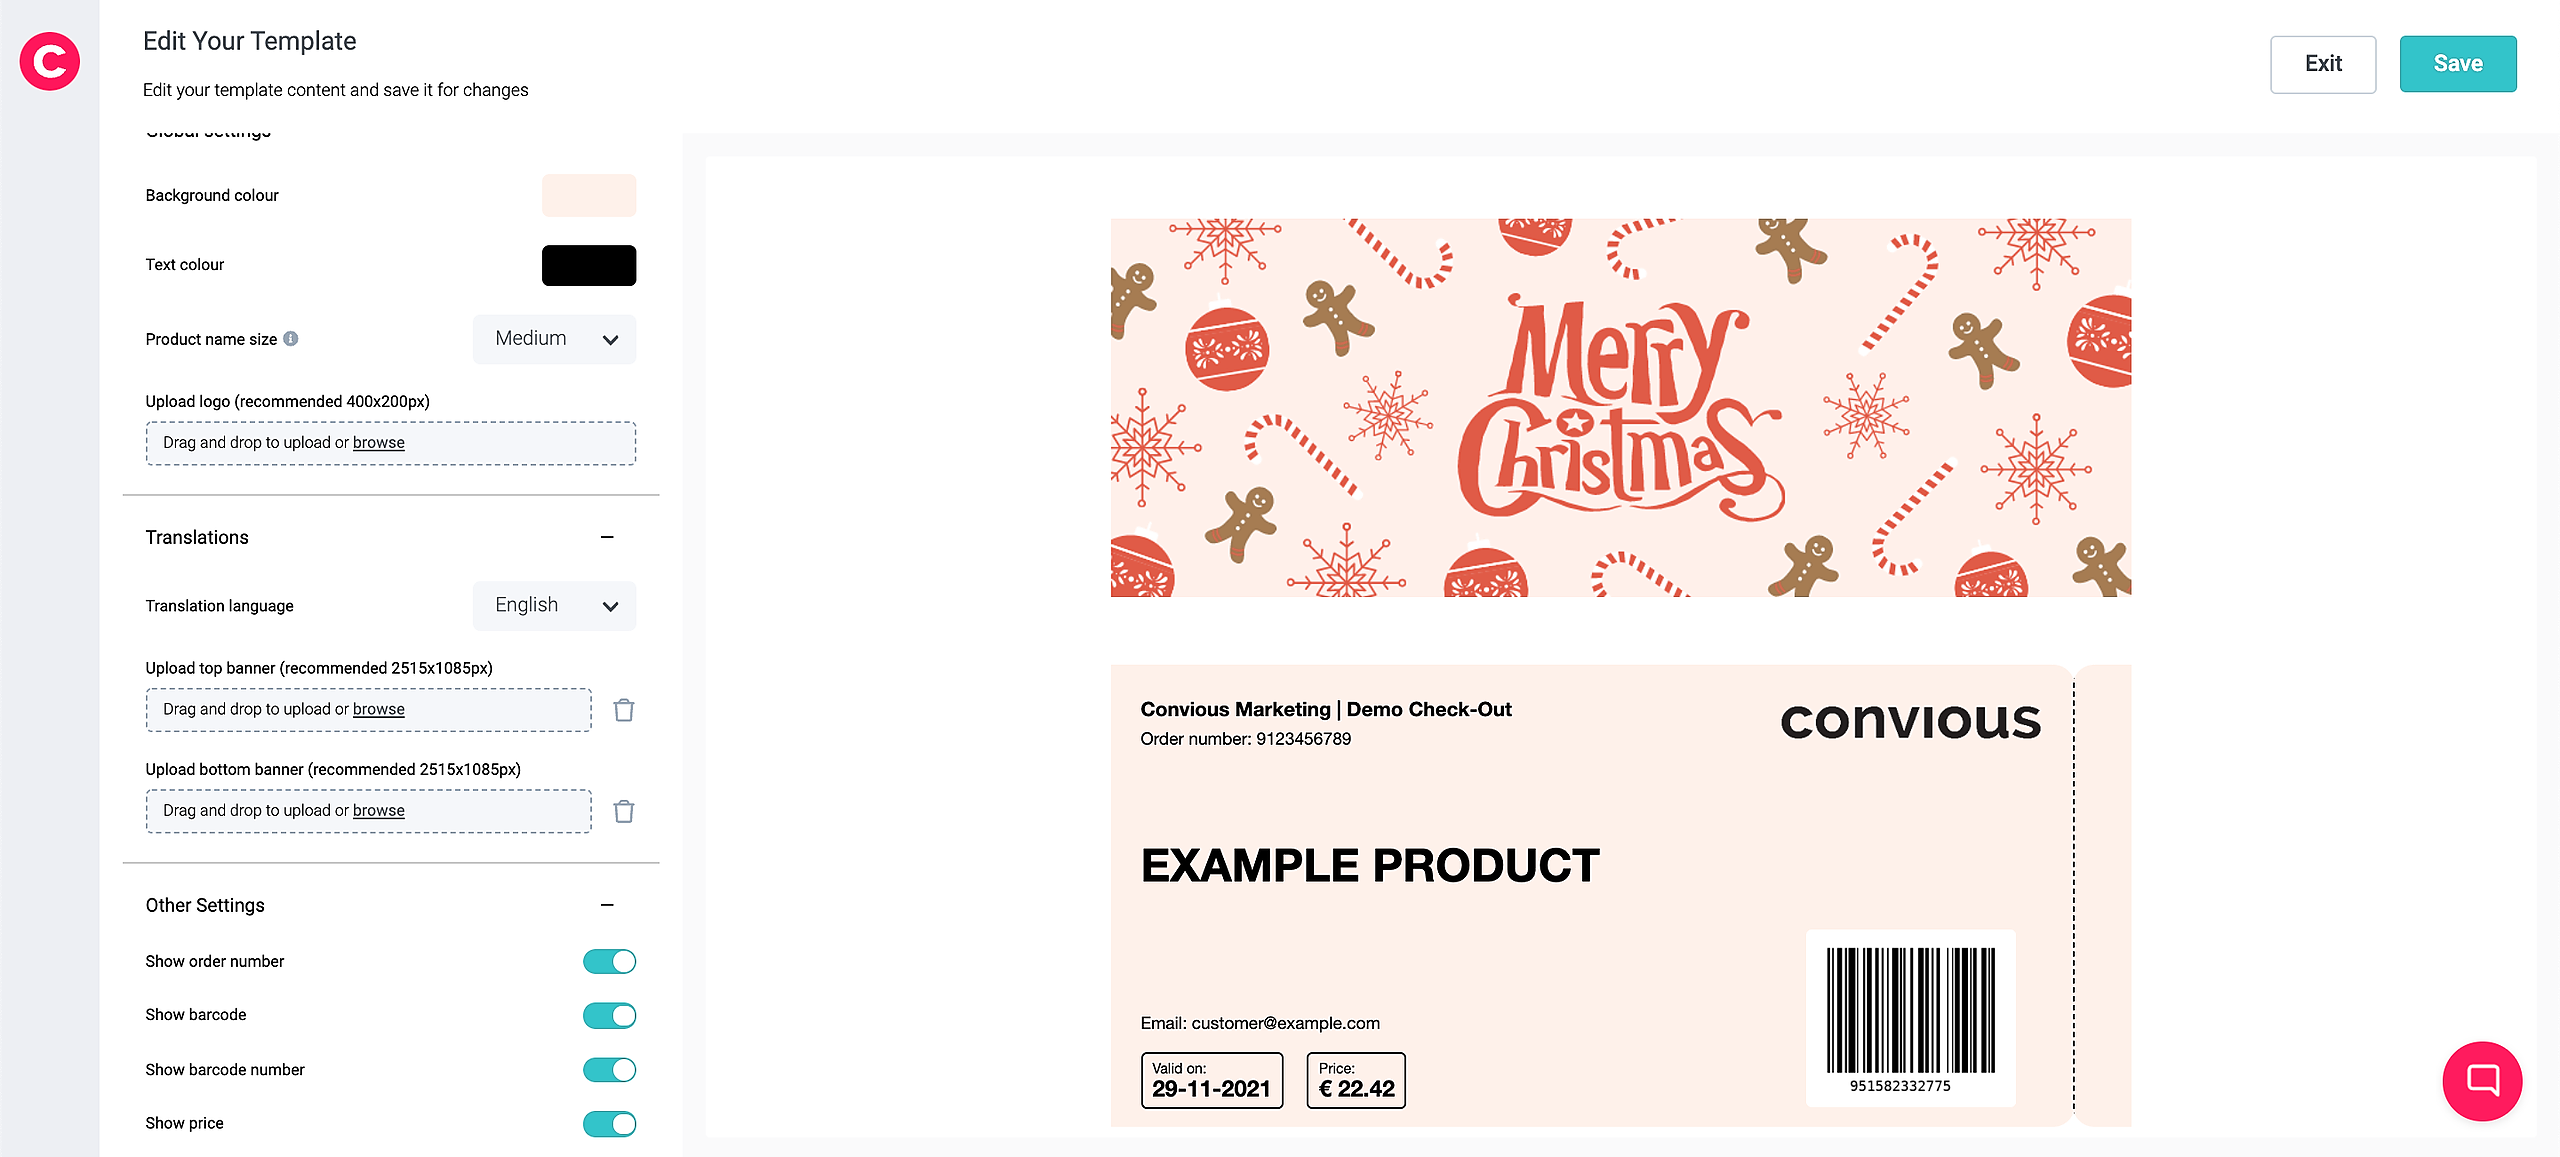
4. As with all your templates, you first have to set the Global settings.
This includes:
Background colour
Text colour
For these two, you can pick a colour or enter a HEX or RGB code.Product name size
As it is a gift voucher, you may want to give the actual product a certain spotlight. This is why you can give the product name different font sizes: small, medium and large. We recommend not choosing large for long product names to avoid spanning the name over several lines.Upload logo (recommended 400x200px)
Here you can upload a png from your computers' library.
5. Next, you can add upper and lower banners. Both banners can be added in all languages that are available in your Checkout!
Simply choose another language to upload a new banner for either the upper or the lower banner.
Please note, the recommended size is 2515x1085px.
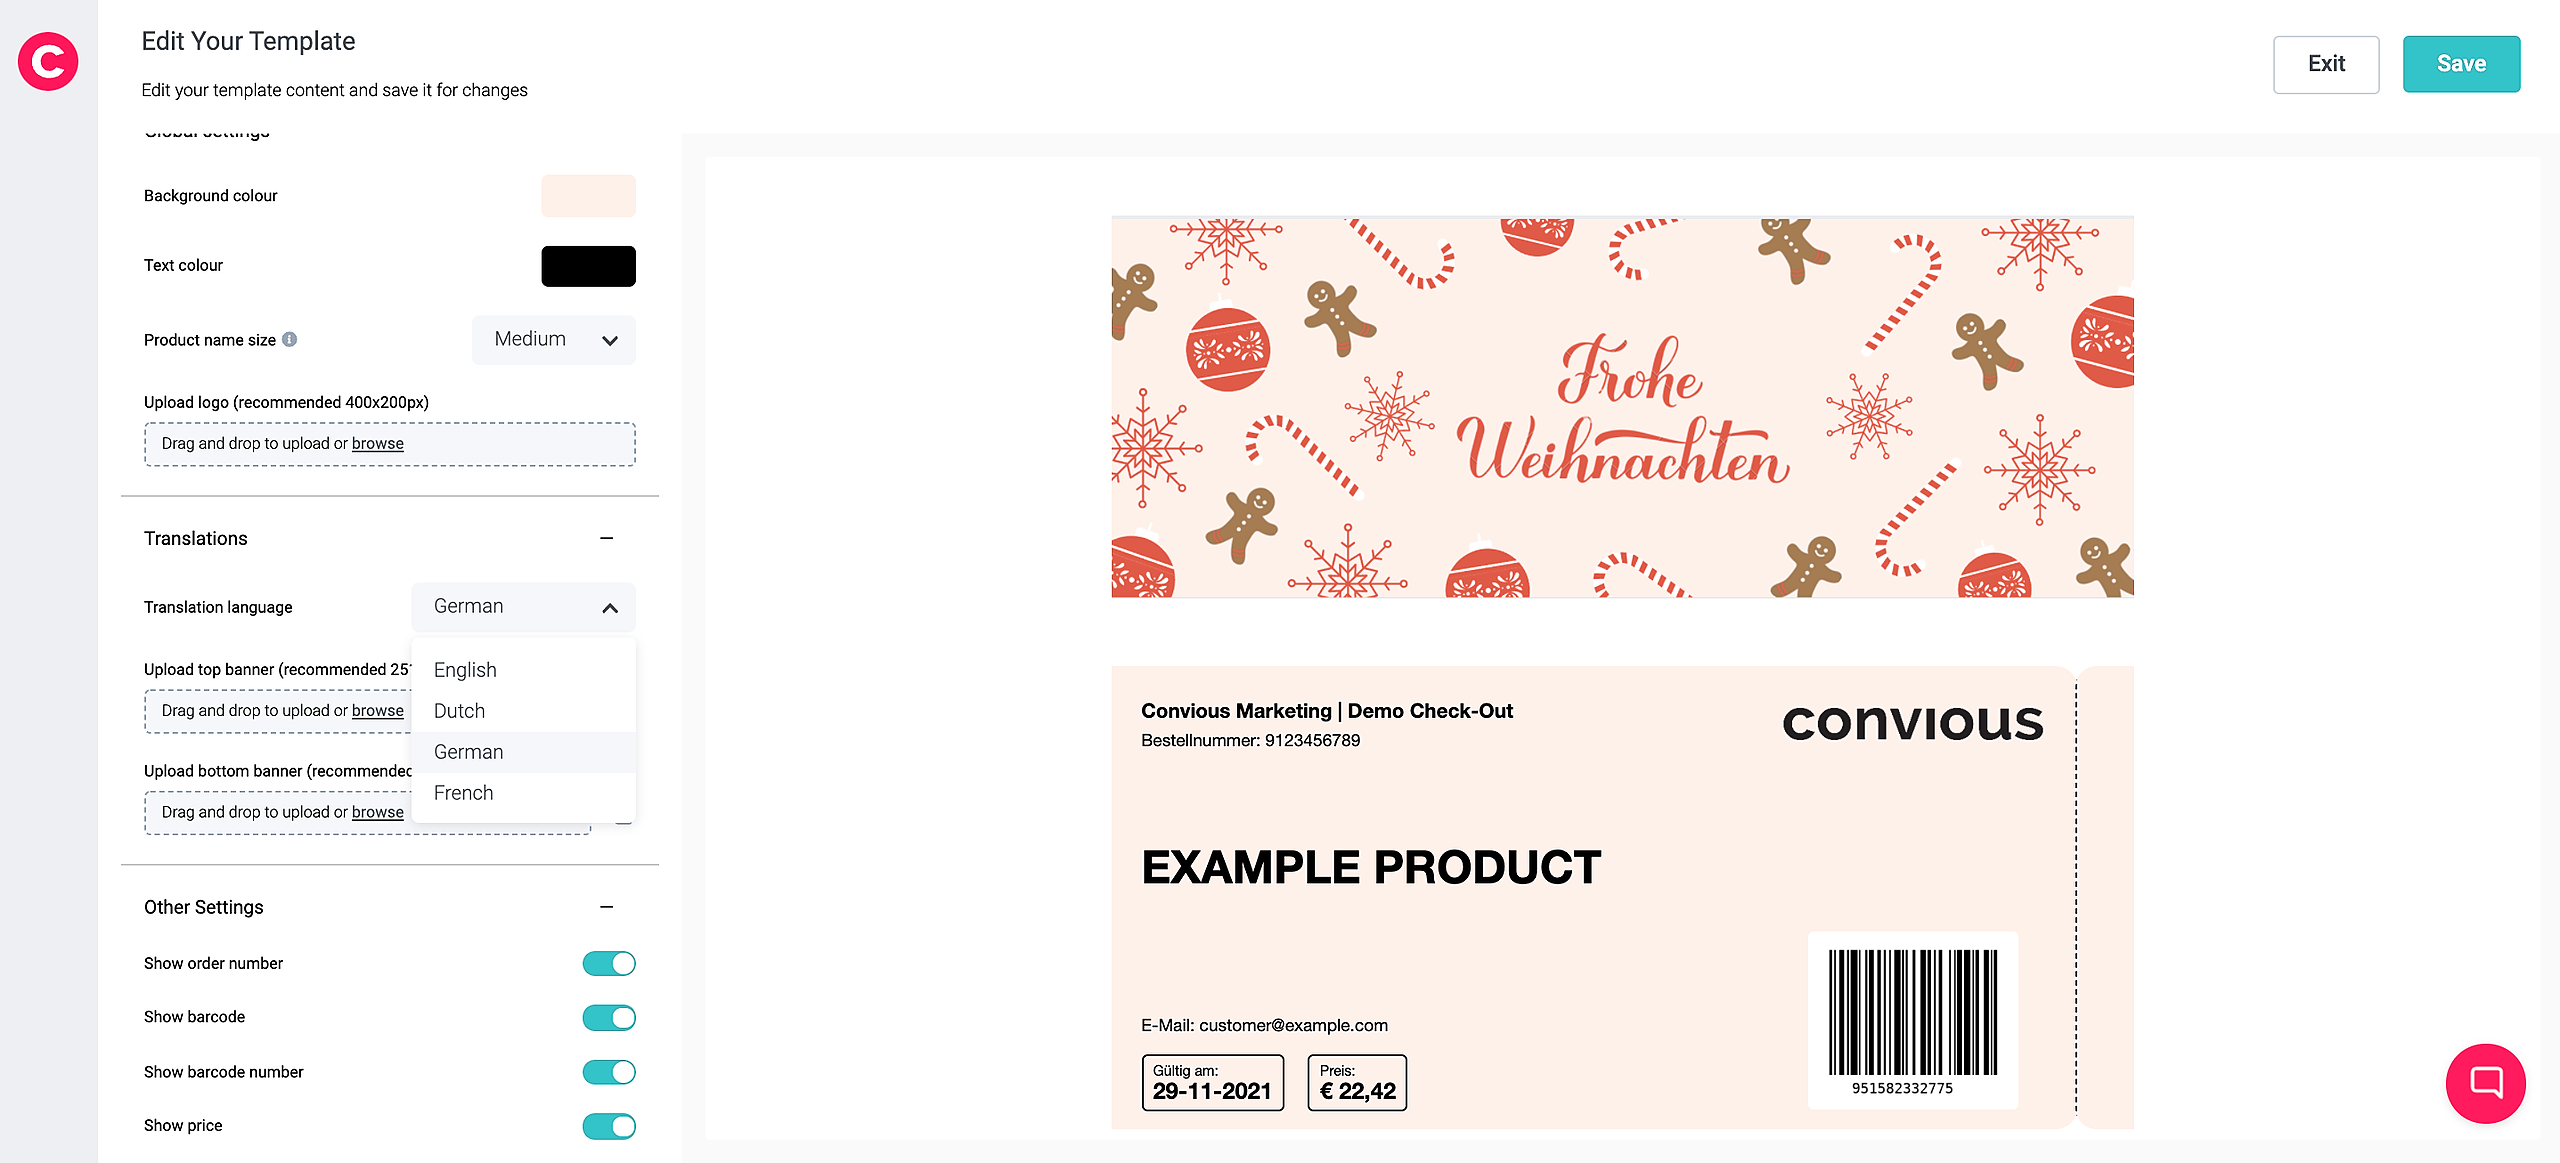
For the lower banner, we recommend adding a few lines on how to make use of the voucher to ensure the receiving person (and/or the gift giver) knows how to turn the voucher into a valid ticket.
Do you need help with designing the actual banners?
No problem! We recommend heading over to canva.com, which is an easy-to-use design platform. Signing up is for free and will give you access to design all sorts of banners, social media posts, presentations, and much more. Once you have opened your account, choose to create a design and select custom size. Enter the banner dimensions we recommend and start creating a new design! You can use templates, add elements, upload your own elements and images, and add text. See Canva's Knowledge Base for short on-demand video tutorials.
Let's get back to the Convious studio to finish the gift voucher template.
6. Time to set your Other Settings.
Here you can show or hide:
Order number
Barcode
Please note: if you remove the barcode, a label for the barcode number will appear:
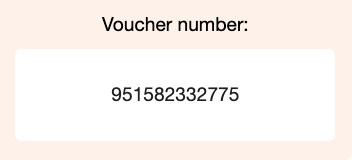
Barcode Number
Price
Price on reseller orders
VAT
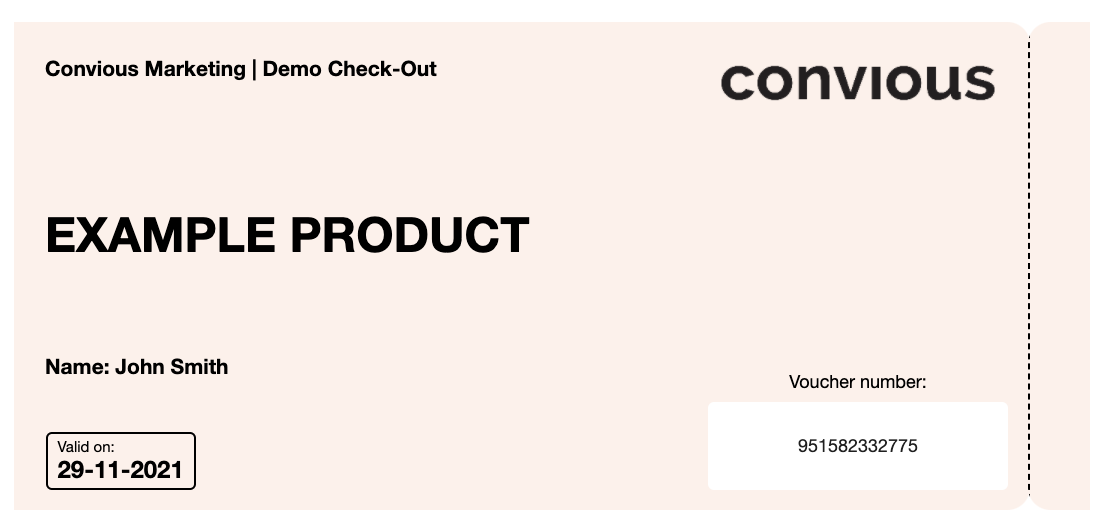
Full name (Either of the ticket holder or the buyer's full name - depending on whether it was collected in the APF).
Email (of the buyer)
Here you can decide what information is relevant for your gift voucher.
We prefer keeping it fairly simple, hiding what isn't relevant for the one who receives the gift voucher.
We like showing the receiver's name - but then you need to make sure your product is connected to an After Payment Form, which collects the Ticket holder name. Read more about setting up the APF here.
Please remember that you will see placeholders for all fields.
7. Once you have designed your gift voucher, you can download your pdf to see what the actual file will look like.

8. If you are happy with the way your gift voucher looks, hit save.
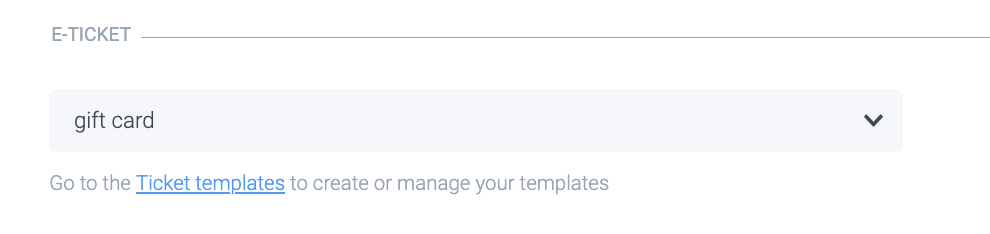
4. How to connect your template to the Gift Voucher product
Go to your gift voucher product and select your gift voucher template from the list.
Congrats! You created your first gift voucher.
5. Personal messages on Gift Vouchers
Overview
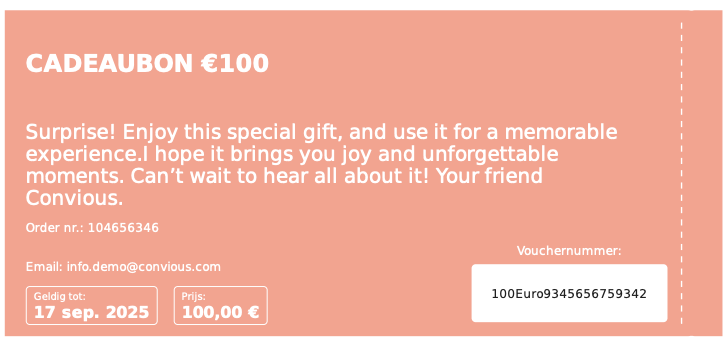
This manual provides detailed instructions on configuring the "Personalise your voucher" feature within the "After Payment Form" (APF) to enable customers to add a personal message to the gift cards they purchase. Additionally, it covers the creation and assignment of a "Gift card template" to the specific product.
Step 1: Configuration in APF
Access the "After Payment Form" (APF) in your Control Panel: Products -> APF Studio
Navigate to the Activate section within APF
Under Ticket holder fields, specifically, add a new field with the exact name Personalise your voucher.
Under Translations, add translations for the other languages.
We advise putting under 'Personalise your voucher' placeholder text a text like 'do not exceed 350 characters'. Because 350 characters is the maximum that is supported.
Assign this exact field name, Personalise your voucher, to the product for which you want customers to add a personal message
Save the changes
Step 2: Gift Voucher Template Creation
Create a new gift voucher template in your Control Panel: Engage -> Gift card templates
Customize the template to align with your branding and preferences
Save the template
Assign the created gift voucher template to the product(s) you configured with the exact field name Personalise your voucher
Step 3: Testing
Initiate testing before implementing the feature live
Make a test purchase of a gift voucher, including a personal message, using a designated test product/flow
Verify that the personal message appears correctly on the gift voucher
Ensure that the message does not exceed 350 characters, as it won't fit on the gift voucher
Additional Notes
Include a brief instructional message under the Personalise your voucher placeholder text, suggesting a maximum of 350 characters for the personal message
Remind users that only the exact wording Personalise your voucher should be used for the field name to ensure proper functionality
Clarify that the Personalise your voucher feature can be configured for one or multiple products based on your venues' needs
🎉 DONE!