Your e-tickets are not just a digital means of giving permission to enter your venue. To your customers, they are the true beginning of what they hope will be an unforgettable experience. Thus, they are a crucial touch-point in the Customer Journey.
This is why you can now create and edit your tickets so you can not only ensure they are up to date with the newest information, but you can also add brand-new and special offers with a great ticket easily via your Control Panel.
Create your e-ticket
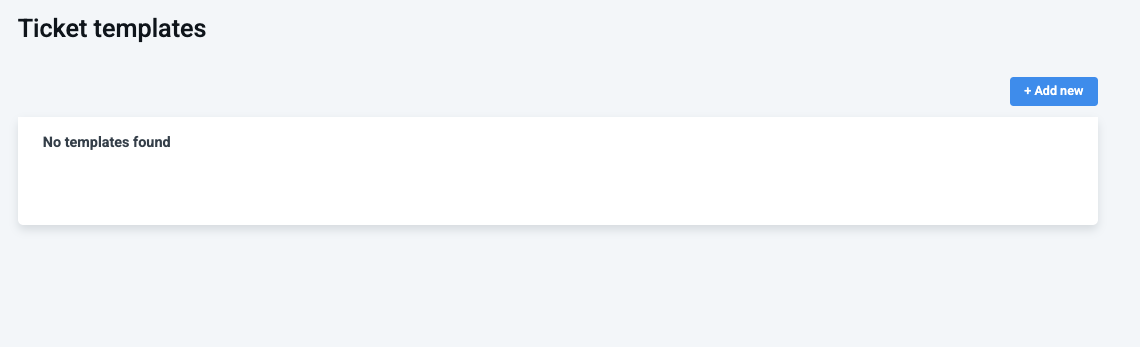
1. Navigate to Ticket Templates within the Engage section in the main menu.
If you do not have any tickets yet, then this page will not show you any.
In most cases, if you are an existing partner, one of our experts has already set up those of your previous tickets for you that are still current.
If you are a new partner, one of our experts has also already done the basic setup for the most prominent and agreed-upon tickets during your onboarding process.
Whether you set up a new ticket or edit an existing one, the style process is the same.
2. a) If you already have existing Tickets and you want to set up a new ticket to add to a new product you will be offering, you will click on Add new.
2. b) If you want to edit an existing ticket template, you select your ticket and click on Edit.
In both cases, you are navigated to the Convious Studio.
For demonstration purposes, we will add a template.
3. First, you will need to set a name & hit Save.
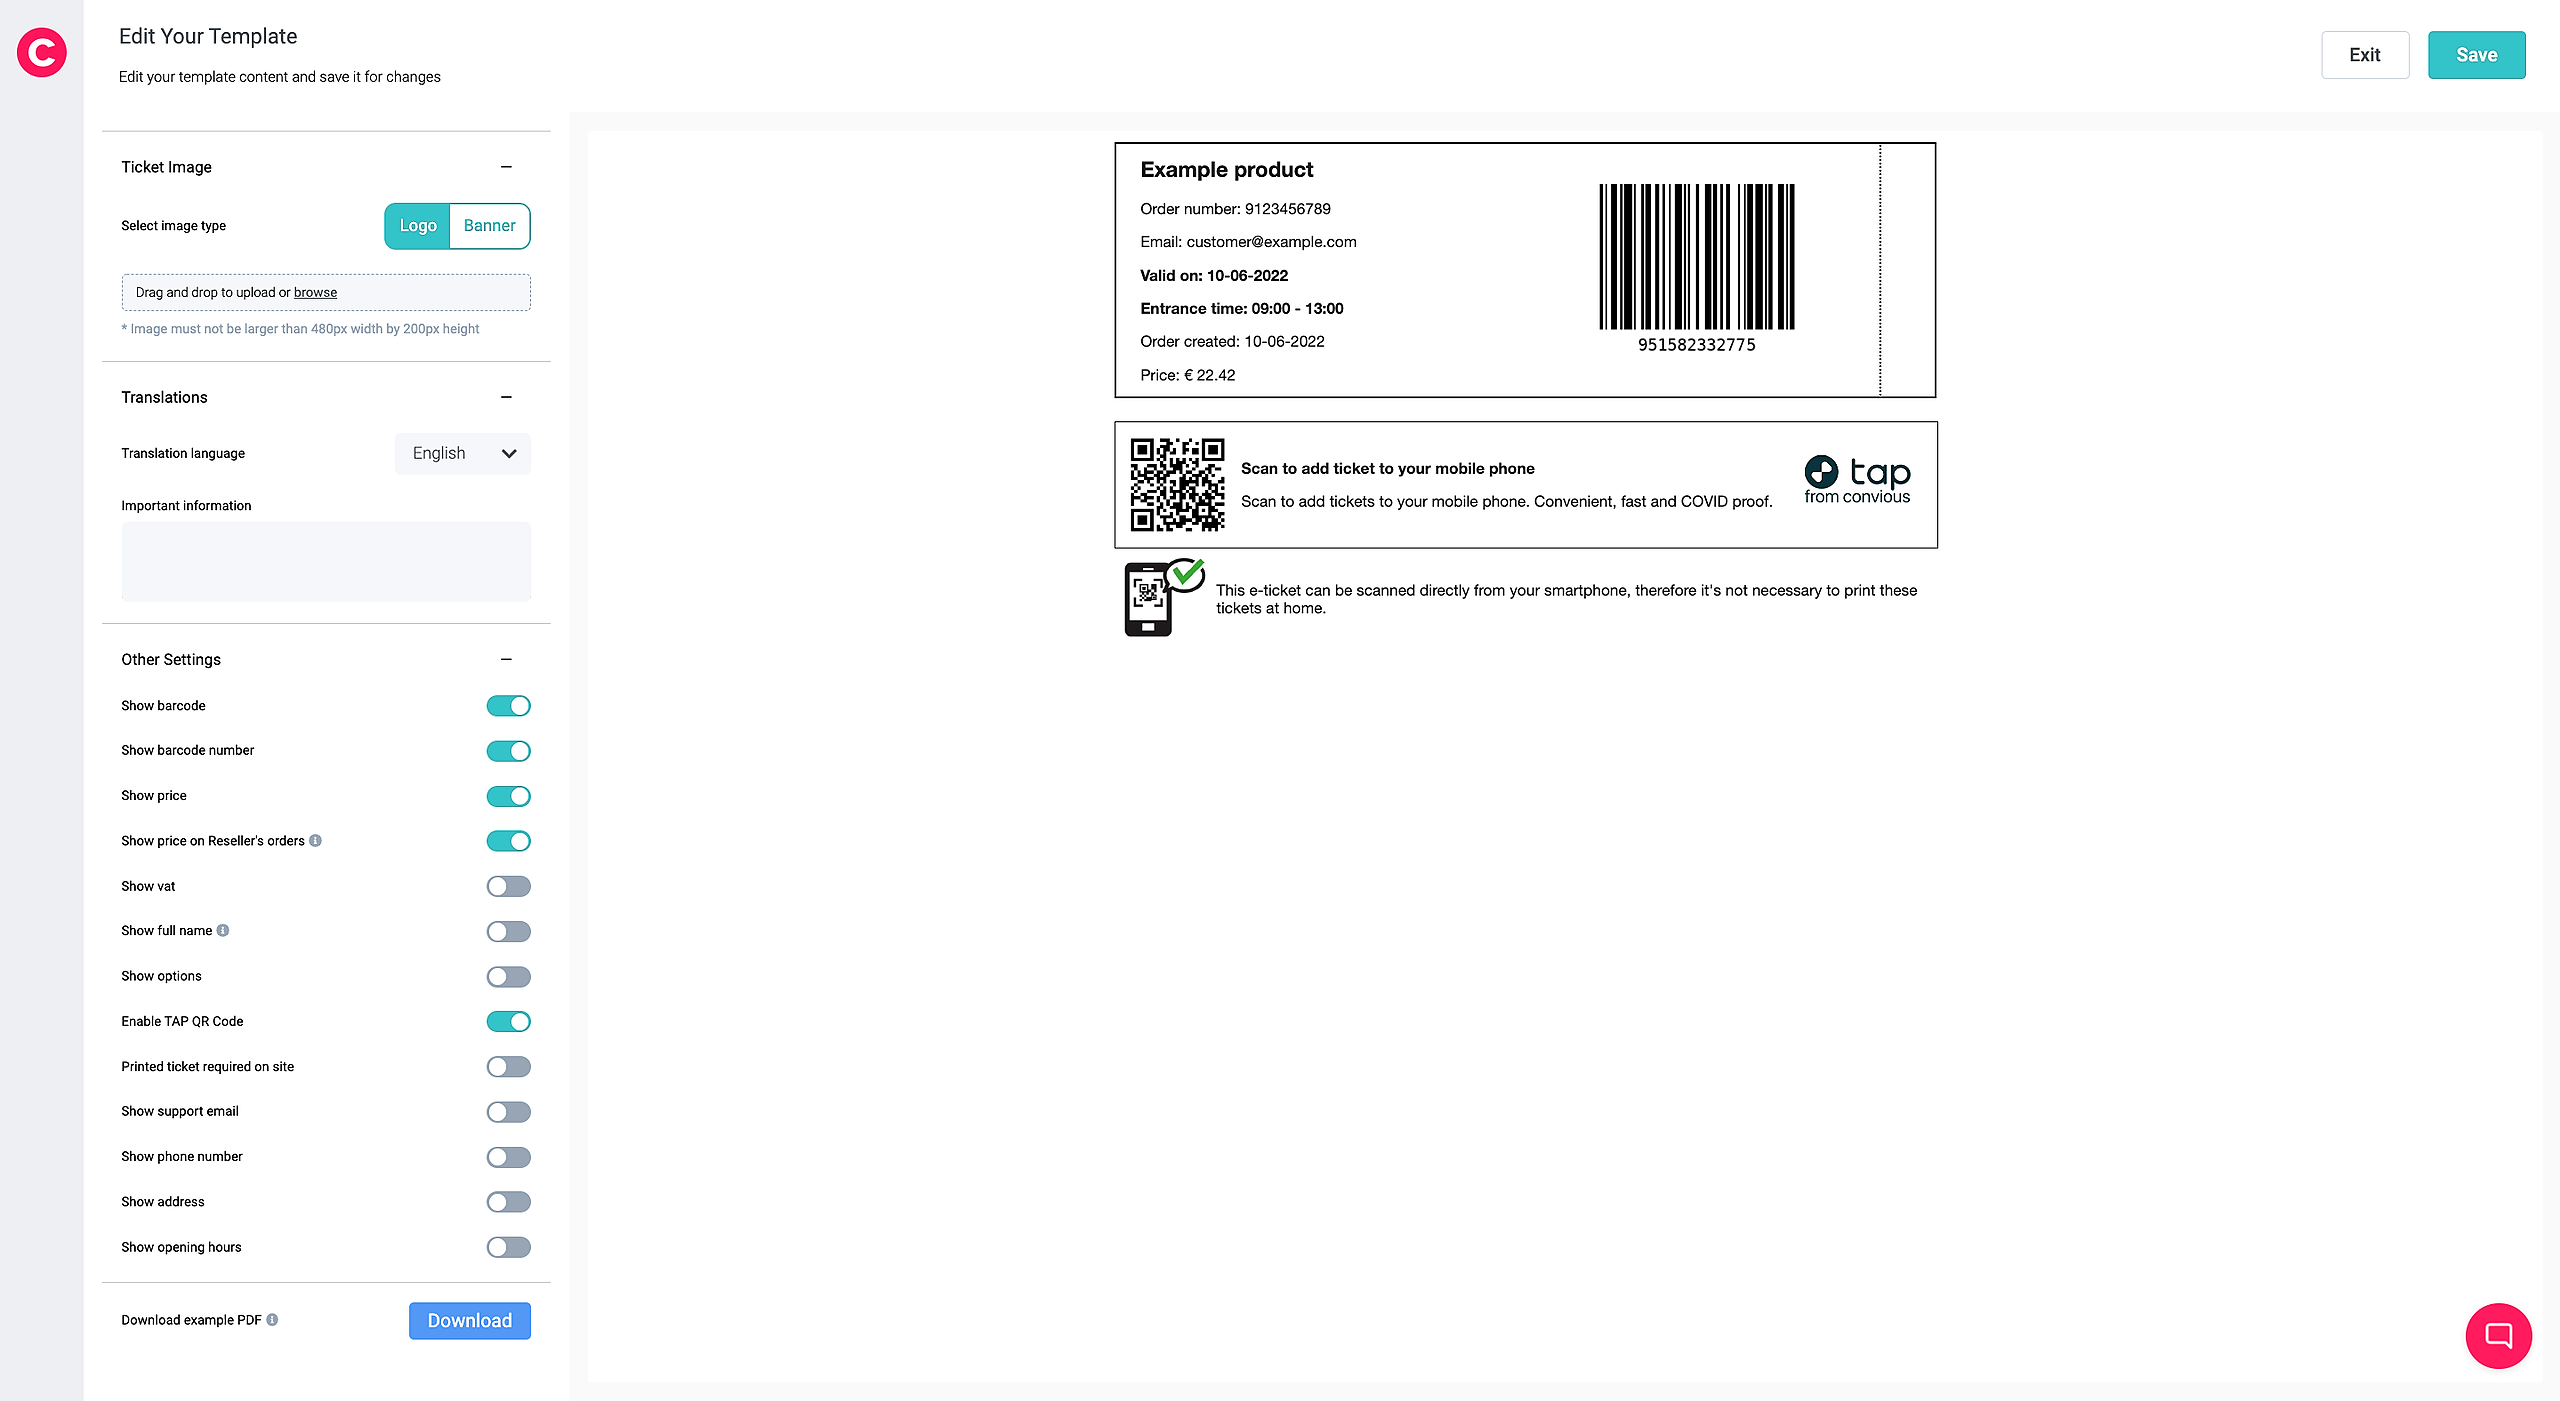
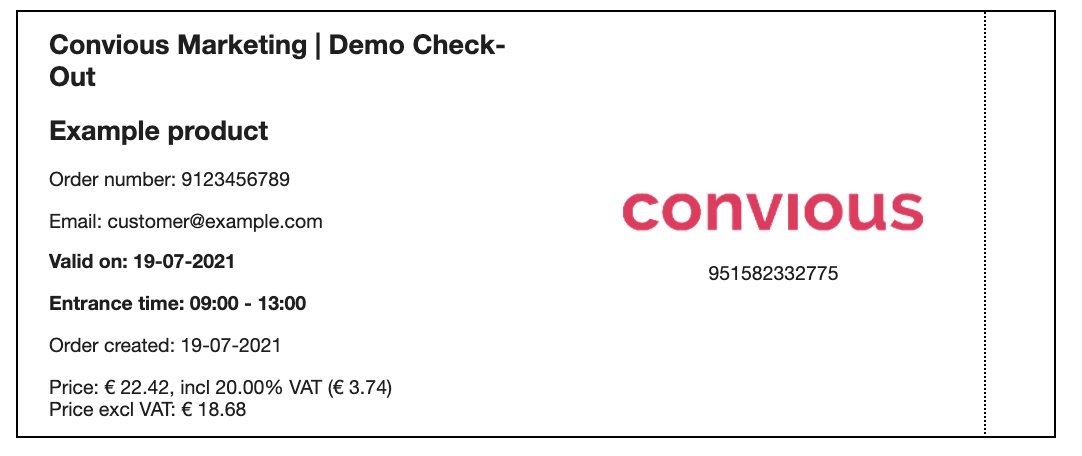
Now you can see the basic template with the default settings ready to be customized by you!
By default, your ticket will show the order number, the customer's email, the ticket's validity, the time slot (entrance time), and the date when the order was placed.
⚠️ Please note, that the validity date is going to be adjusted according to the product your ticket is connected to.

If the product is dated, It will show "Valid on" and, if you are using time slots, the time slot.
If the product is undated, it will show "Valid to."
This means the preview does not represent the real value that's going to be displayed, and there is no need to configure different templates for undated or dated tickets unless you want to change the "Important information" on the different ticket types.
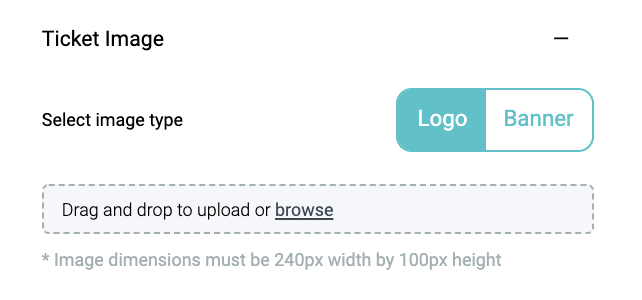
4. Upload a Ticket Image - you can choose between either uploading your logo or a banner instead. Please be aware of the image dimensions as they differ depending on the choice you make.
If it is a special ticket, maybe a banner is a nice way to customize it!
Any changes you will make will immediately reflect on the screen to your right.
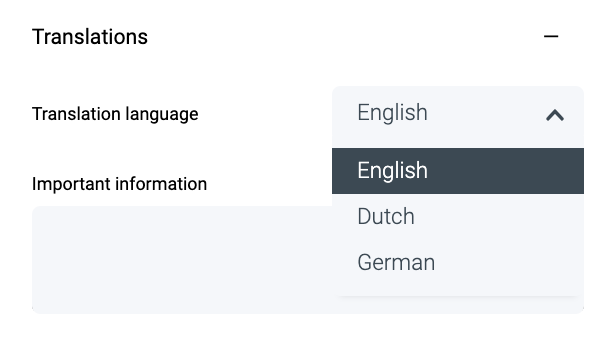
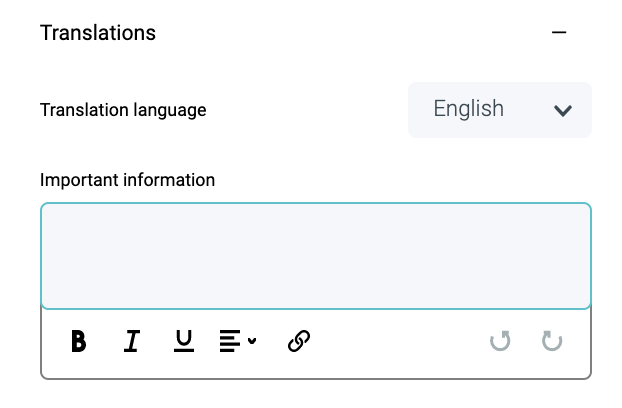
5. Next up, add the information you want to have on your tickets and ALL translations.
On your ticket, it will show below the two default boxes you can already see.
If you have your ticket shop in multiple languages, you will need to click on the language and choose them to, step by step, add the translations in the information box.

💡 We highly recommend putting only the necessary information on your tickets to keep them clean and simple for multiple reasons:
If the ticket text is too crowded people will most likely not read all the information, and then the most important instructions might get lost.
Tickets with too much text are rather unpleasing - aesthetically.
Tickets can not and should not exceed one A4 page; thus, there is a max. character limit.
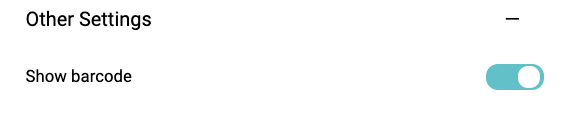
Other Settings
Next up, you can enable or disable certain properties and thus, information to be displayed on your e-tickets.
6. Do you need to show a barcode on your tickets? Make sure it is enabled by having the toggle to the right.
If you do not need barcodes on your e-tickets move the toggle to the left. You will see the barcode disappear in your preview. In its place, you can now see, if uploaded, the logo.
Please note that removing barcodes should be treaded lightly, as, for many venues, they are vital for admission. Before you disable them, please check with your administration.
7. The same counts for the barcode number. If you want the barcode number to be displayed on your e-tickets, make sure it is enabled by having the toggle to the right.
If you do not need the barcode number on your e-tickets, move the toggle to the left. You will see it disappear in your preview.
8. Now you can decide whether you want to show your prices on your Tickets. Do you want to communicate and reassure your customers of the value of your tickets? It is up to you and your local law to decide on this display.
Here as well, to enable the price display, make sure the toggle is to the right and vice versa to disable it.
9. How about your reseller price? If you are using the Convious Reseller Module and are working with several resellers, maybe your prices vary. Once again, it is entirely up to you and your policies on whether you want or need to display this price variance to your visitors.
To enable the price display, make sure the toggle is to the right and vice versa to disable it.
Be aware: If you decide to hide the general price, you can also not display reseller prices.
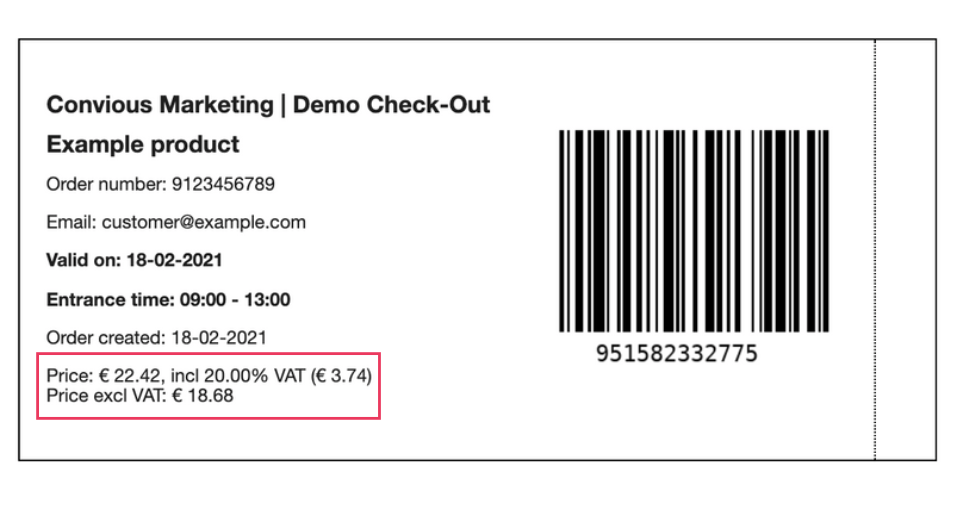
10. Do you want or need to show your Value Added Tax for this product?
Move the toggle to the right if the answer is yes. You will see the price section on your e-ticket will now display the VAT %, the VAT price, and the price excluding VAT.
If the answer is no, then you leave the toggle to the left, and your price will show inclusive VAT without breaking it down.


11. After the VAT, you can also enable to show the full name of your customer to personalise your tickets further. This field is connected to your After Payment Form and will show the ticket holder's name entered. If you do not ask for the ticket holder's name in your APF, but only for the buyer's name, then the buyer's name will be displayed instead.
12. Does your customer need to bring printed tickets for entry? If the answer is no, leave the toggle to the left.
This toggle enables the following to show on your tickets:
If the answer is yes and your visitor needs to bring printed tickets, move the toggle to the right. You will see that the e-ticket scan display on the ticket will disappear.
13. Do you want to show your support email, your phone number, your address, and your opening hours on your e-ticket?


You can enable each component via separate toggles:

14. In case you want to see what your e-ticket looks like as a downloaded PDF, hit Download at the bottom to download an example (with placeholder data).
15. If your ticket is as you like it - give it a last double-check & hit Save!
Now you will see your ticket on your ticket template save. You can see what products it is connected to and edit it at all times.


🎉 DONE!
Connect a new ticket to a product
In our example above, we created a new ticket. Therefore, it is not yet connected to any product.
This is how you can connect your ticket to the right product:
1. Navigate to your Products page.
2. Choose the product you want to connect with the ticket you have created or create a new product. In case you need to recap on how to create a new product, here is a full guide.
3. Scroll down to the e-ticket section and choose your template.
4. Hit Save to make sure your template will be connected.
🎉 DONE!