Overview
Discount codes can be a powerful tool in your marketing strategy, helping to acquire new visitors and encouraging new purchases with a higher cart value.
In the following sections, we will show how to add discount codes directly from the Control Panel.
1. How to create discounts
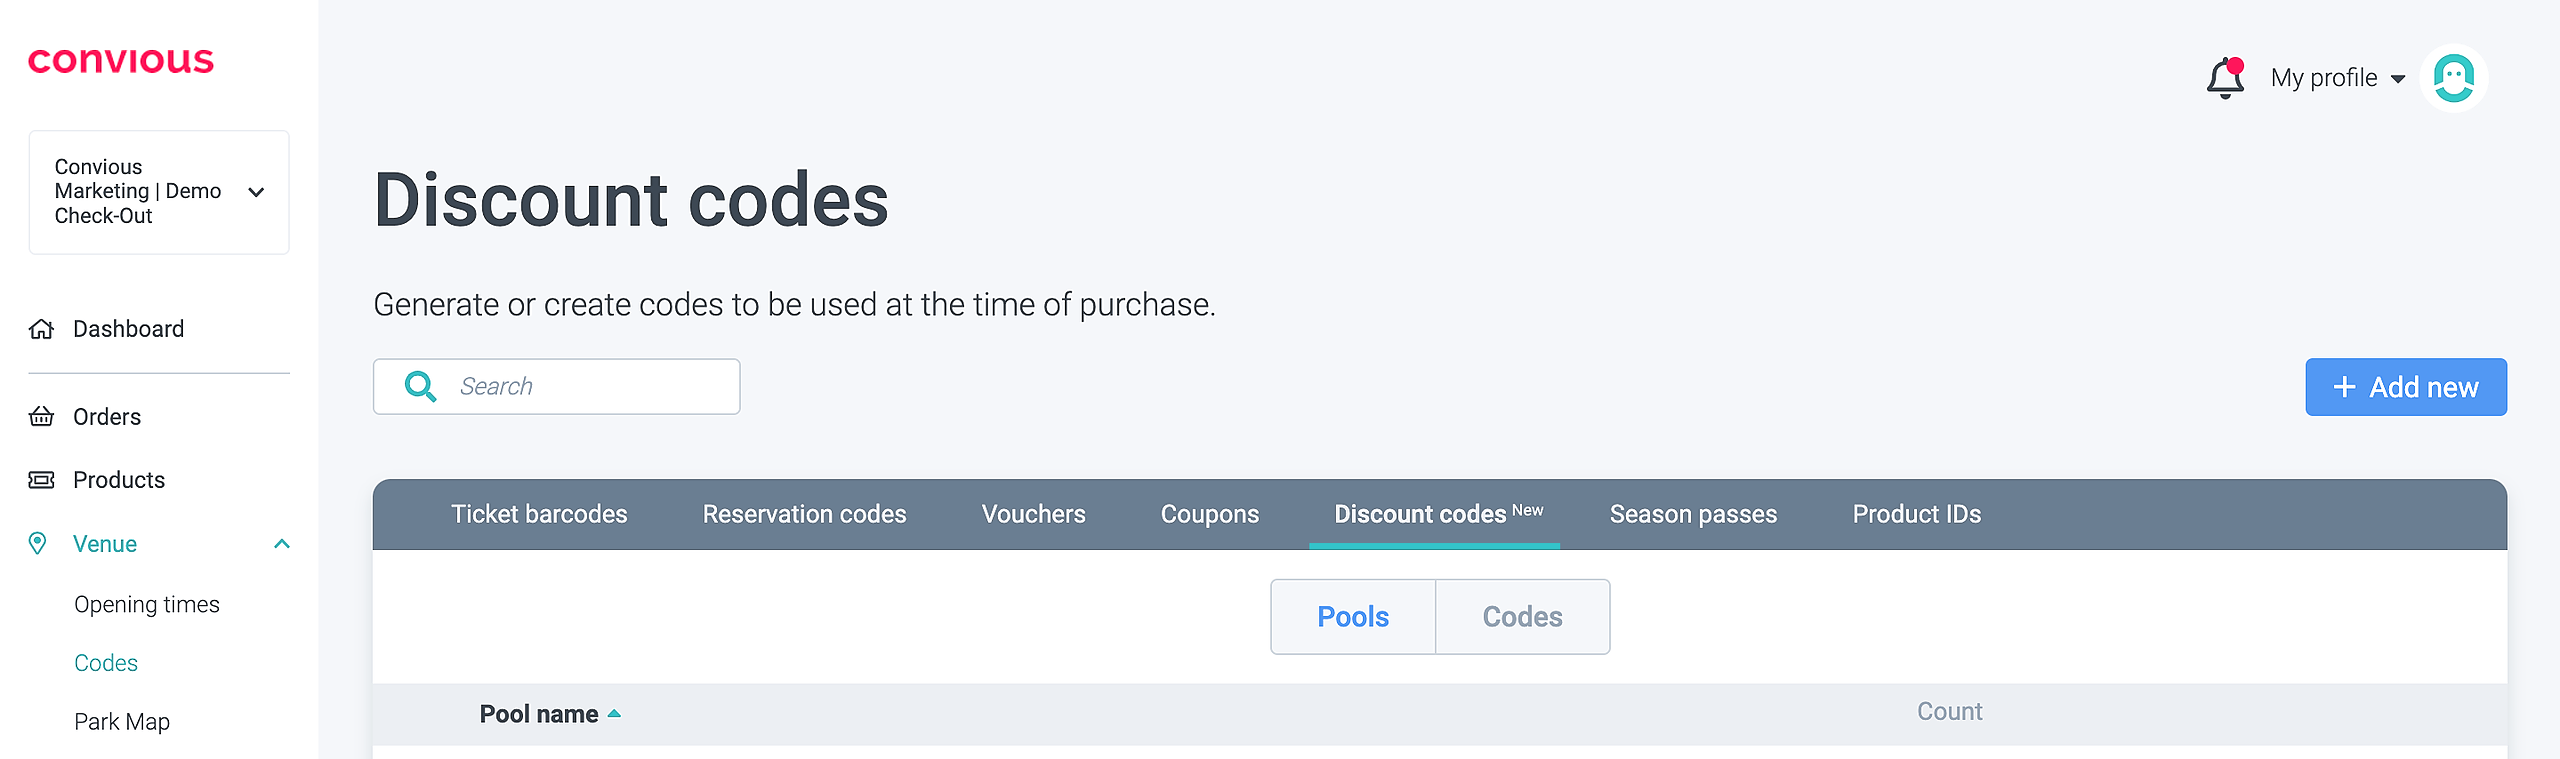
1.1 Navigate to the Discount Codes
Click on Venue --> Codes --> Discount codes.
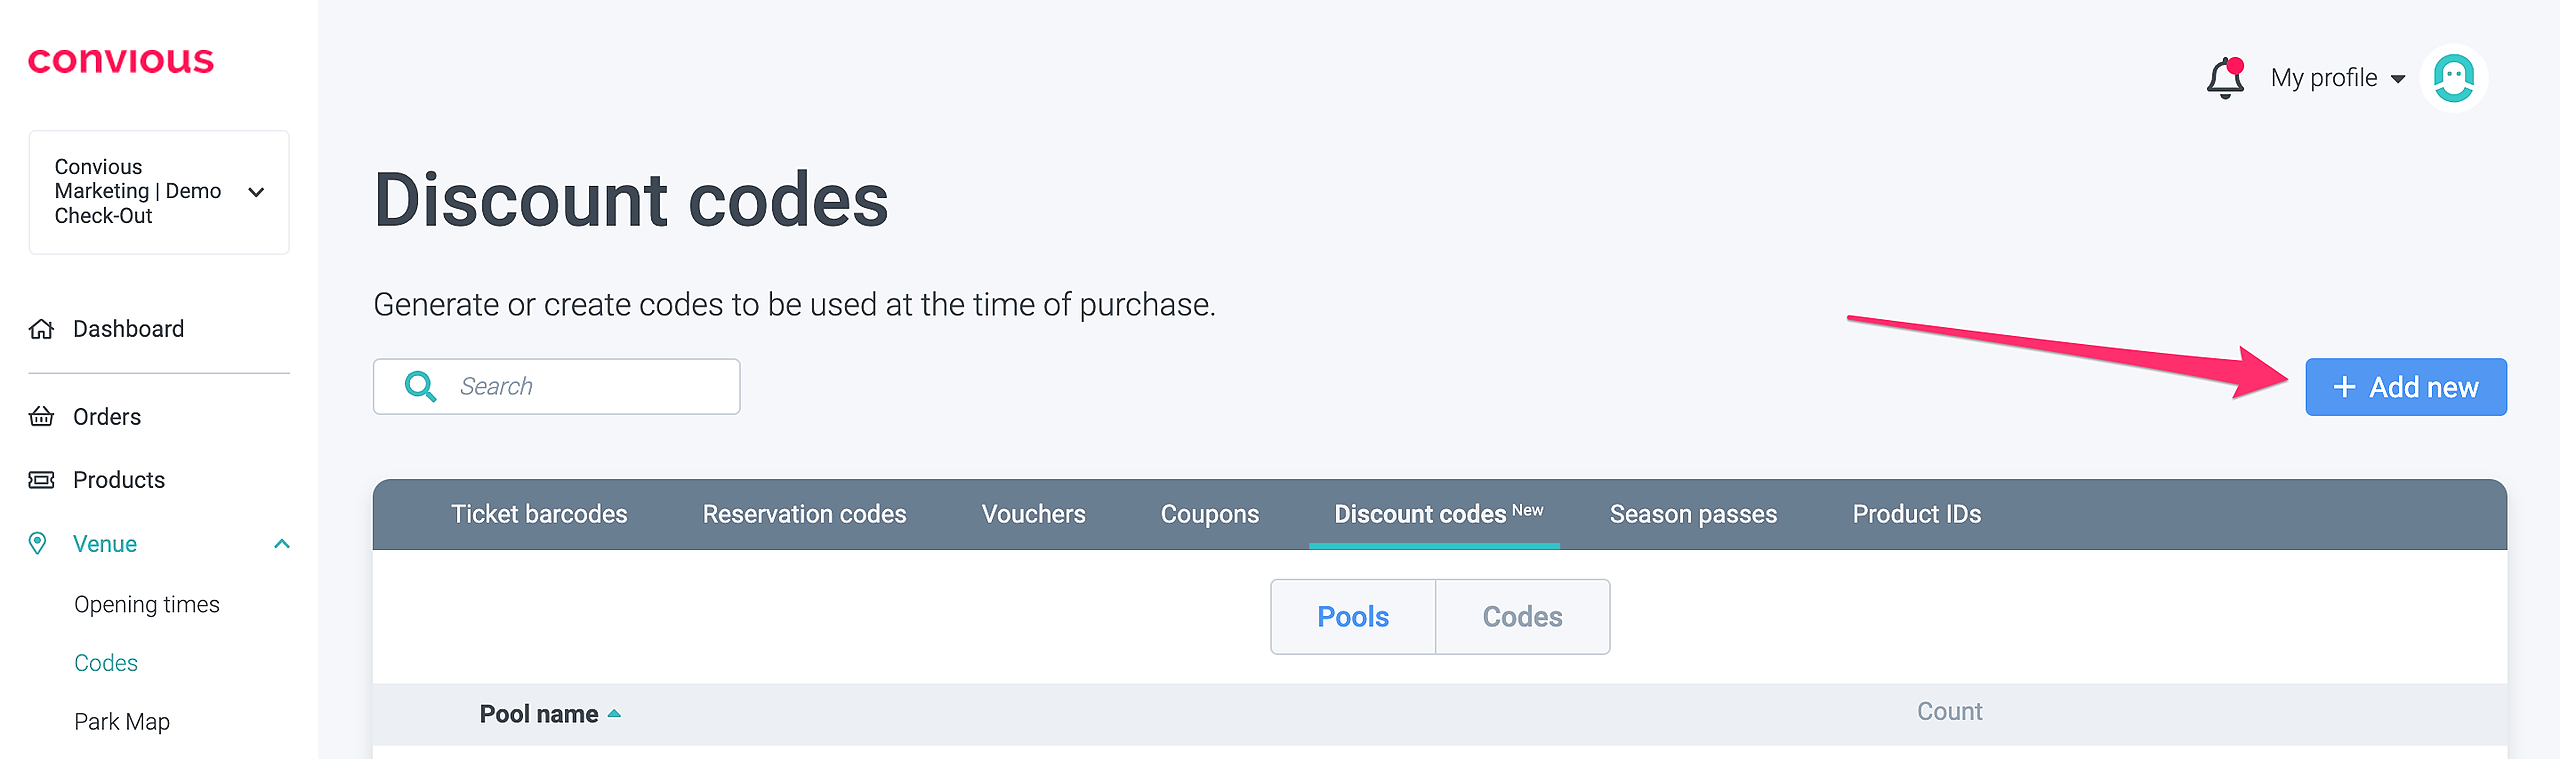
1.2 Create a Discount Code Pool
The Discount Code Pool will contain your discount codes. It can be created for a specific campaign, for example, "Xmas campaign 2022".
Click on "Add new".
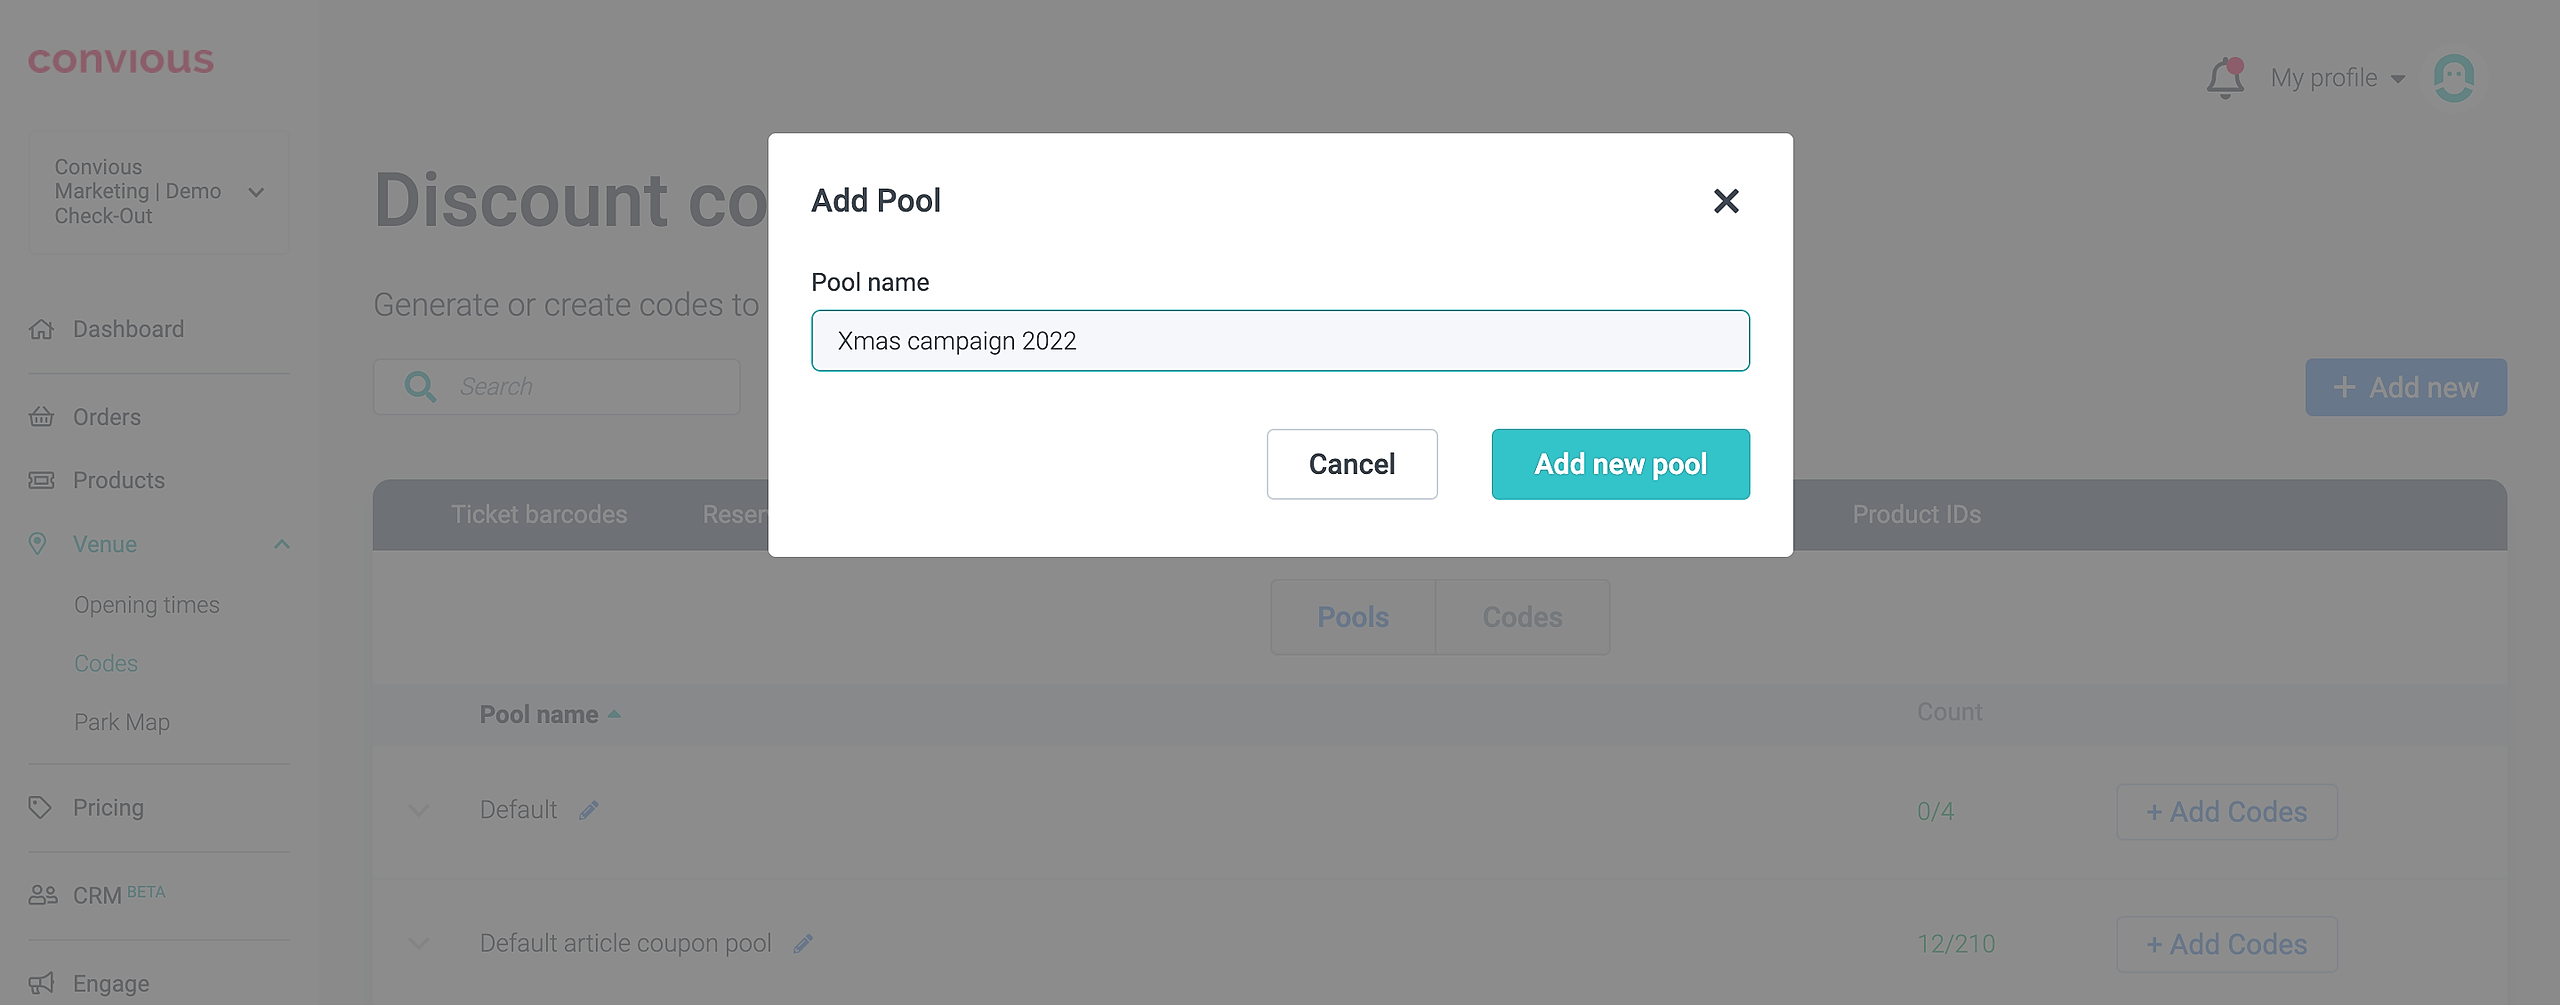
Enter the name of the pool and click on "Add new pool".
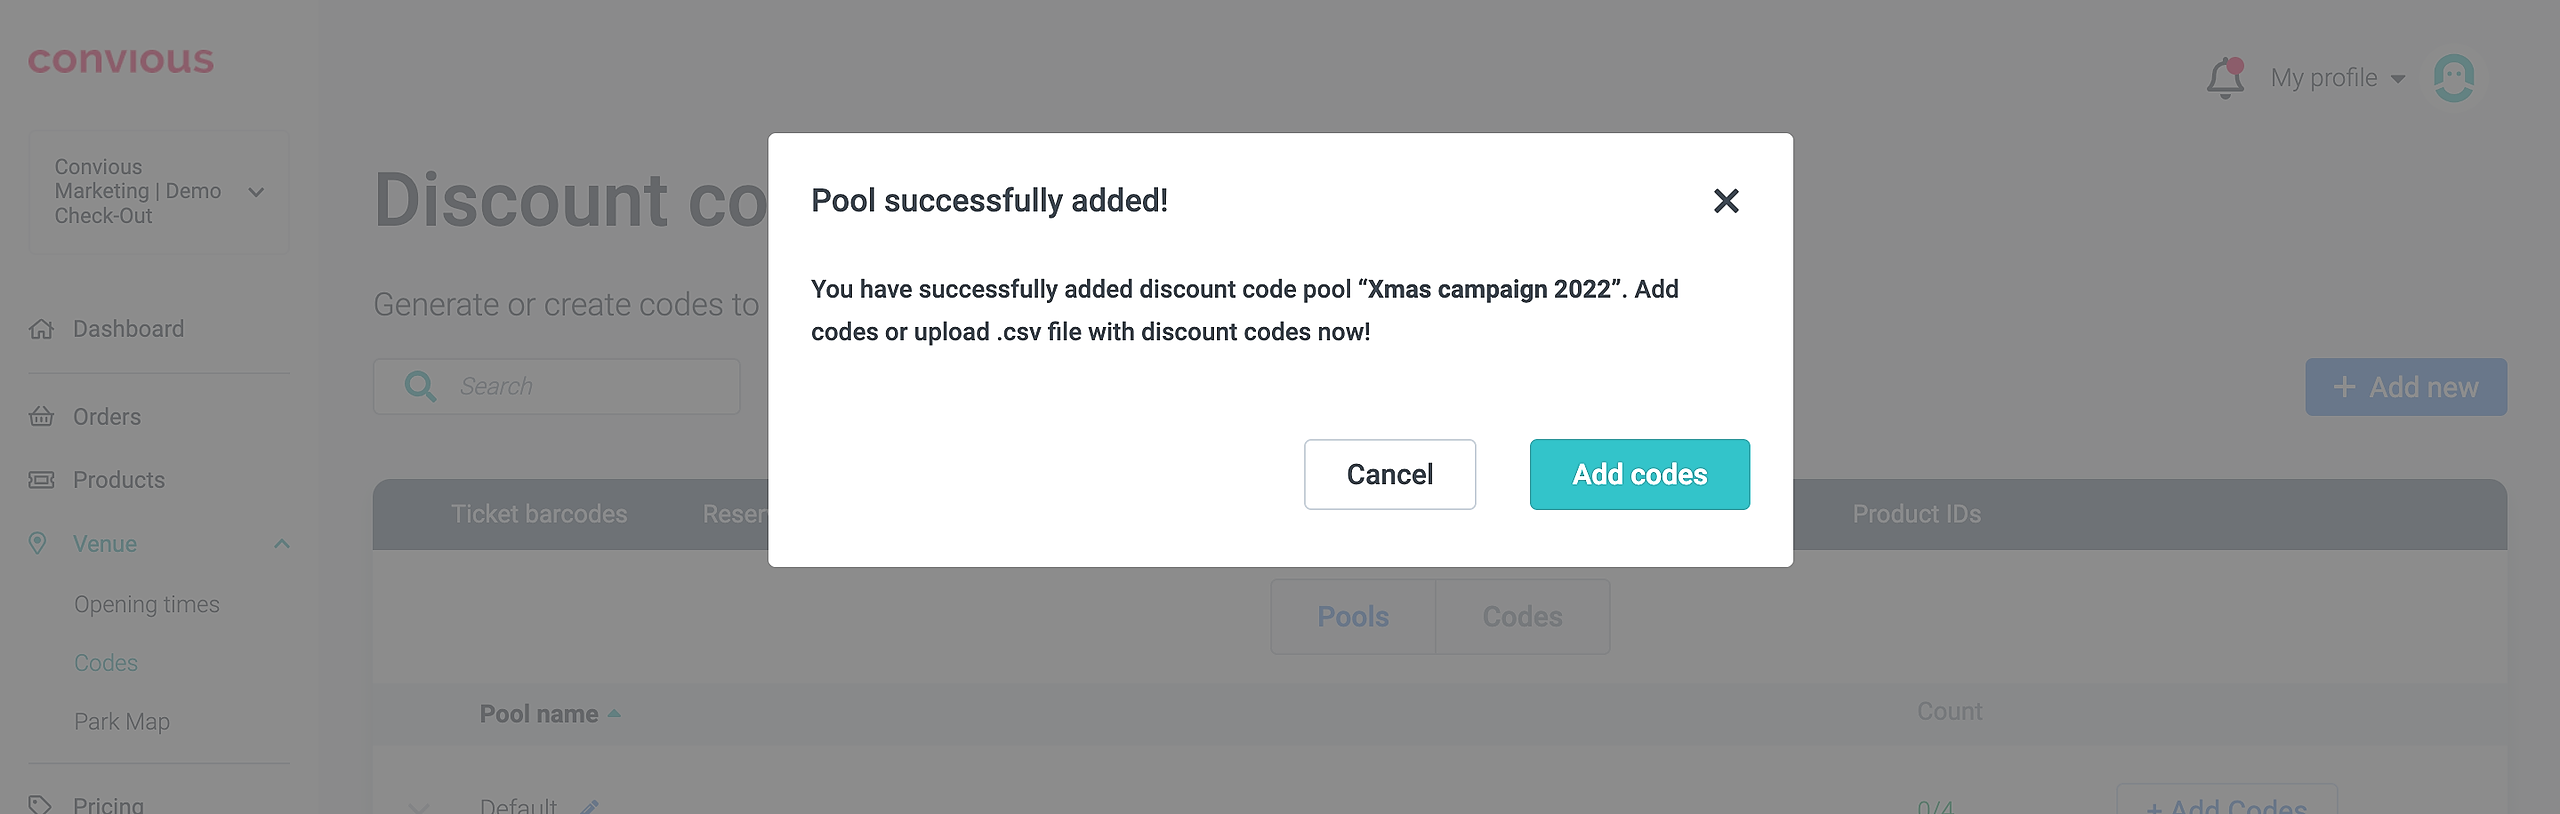
1.3 Add or upload Discount Codes
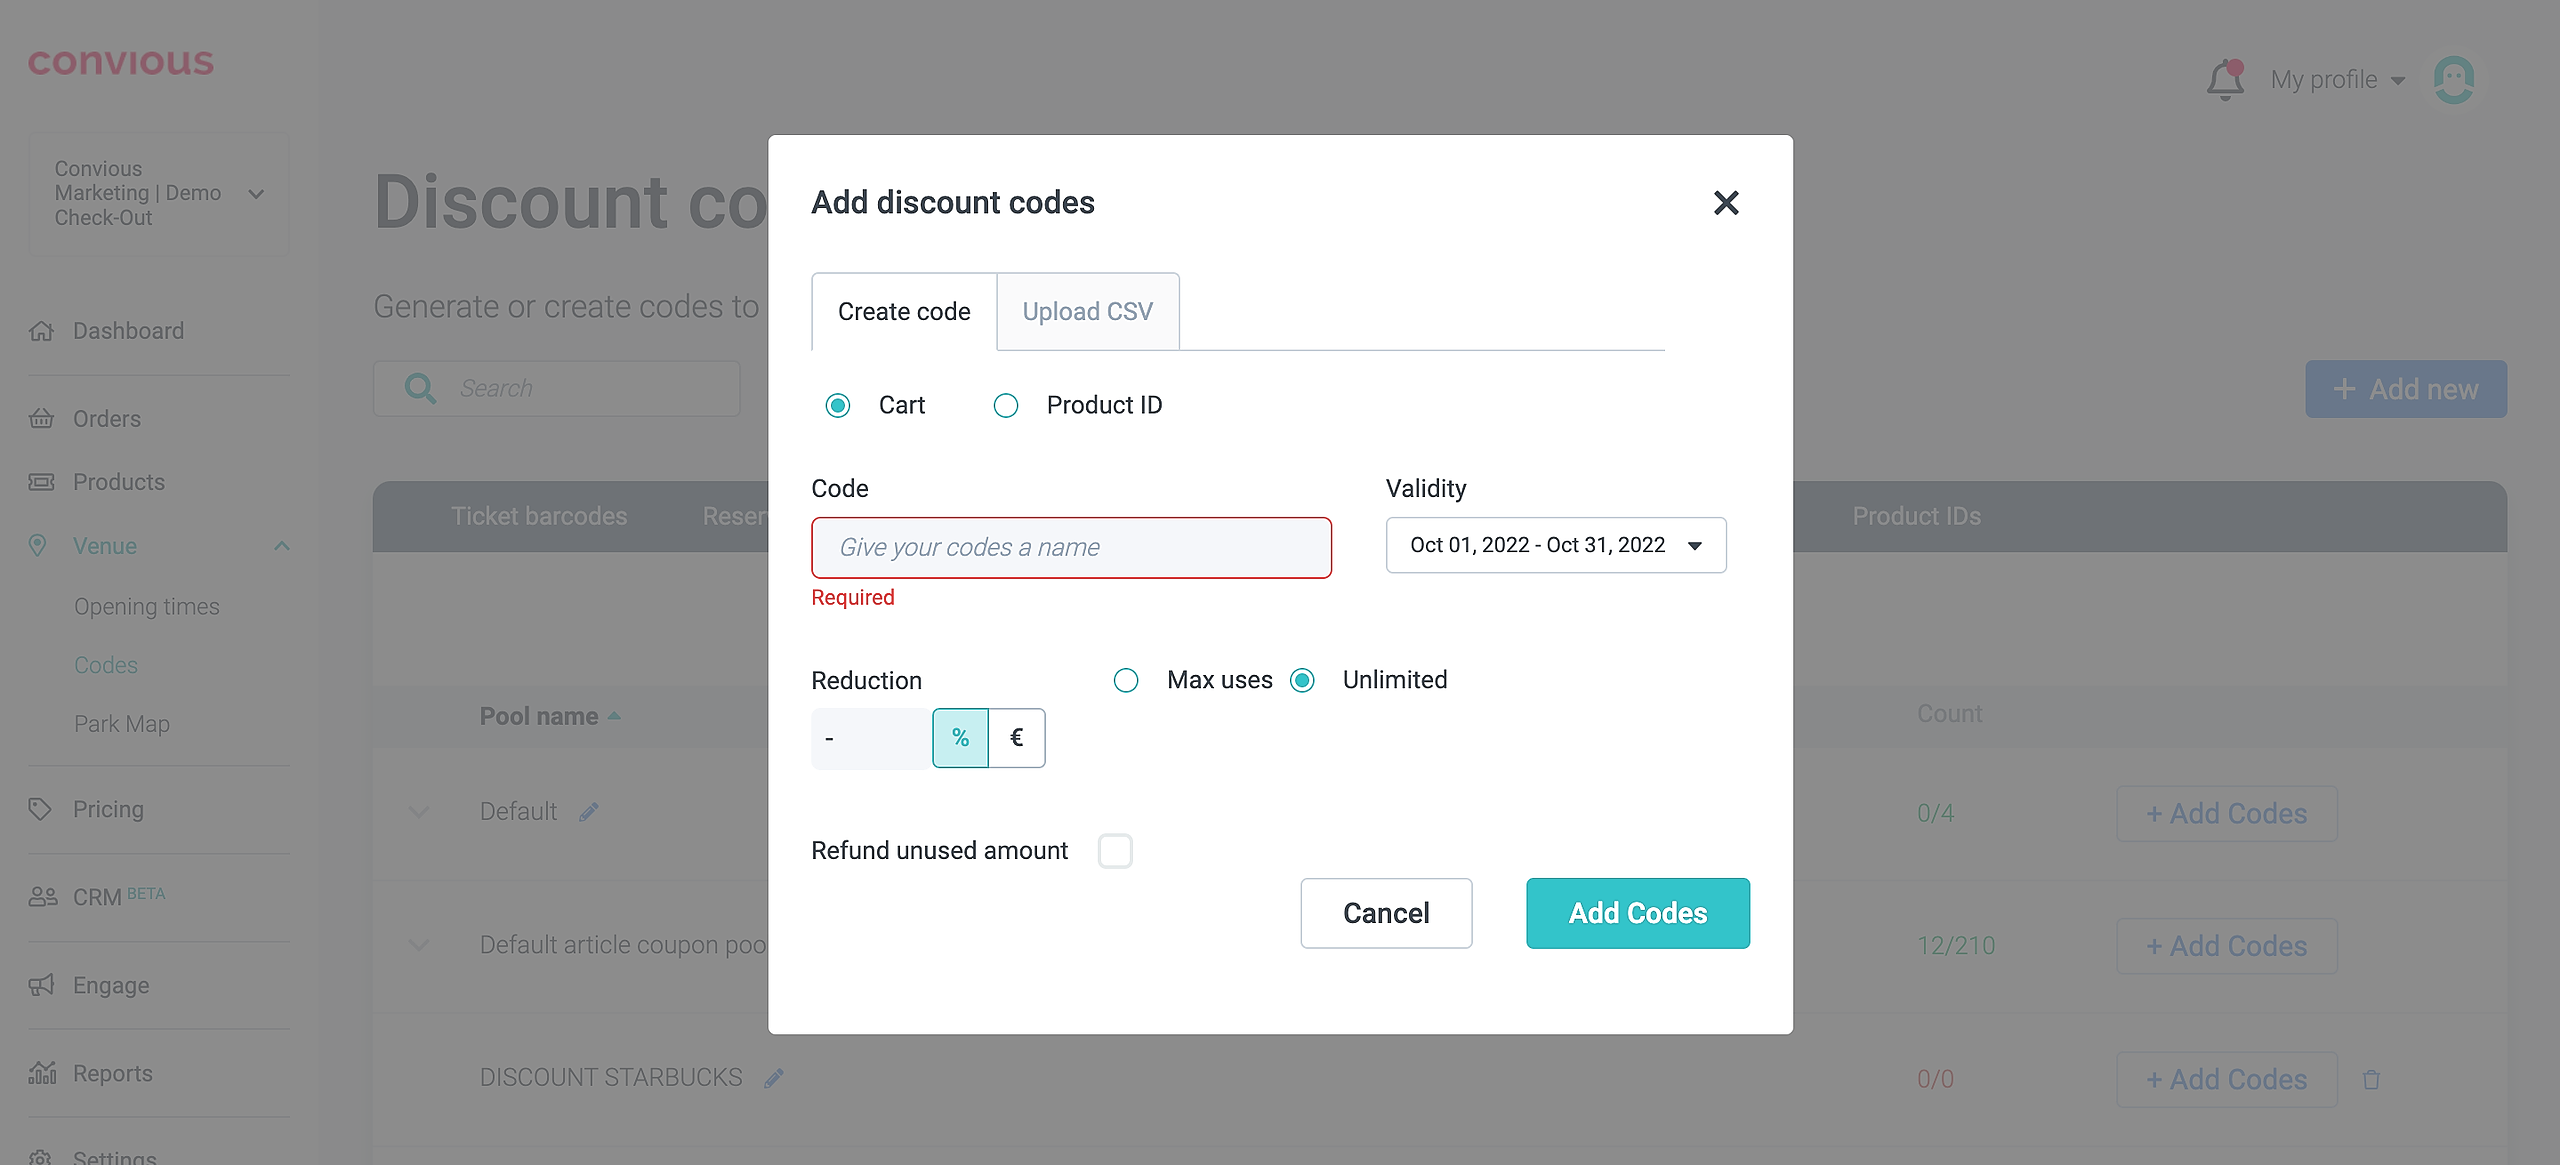
Click on "Add Codes".
You can choose to either create an individual code manually or upload a CSV file. If you would like to upload multiple codes, we advise using the CSV file option.
2. Create an individual code
Select "Create code".
Choose "Cart" for a cart-based discount (= coupon) and "Product ID" for a product-based discount (= voucher). Cart (= coupon)
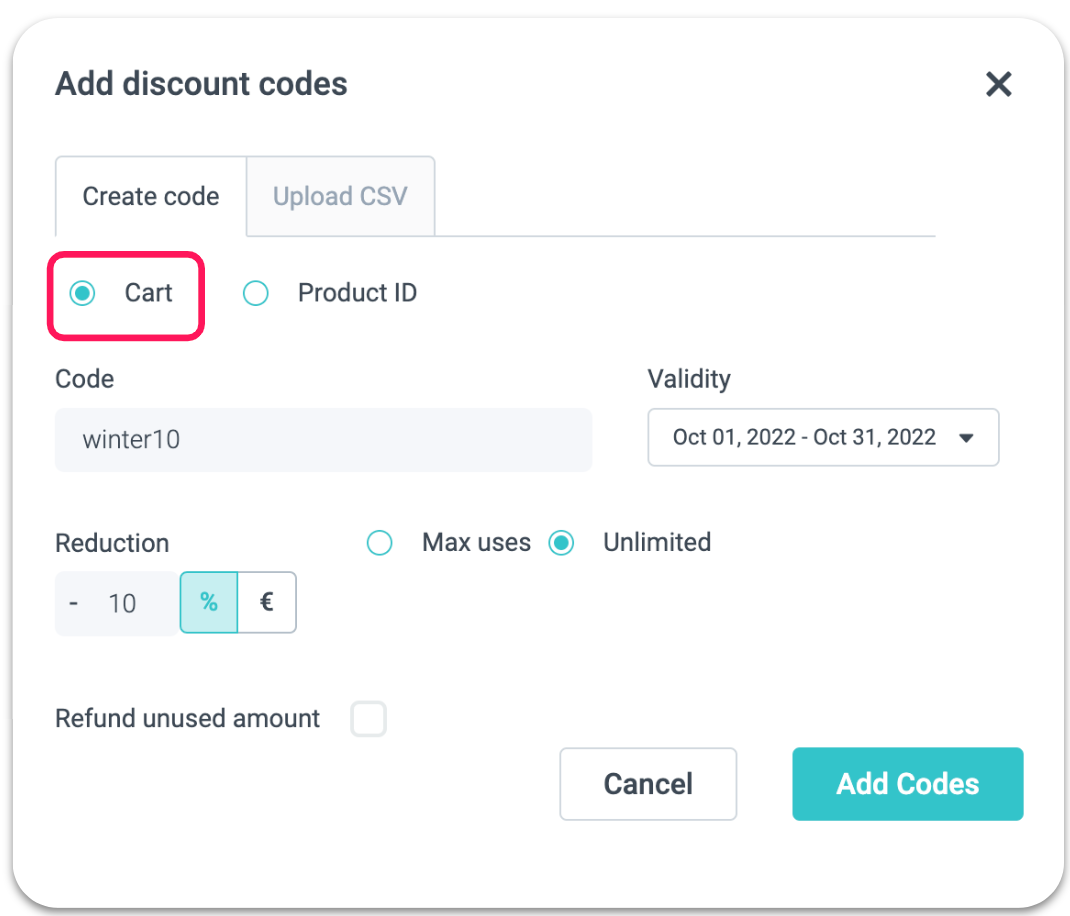
Add the name of the code under "Code". It can be any combination of numbers and letters of at least 4 characters.
Select your validity period under "Validity". You can choose under one of the preselected periods (e.g. this month) or choose your custom period. Note! By default, the validity period is the same as the visit date restriction period. If you would like to use a different visit date restriction period, you can do so via CSV file.
Under "Reduction" select "%" for percent-based reduction and "€" for flat-based reduction.
Select if the code will have limited usage under "Max uses" or choose "Unlimited".
Click on "Refund unused amount" if you would like to allow customers to use the outstanding amount in the next purchase. This is normally applicable only for coupons that are used as gift cards.
Click "Add Codes".
Product ID (= voucher)
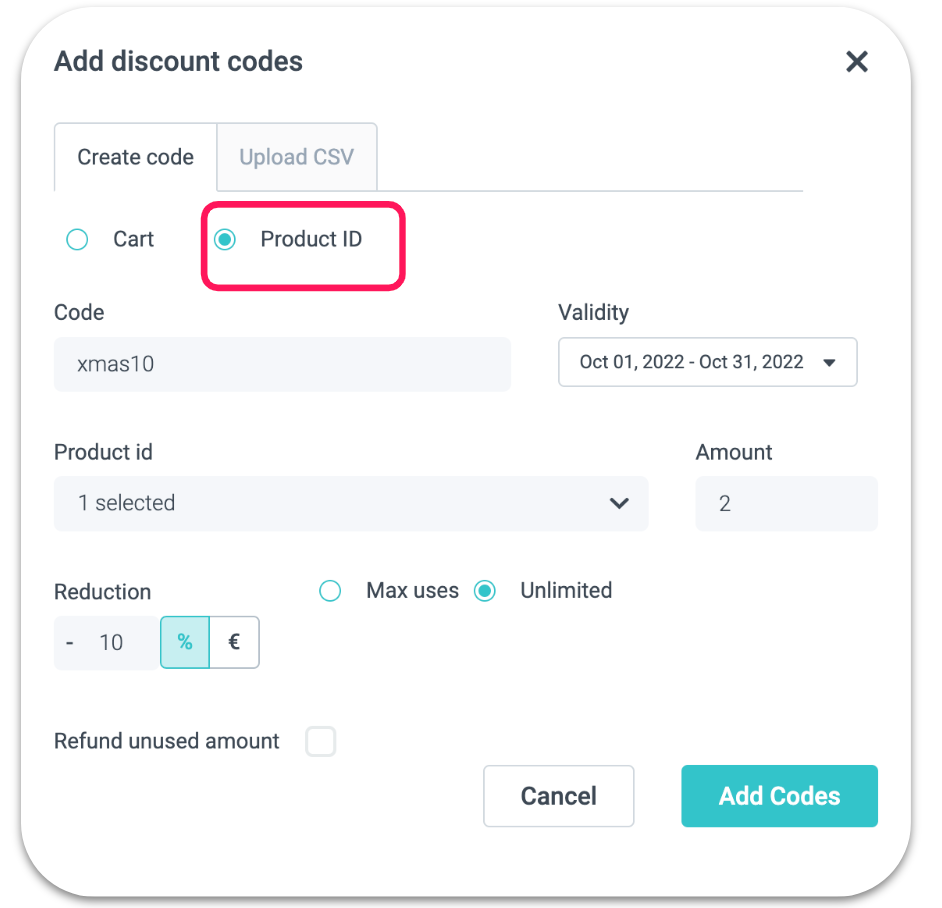
Add the name of the code under "Code". It can be any combination of numbers and letters of at least 4 characters.
Select your validity period under "Validity". You can choose under one of the preselected periods (e.g. this month) or choose your custom period. Note! By default, the validity period is the same as the visit date restriction period. If you would like to use a different visit date restriction period, you can do so via CSV file.
Under "Product id" select the products to which this discount is going to be applied. You can select one or multiple products. Add "amount" if you would like to limit the number of products to which this discount can be applied.
Under "Reduction" select "%" for a percent-based reduction and "€" for a flat rate reduction.
Select if the code will have limited usage under "Max uses" or choose "Unlimited".
Click on "Refund unused amount" if you would like to allow customers to use the outstanding amount in the next purchase. This is normally applicable only for coupons that are used as gift cards.
Click "Add Codes".
3. How to find the created code?
Once the code is added, you can search for it in the search bar. You need to select in the search bar on which field you want to search: Code, Product ID, Order Number, Pool Name or Validity date. Enter in the left search field the key and click on Search and te results will be shown. You will be able to see if it's a cart-based discount code or voucher, its validity, redemption count (if applicable), value, and Order IDs where this code has been used.
4. Upload multiple codes via CSV
Click on "Upload CSV". Here you can upload your file in CSV format.
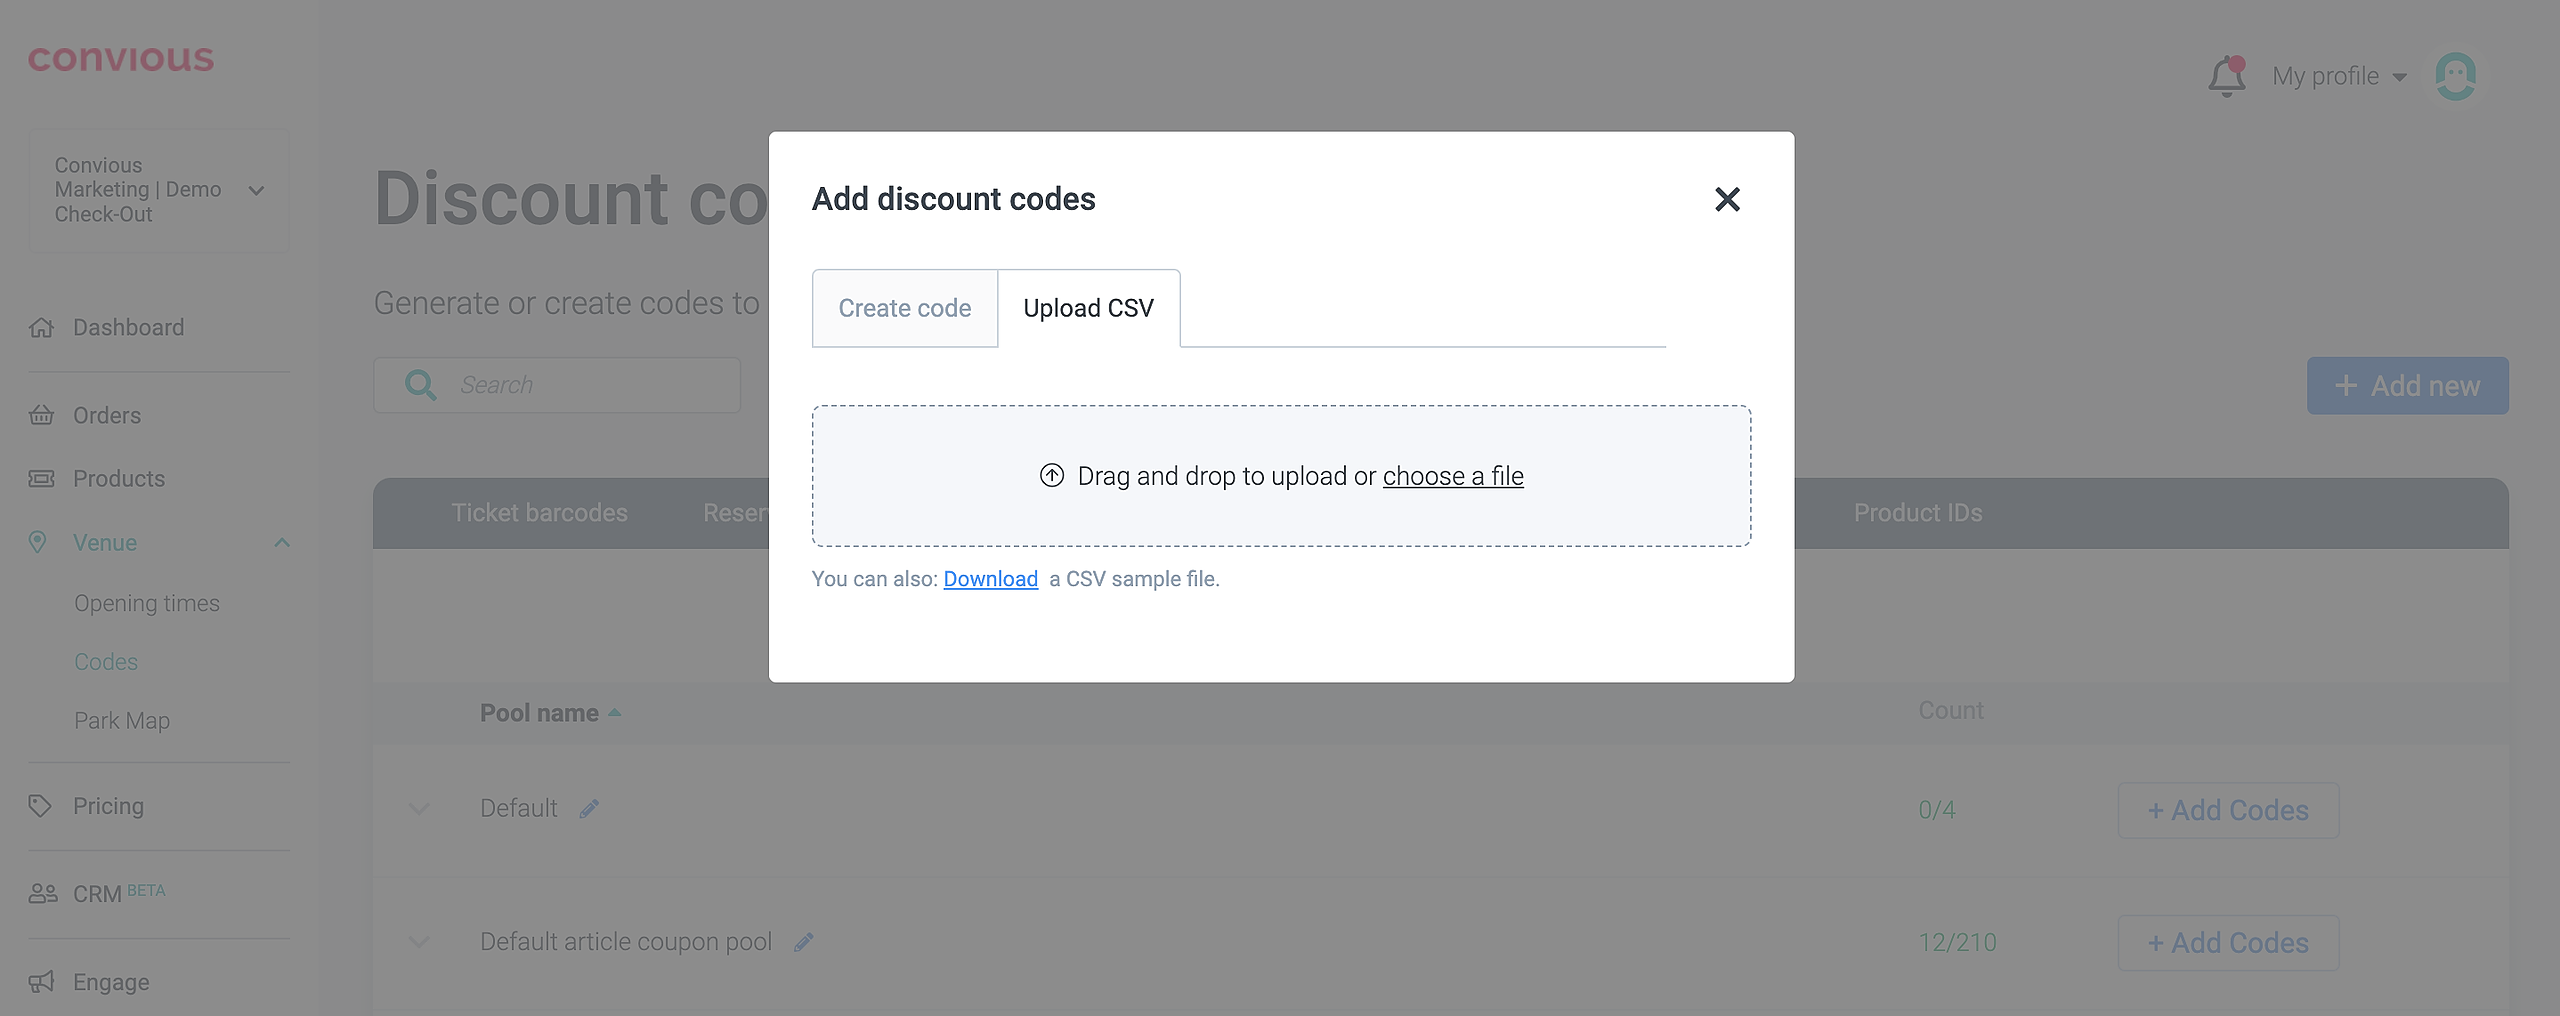
Vouchers should be stored in a CSV formatted file. Here are the guidelines for making a csv file:
Fields should be separated by a comma
Every record should be stored in a separate line
The first line of the file, must be a header line with a list of column names in the file
Make sure the header list is delimited the same way as the rest of the file
Make sure your file is encoded in UTF-8 format
The file should have the following header line:
code,valid_from,valid_to,percent_reduction,flat_reduction,article_id,amount,max_uses,remainder_usable,validity_period_from,validity_period_to
code Can be any combination of numbers and letters of at least 4 characters
valid_from in YYYY-MM-DD format
valid_to in YYYY-MM-DD format
percent_reduction without the % sign as in 50 = 50%, 100 = 100%
flat_reduction without a currency and please use a point for fractions
article_id list of product IDs separated by | (pipe). Product IDs can be found under Venue --> Codes --> Product IDs.
amount This indicates how many products the code can be applied to in the cart. For example, if you have 5 products in the cart but the amount is 1, only one of the products will be discounted. For unlimited (all) articles in the cart, you can write 99.
max_uses Max redemptions attempt allowed, leave empty for unlimited.
remainder_usable Put a 1 if you want the remainder of the voucher to be usable and a 0 if it should not be usable. The new remainder voucher will be part of the ticket download.
Be aware: To enable remainder_usable, the voucher must be limited-use (max_uses > 1). Additionally, remainder_usable only works with flat reductions and not with percent reductions. This is applicable for coupons that are used as gift cards.
validity_period_from in YYYY-MM-DD format, defines restriction based on the visit date
validity_period_to in YYYY-MM-DD format, defines restriction based on the visit date.
In case you have different locations set up with Convious please submit us 1 file per venue and put the venue name in the file name.
Here is an example of the file:

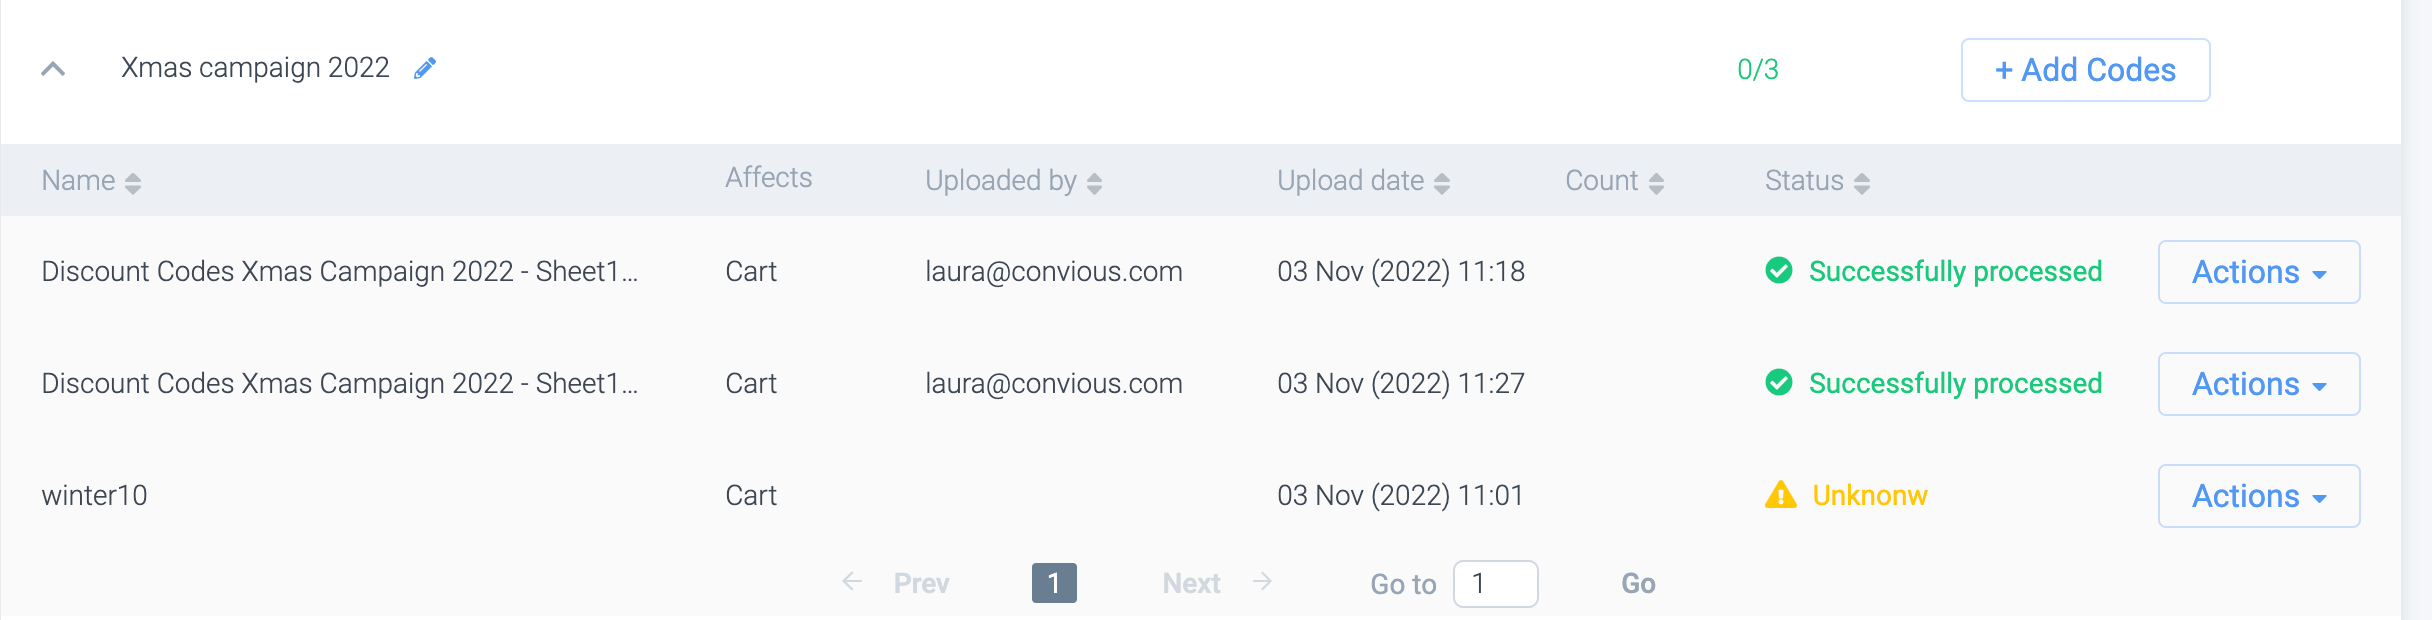
Once the file is uploaded, you will see it under the corresponding pool, along with its status:

4.1 What if my file is not being uploaded?
This might happen due to the wrong encoding or a different separator from a comma (for example, a semicolon).
We are recommending you to use Google Sheets to prepare your file because it uses the correct encoding and delimiter by default. If you still would like to use Excel, please note that the separator, in this case, the comma, is based on the locale/region that your device is set up in and, thus, may be different.
If you are using excel, we found comprehensive instructions for windows users to follow in this case:
Make sure Excel is closed
Open Control Pane on your windows computer!
This can be done by hitting win+r and writing “Control Panel” in the Run-window
Select Region
Click the Additional Settings
Find the List separator and change it to a comma (“,”).
Click OK -> OK -> exit Control Panel
Open the Excel file you want to export to a comma delimited file
Select File, Save As
Change the ‘Save as type’ to ‘CSV (Comma delimited)(*.csv)’
Change the name and file extension if you want, by default stays as csv even though a different delimiter
Click Save -> OK -> Yes
On Mac, you can also do that under Regional Settings (choose . as a Decimal):
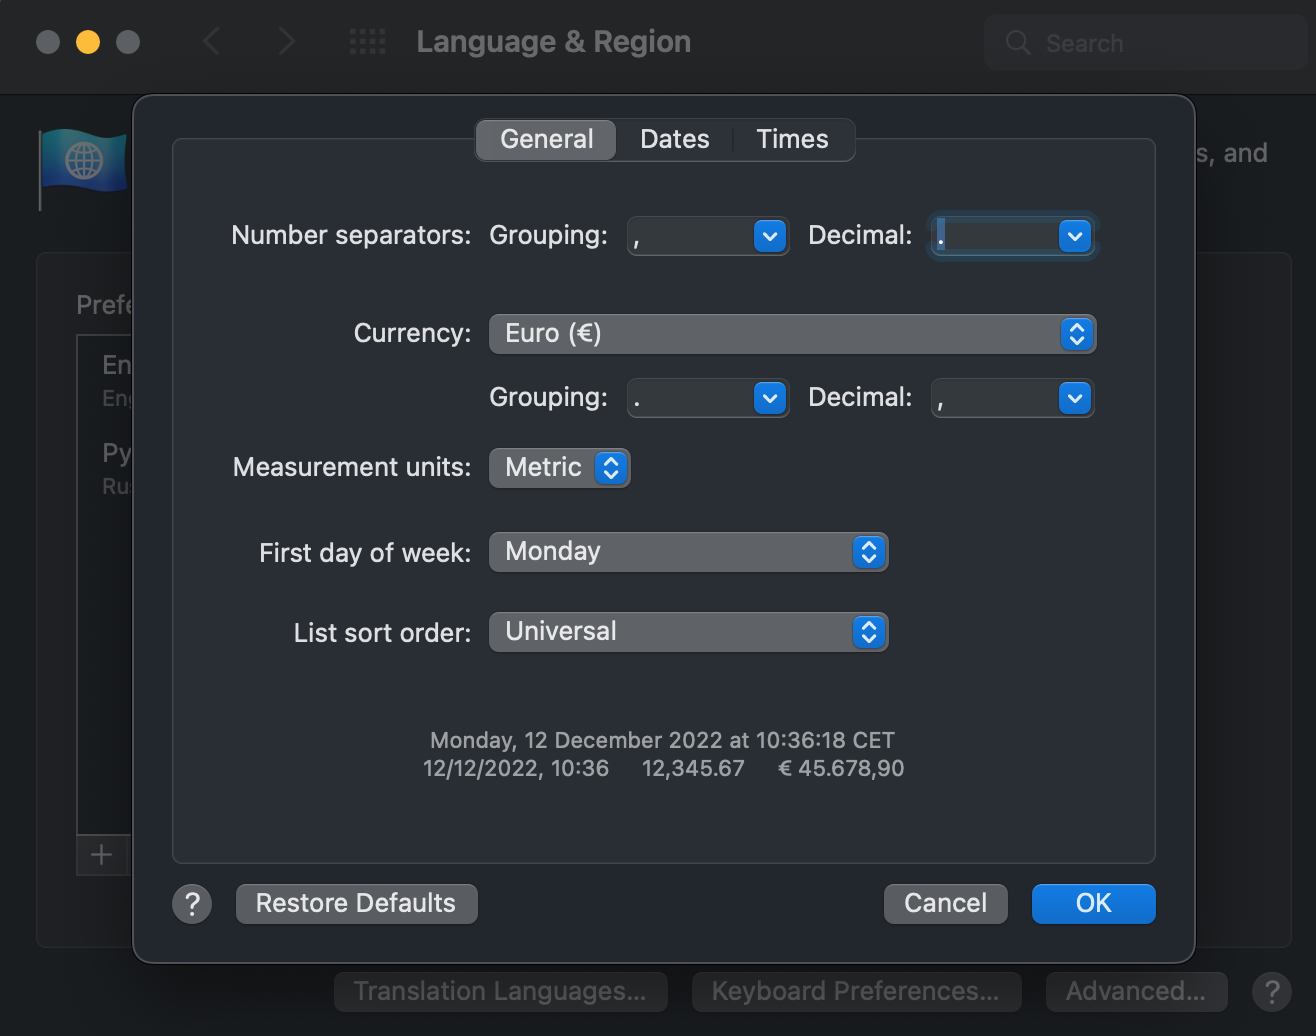
Also, always save the file as CSV UTF-8 (comma-delimited).
5. How to update the value of existing code?
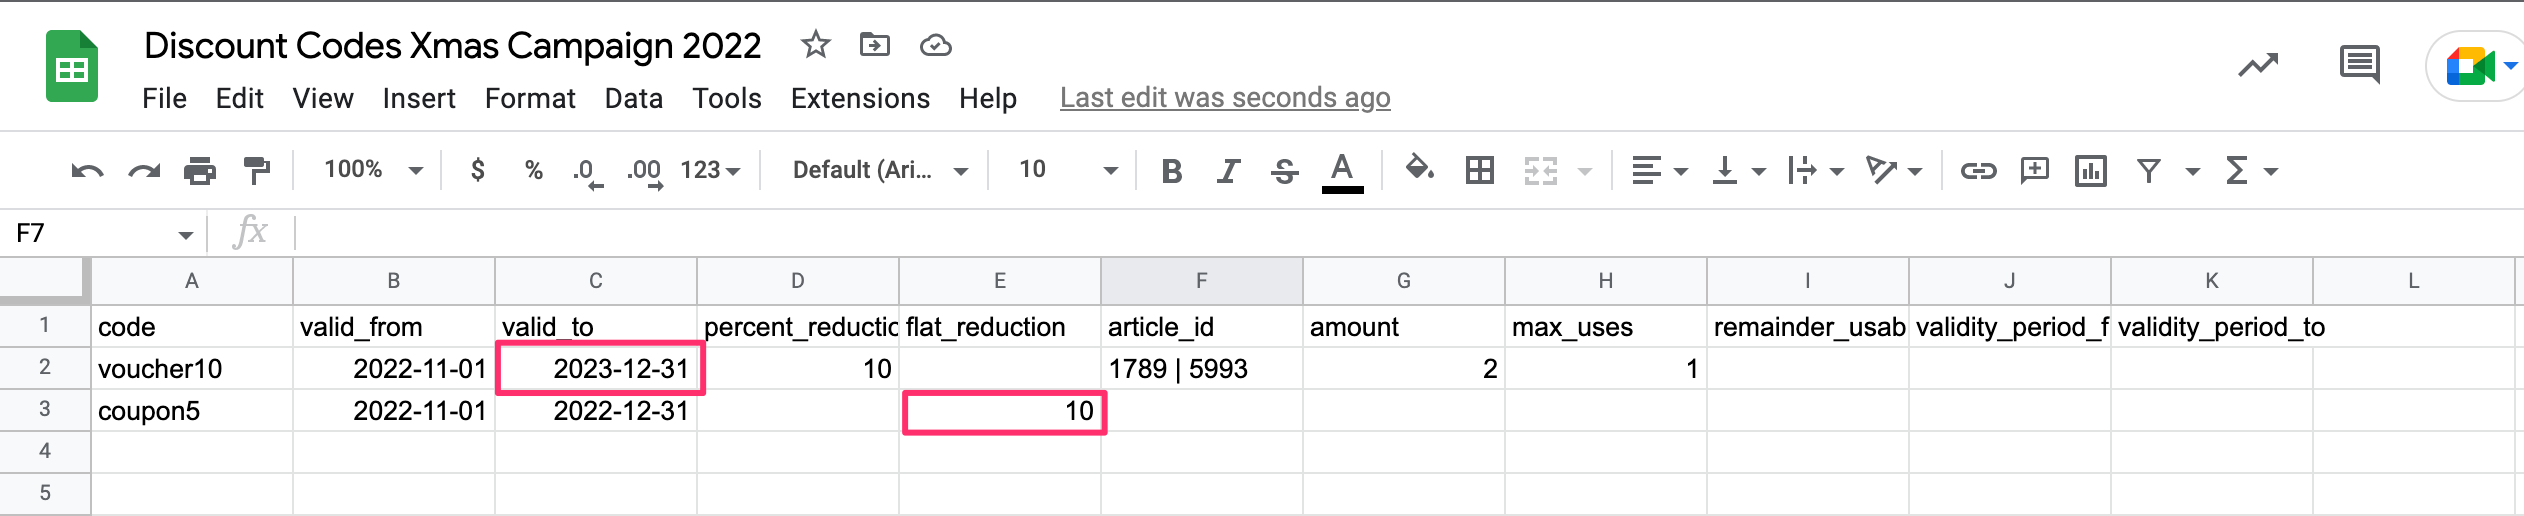
If you would like to update the value of the code, you can upload a new CSV file with the same codes but updated values.
For example, I would like to extend the validity of voucher10 to one more year, so I've updated valid_to column value to 2023-12-31.
Also, I would like to change the reduction of coupon5, so that it would give a 10€ discount instead of 5€ discount. So, I update the flat_reduction value to 10.
Now, you can upload this file under the pool where your codes are stored. The most recent file will appear at the top of the list and will override the previous upload.
6. Code Reactivation Time
Voucher, coupon, reservation, and discount codes are temporarily blocked while the system waits for payment confirmation. If no confirmation is received, the system automatically frees up the capacity.
6.1 Standard Reactivation Time
By default, codes are held for 4 hours before being reactivated.
6.2 New Option: 60-Minute Reactivation
To improve the customer experience, you can reduce the reactivation window to 60 minutes. Switching to this shorter reactivation time:
Speeds up code availability for users.
Reduces pressure on support teams by minimizing inquiries about blocked codes.
We recommend updating your settings to the 60-minute window. For help adjusting these settings, contact our support team at support@convious.com.