Collecting your visitors' information is not only providing you with the contact details needed to keep them engaged or to issue a season or member pass, but it is also a safety necessity to know who comes when to your venue's doors.
With Convious, you are using an After Payment Form (APF) to collect this information. To give you more flexibility and control, you can now edit this APF straight from your Convious Control Panel.
In this article, we will explain to you how to create an APF for regular tickets/products vs. season passes and what the difference is, how to connect it to the right product, how to add translations, and how to add custom fields if you need them.
How to create an APF
First off: When we are talking about regular products, in this case, it means all tickets that are not season passes. This includes, for example, all sorts of single-day tickets - undated and dated.
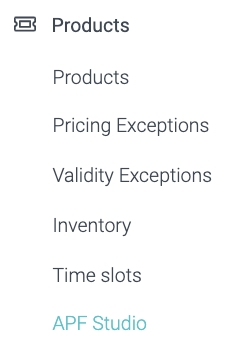
Navigate to your APF Studio within the Products section in the main menu on the left.
Now you entered the

Here you can see your editor on the left-hand side and a preview that will show all active fields on the right.
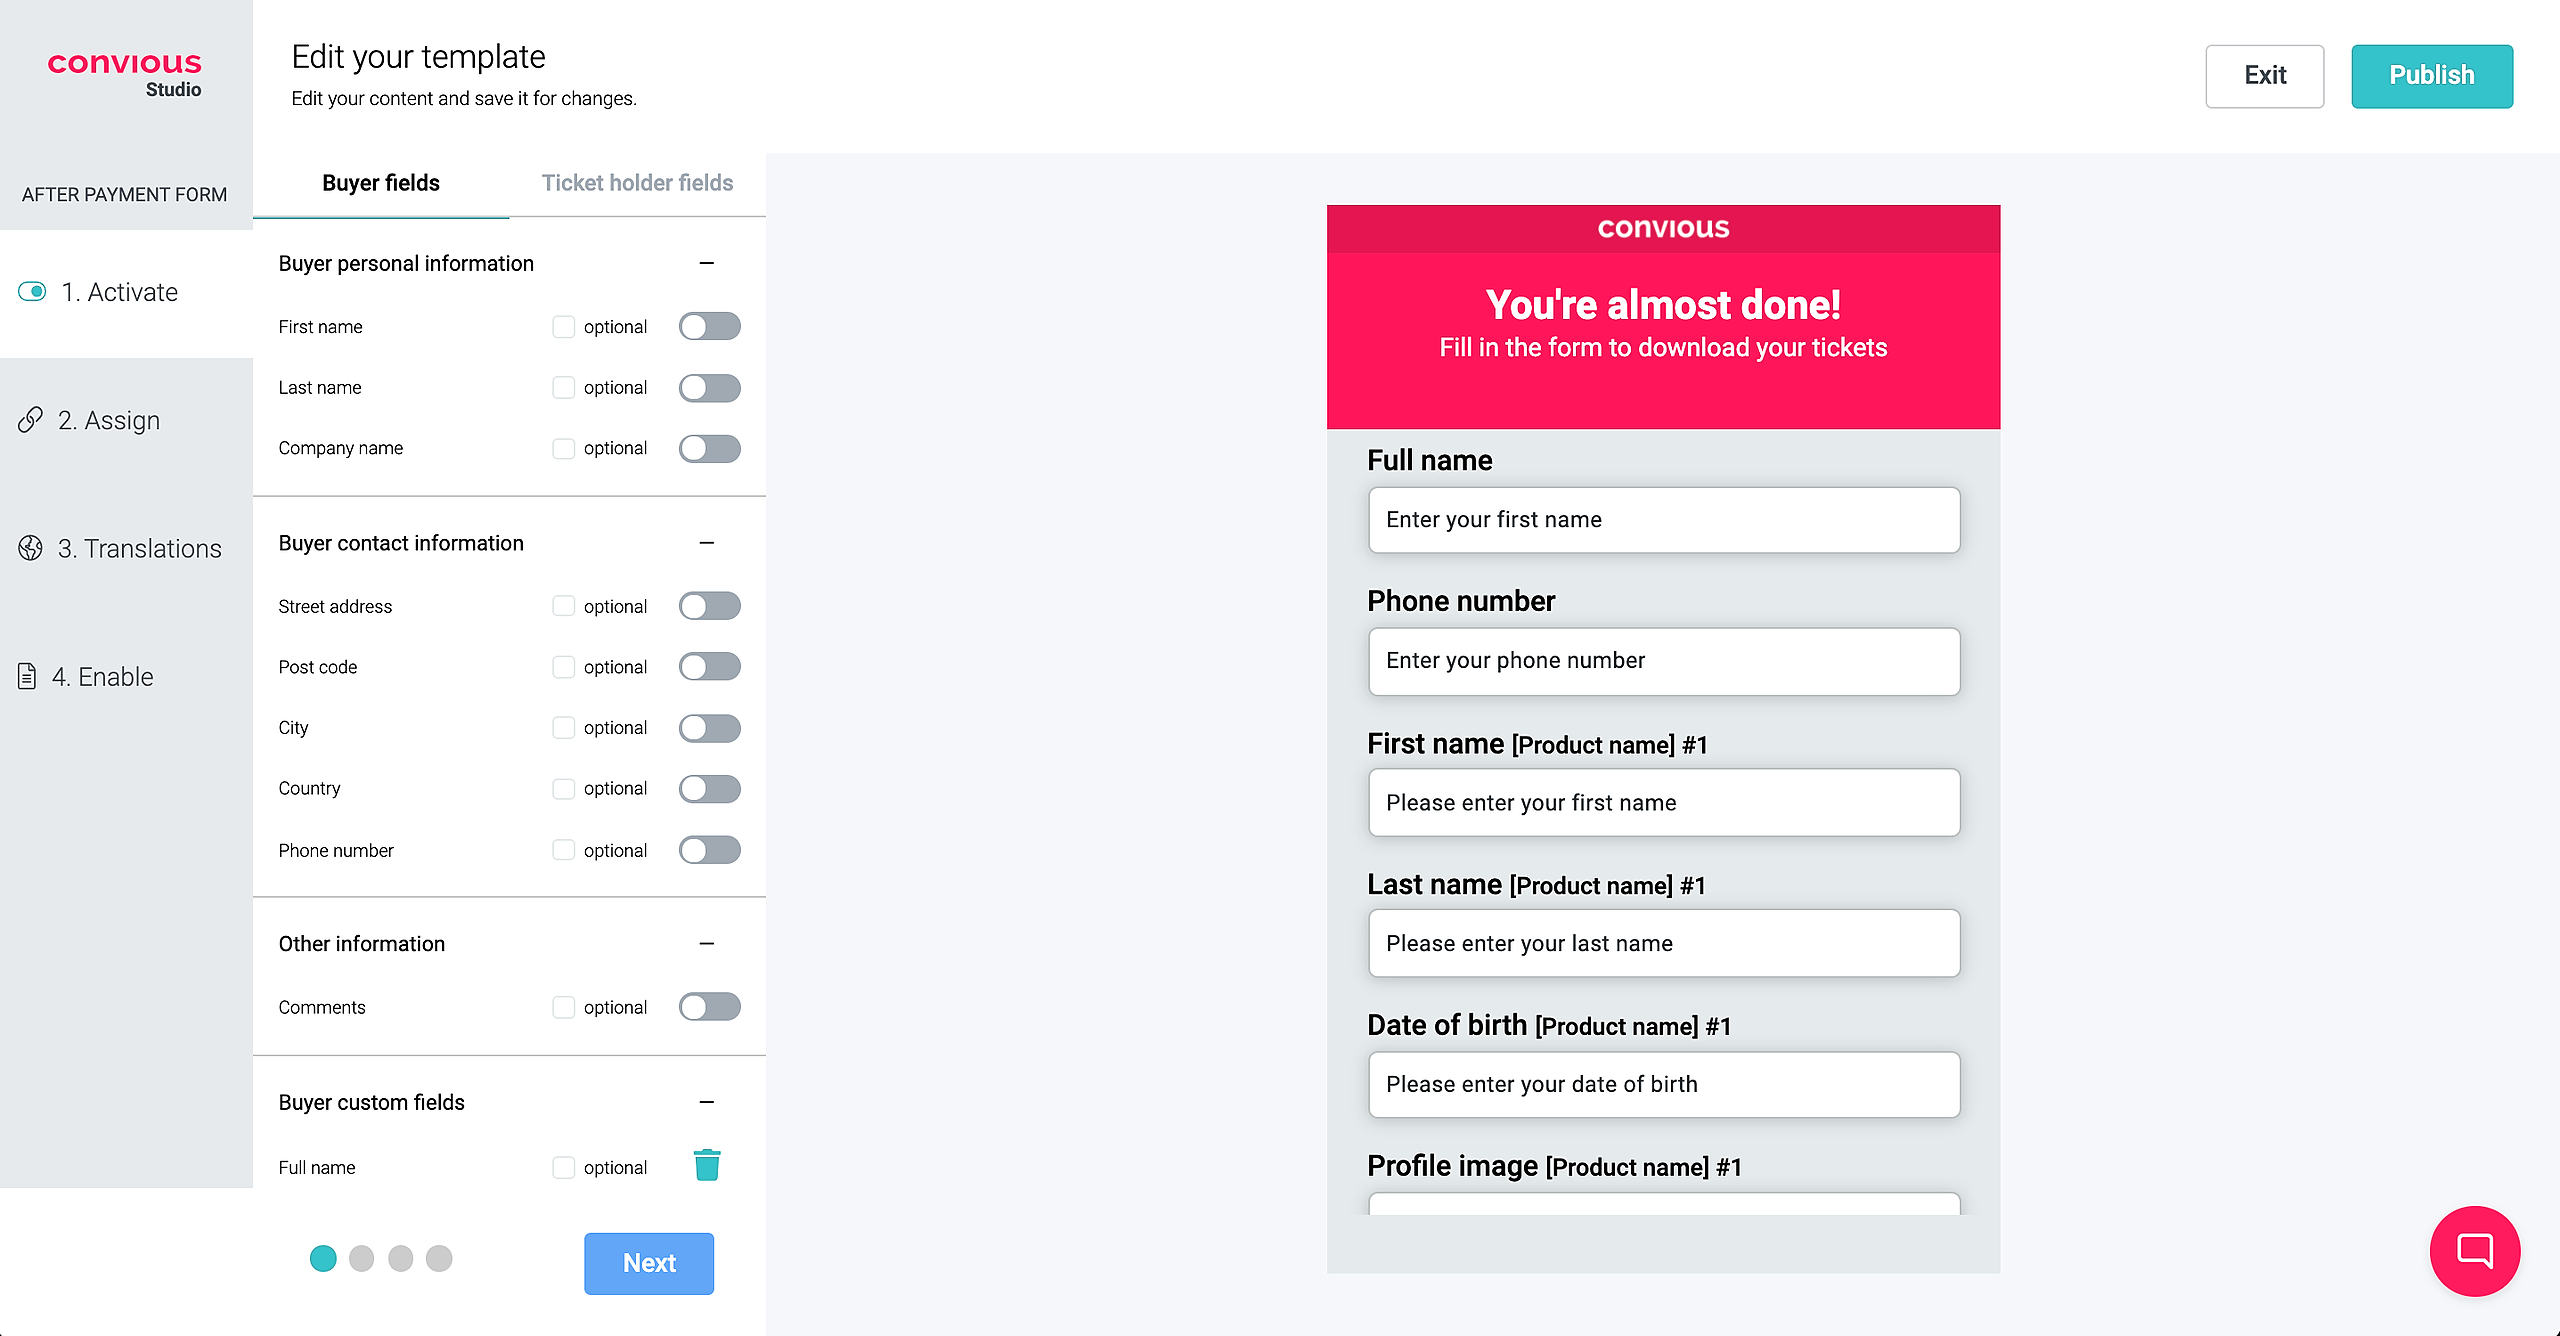
You will have to configure which data you would like to collect and, thus, which fields you would like to activate on your APF.
At the top of this configuration, you will see two tabs: Buyer fields & Ticket holder fields.
The distinction is simple yet important:
Buyer fields are displayed once at purchase.
Ticket Holder fields are displayed for each article and need to be completed per ticket holder. They are mostly used for season or member passes.
Another important note is that you need to understand that you will be connecting the single fields to your products and not the entire forms. This is why you need to enable all fields that you want to show on either: your regular products or your season passes.
You will understand this better by walking you further through the process.
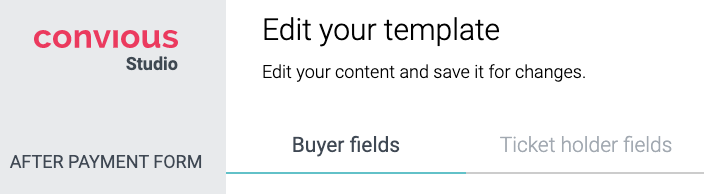
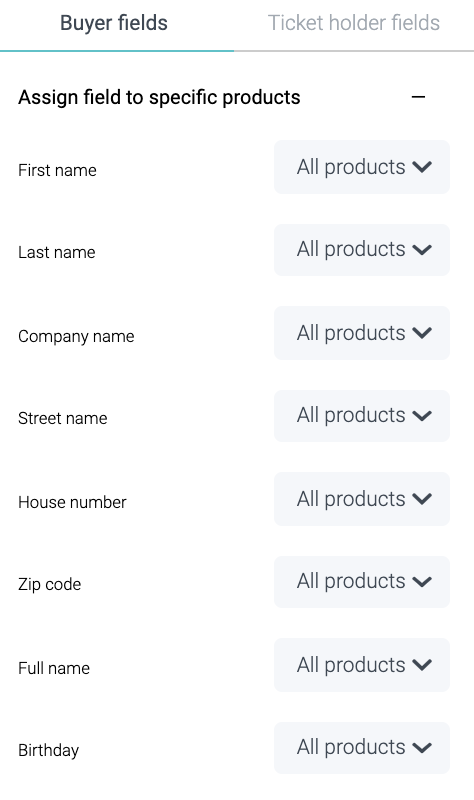
Buyer fields
Let's first set Buyer fields:
The first information to collect is basic and quite self-explanatory personal information.
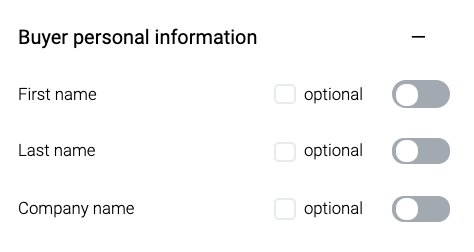
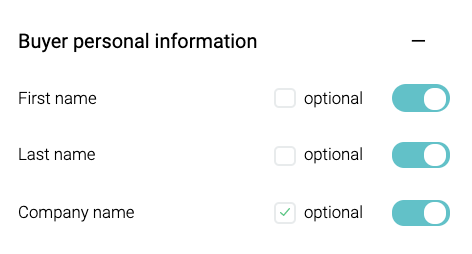
You can activate the fields by switching the toggle to the right. Once the toggle appears green, it is activated.
By default, all activated fields are required fields. You can make fields optional by ticking the optional box. As you see, the activated fields will appear in your preview accordingly.
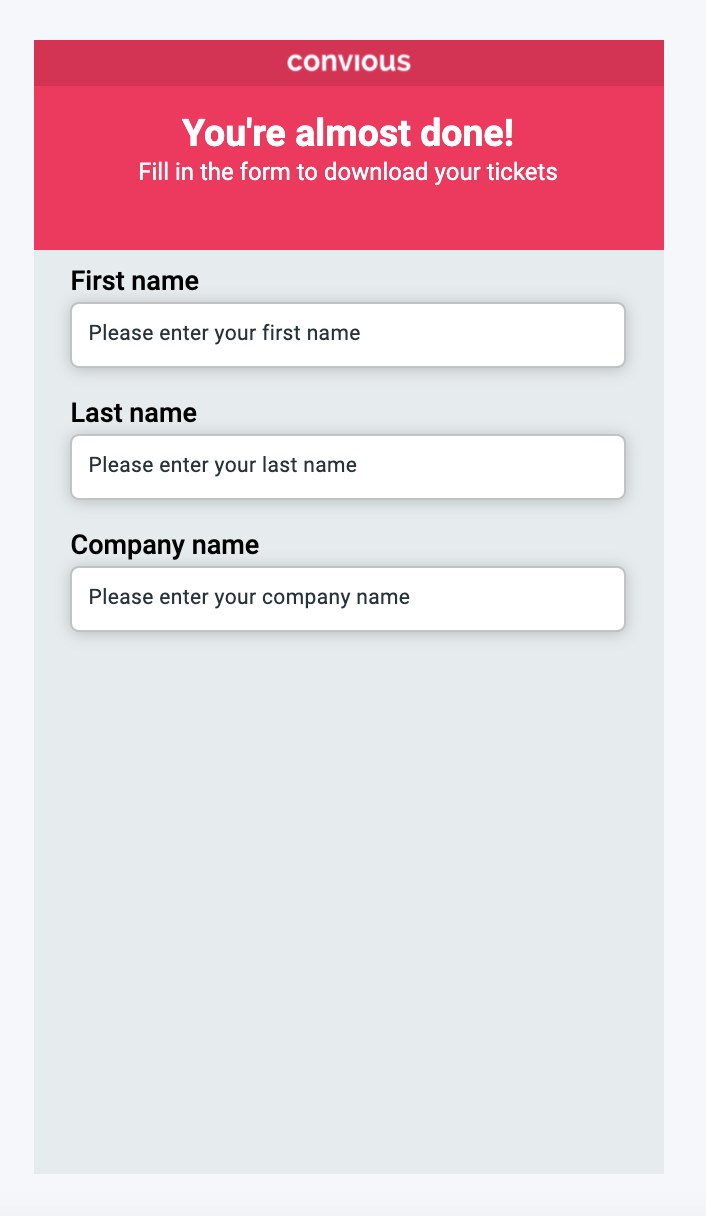
Please note that you will see all fields in English by default - in a later step, you can check translations, edit them and view them in the preview as well.
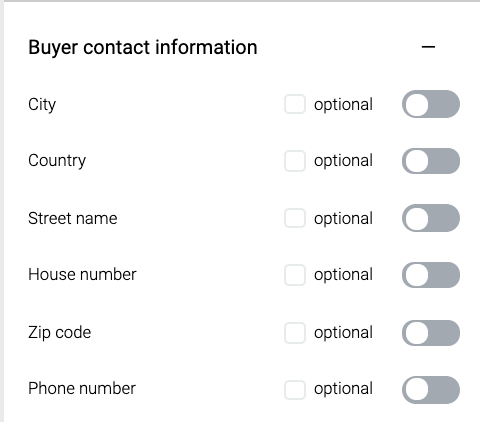
Next, you will have to decide on buyer contact information. Here, the same activation rules apply.
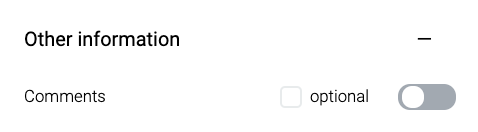
Following, you can also allow your customers to leave comments in a comment field. This would enable free text input.
Lastly, you can create custom fields in case you want to ask for information that is not included in the fields we provided.
Please do not use this field to create translations - once again: You will be able to add translations to your fields in all available languages in a later step.
To add a custom field, choose + Add a custom field:
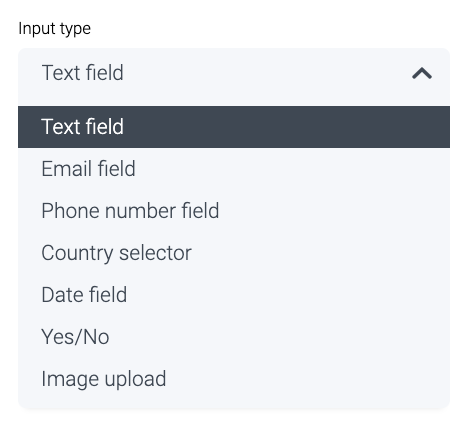
First, you have to define the input type:
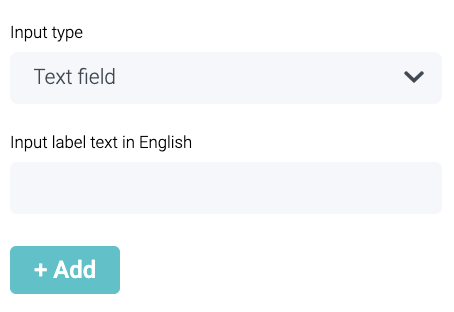
Then you need to give it a label.
Here is an example:
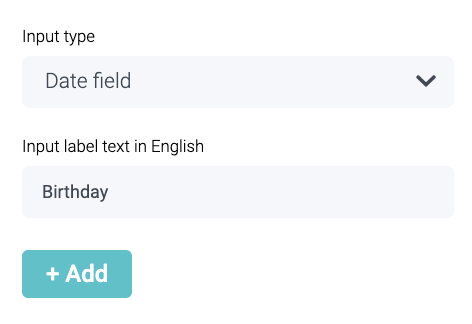
Choose + Add to add the field to your APF.
Now it will appear like this:
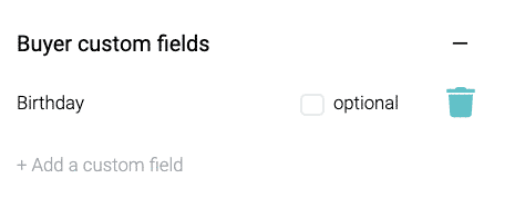
You can delete it by choosing the trash icon.

Don't worry: It is not completely gone. You can re-add this field afterwards by clicking on the trash icon once again.
Ticket Holder fields
Time to set the Ticket Holder fields
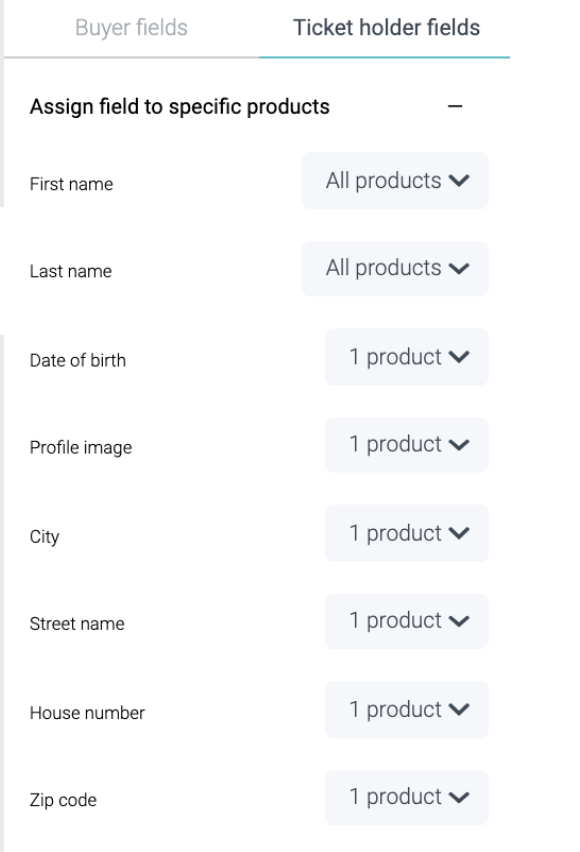
To set the Ticket holder fields, the same rules and procedures apply. Except for two new fields collecting additional personal information of the ticket holders, there is no difference.
Remember: Ticket holder fields are mostly used for Season passes. That is why having the image upload and date of birth fields is handy.
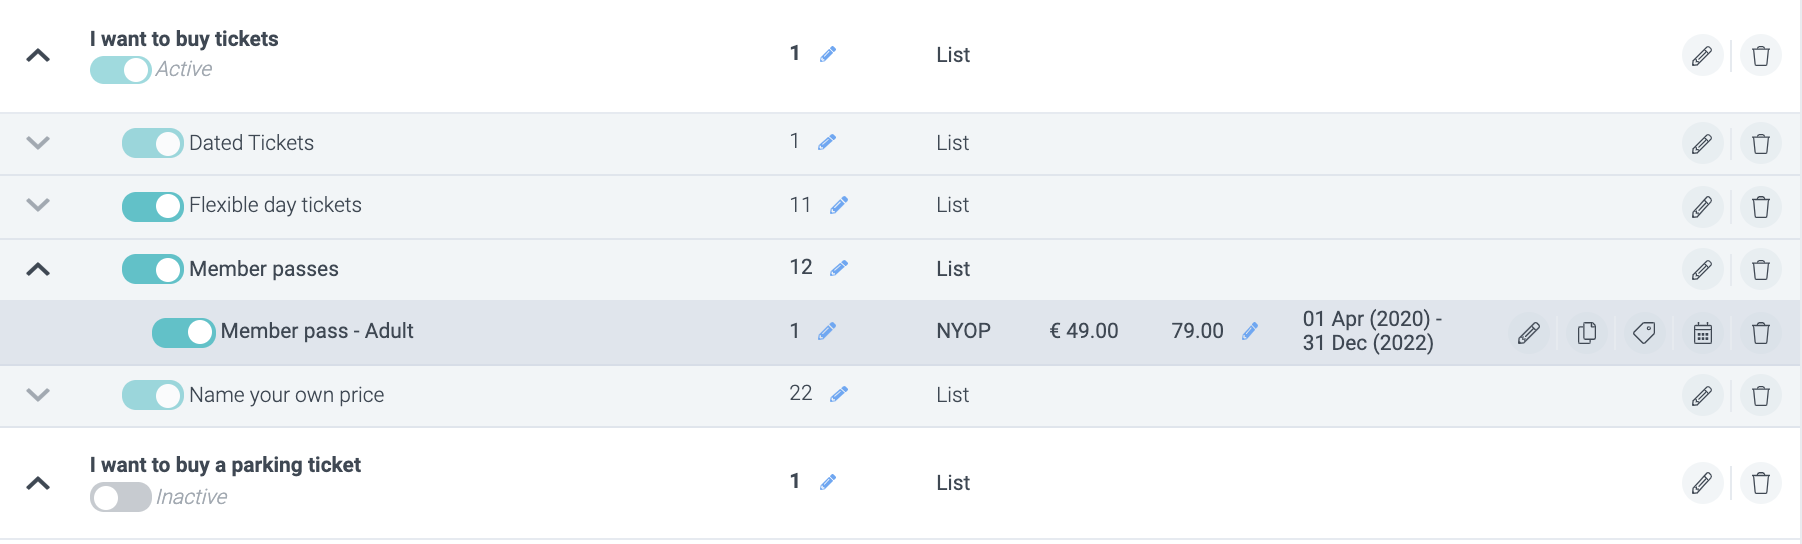
Once you have set the buyer and ticket holder fields, choose Next to start assigning your fields to the right products. This means if a field is assigned to a certain product, it will show in the After Payment Form of such.
Here we will start with the Buyer fields again, but just as with the activation, the process of assigning buyer fields and ticket holder fields is the same.
You will see, by default, all fields are enabled for all products.
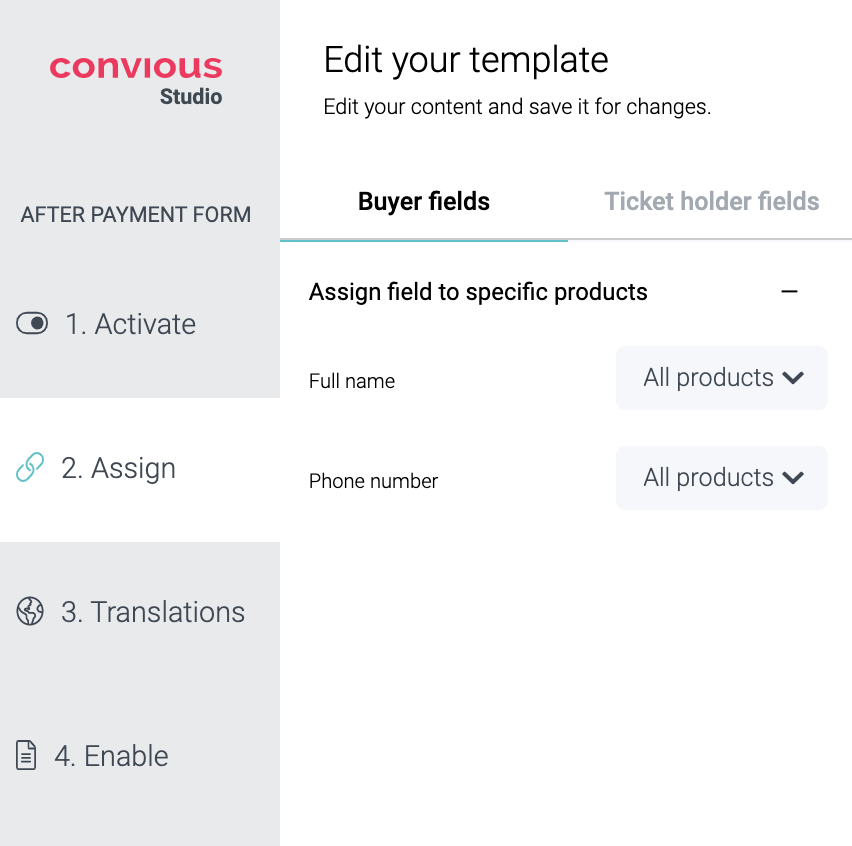
To apply each field only to one or more specific products go to the drop-down menu to expand it.

Now you can choose the products, or entire product flows that it should appear for.
Make sure to hit Apply to save it.
Once you do, you will see it will indicate the number of products the field is connected to.

Do this for both, the buyer and ticket holder fields.
More extensive example:
We will have the buyer fields connected to all products as this is the basic information we want from all buyers.
However, for the Ticket holder fields, we assign address details, date of birth and profile image only to the member passes.
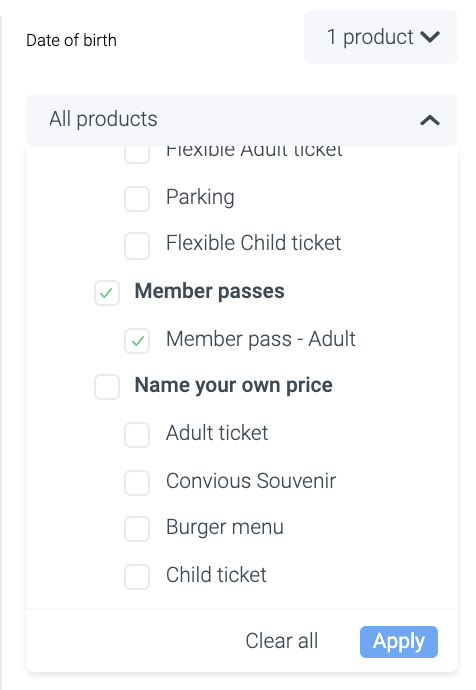
This means first and last names will be asked for all products per ticket holder but only the detailed information at purchase of a member or season pass.
Be aware: Assigning does not automatically take the APF live for the products you assign the fields to.
Add translations
This process is similar to the common translation process you know from setting up your products in the Convious Control Panel.
Here as well, you have the Buyer and Ticket Holder fields. Please note: Both field types need to be translated separately - in ALL languages.
At the top, you will see the translation language. If you select it, the drop-down menu will expand, and you can choose the languages of your Checkout.
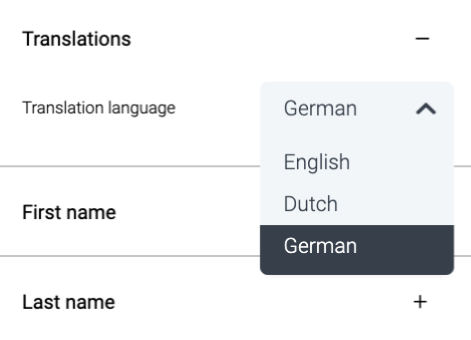
Once you have chosen a language, you can view all translations. Default fields will have translations associated already. You can view and edit them by clicking through the fields to add the translations by clicking on the + next to every field.

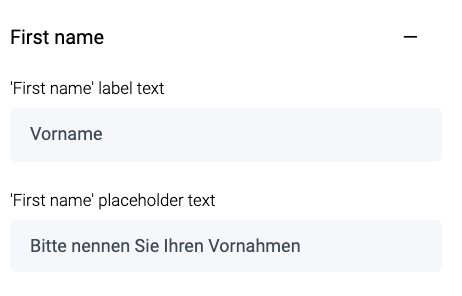
You will see the field will expand, allowing you to edit the label for the field and a placeholder text.
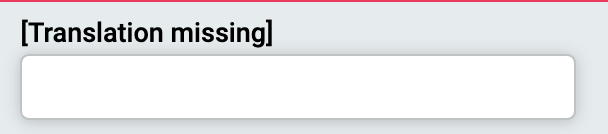
Be aware: Custom fields do not have translations yet. Thus, you will have to add them manually in all languages.
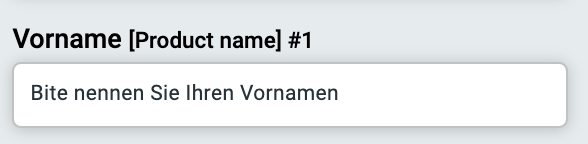
Once you have added the translation, the preview will change.

Enable the APF for relevant products
Once you have completed the translations, you need to make sure your APF is enabled for the products you want it to apply to. This can now also be done from the APF editor. Head over to Enable.
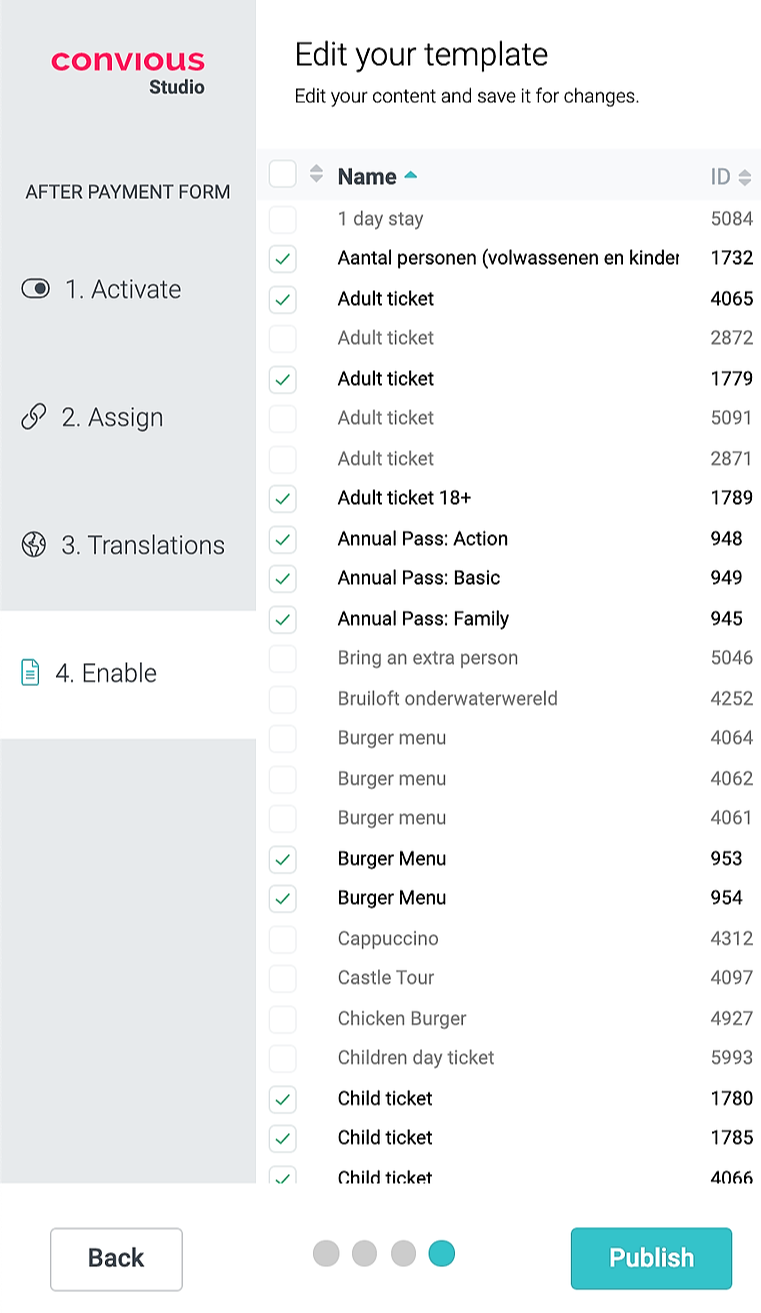
Here you can see all your products with their product names and product IDs at one easy overview.
Tick the ones you want an APF to be enabled for.
Remember: Only those fields will show that you assigned for a certain product.
Once you have enabled the After Payment Forms for all products of your choice, hit Publish to take them live.
Done!
Good to know
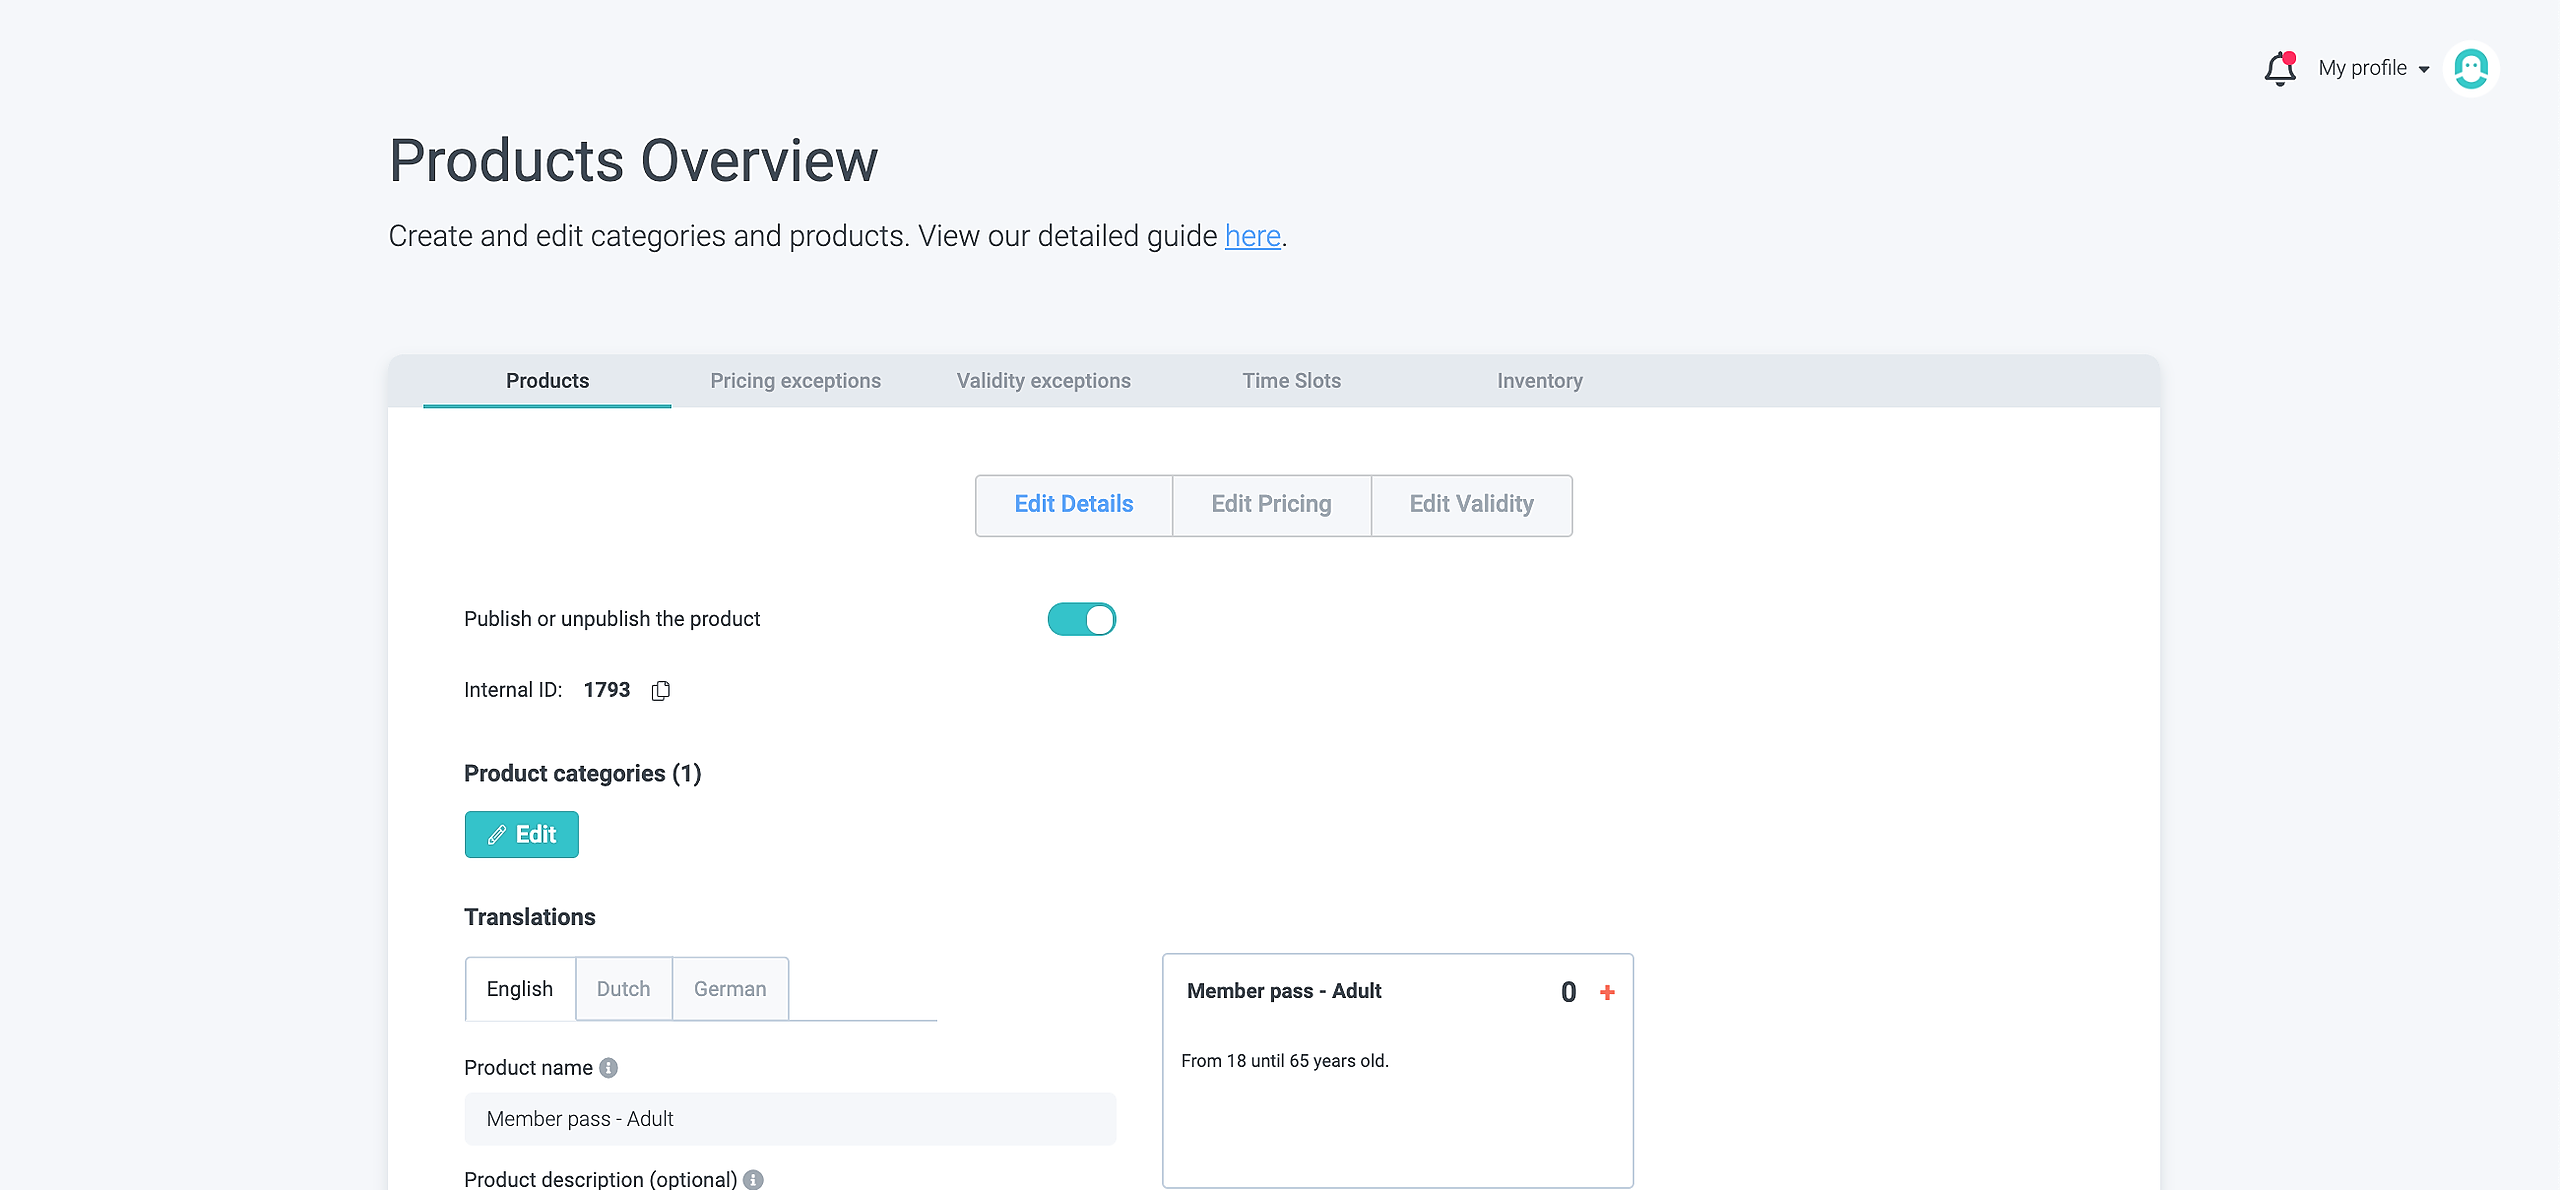
You can also enable and disable APF's at a product level. Yes, enabling APFs works both ways: From the APF editor and product level.
To edit it from the product level, go into editing mode for a product by clicking on their names or the pencil icon on your products page.
As an example, we will check the Member pass:
Once you enter the editing mode, scroll down until you see the After Payment Form enabled toggle.If the toggle is switched to the right to enable the After Payment Form is enabled.

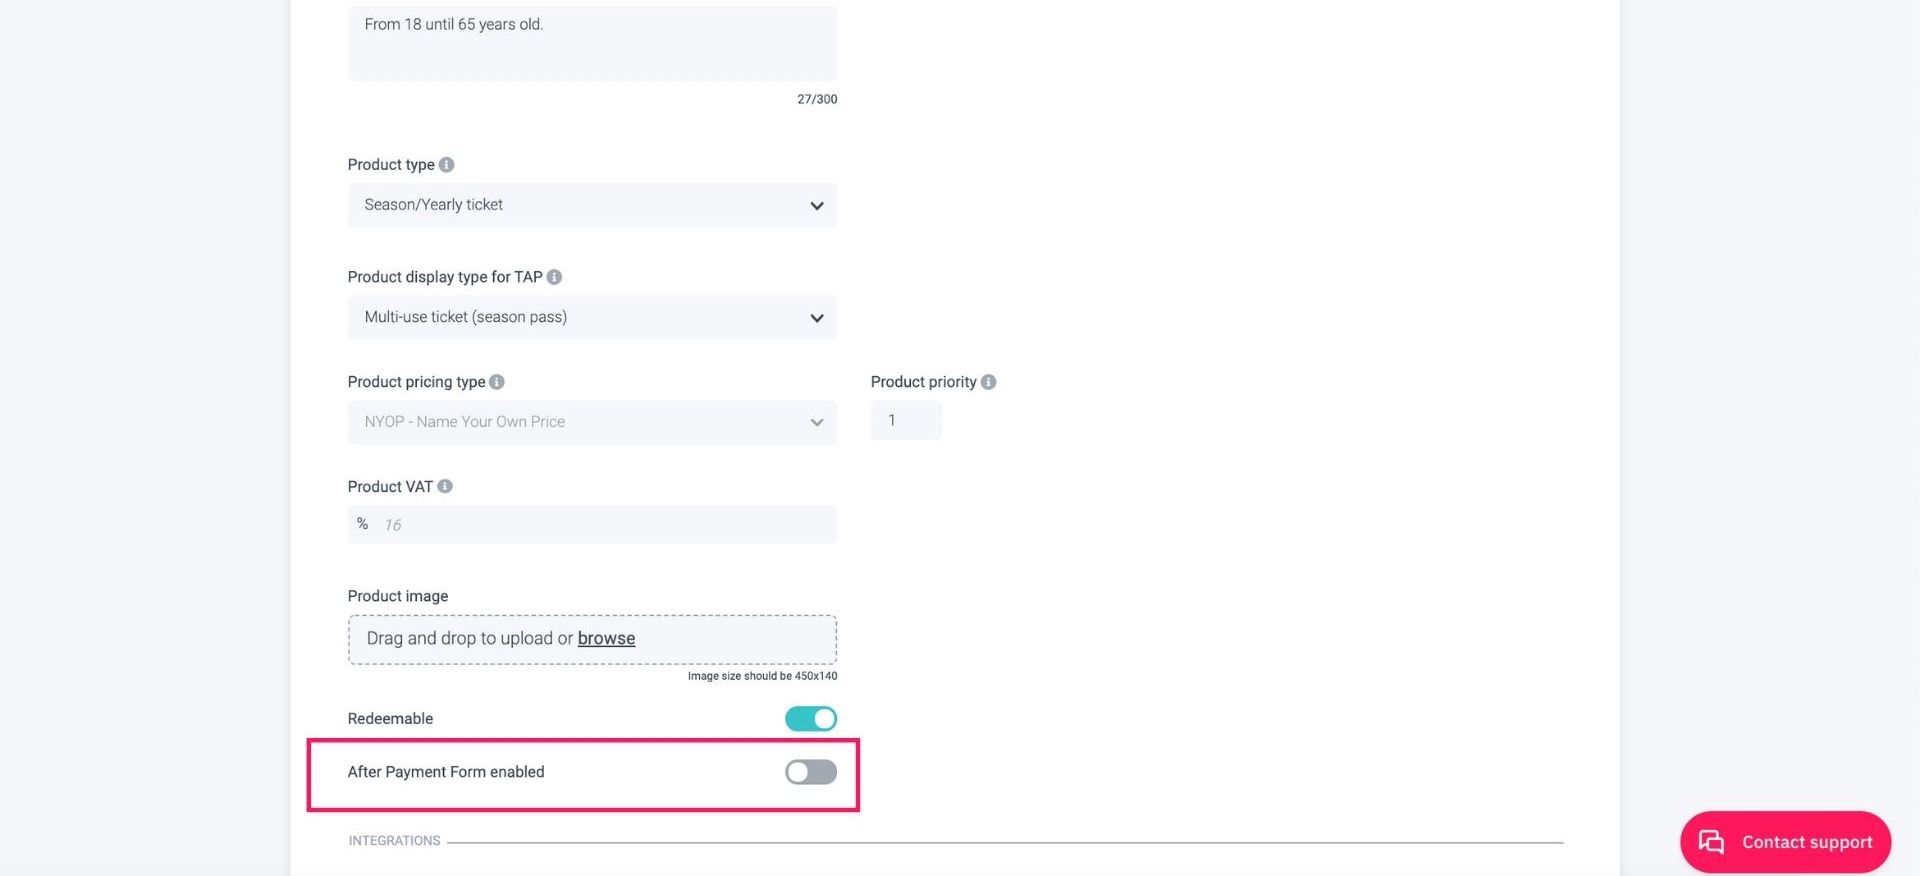
If you want to unpublish an APF for specific products, you will have disable the APF for those products in the APF studio or disable it from the product level.
Make sure to Save your edits!