Set up your Tax Configurations for example Value Added Tax (VAT) in the Control Panel. You can now set up multiple Tax Configurations for your products straight from your Convious Control Panel. No matter which country you are operating in, this is an important part of setting up your pricing information.
1. How to set up a global VAT%
1. Go to Tax Configurations
Navigate to your account settings by going to Account below the Settings Section in your left-hand menu.
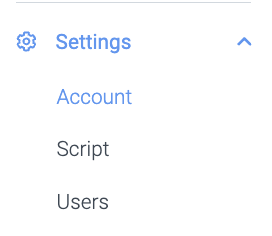
Once you are there, you need to click on the second tab Tax Configurations.

Do you not see Tax Configurations here? Please contact your company admin to give you the rights to edit and set-up the Tax Configurations.
2. Setup your Tax Configurations
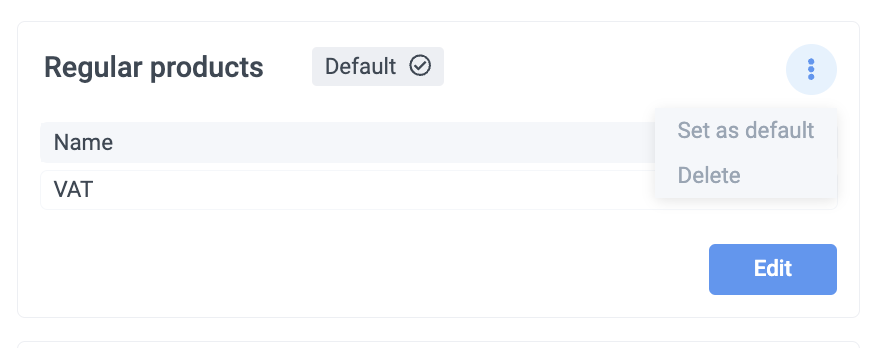
The first Tax Configuration you are creating will be the global VAT (default) setting you set for all your products on default. The label Default is shown on the Tax Configuration. Thus, it should be your main VAT%. You can set another Tax configuration as default when you create another Tax Configuration.
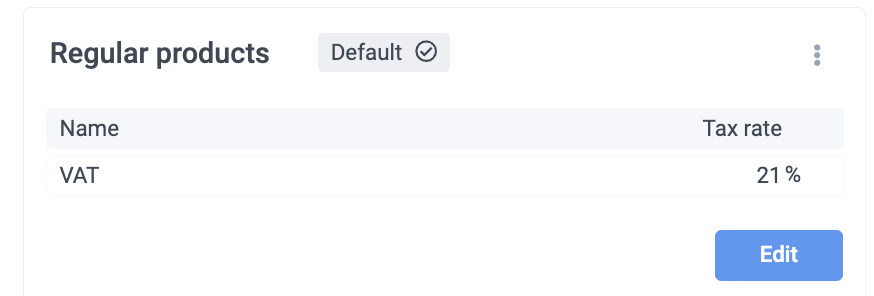
By clicking on the three dots you can set another Tax Configuration as default.
Be aware that for all products with the default Tax Configuration, it will be directly changed to the new default Tax Configuration.
3. Create more Tax configurations
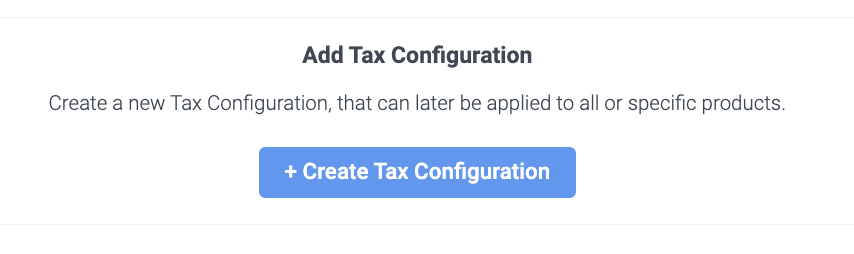
When you have more taxes you can easily add a new tax configuration by clicking on + Create Tax Configuration.
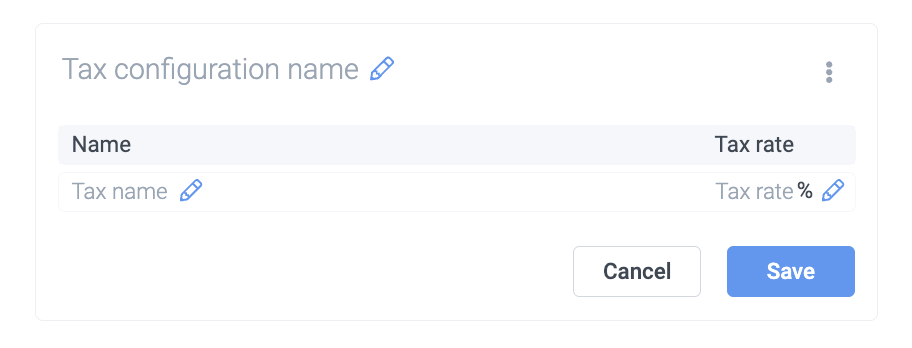
A new Tax Configuration block will appear and you can give it a Tax configuration name, Tax name, and Tax rate. Click on Save and your new Tax Configuration is created.
Product-specific Tax configurations that you have created can be selected on the product detail page in your control panel.
🎉DONE!
Be aware that it might take a few minutes until the global setting is activated and will show per product.
2. How to enable Product-Specific Tax configurations
1. Go to Products
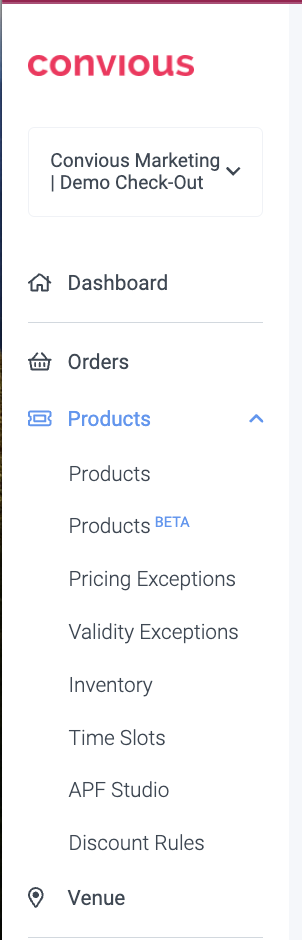
Please navigate to Products within the configuration section in your left-hand menu.
Whether you create a new product or choose to edit an existing product, you will land on the product detail page where you can edit the product's properties.
In case you do not know how to set up a new product, we have a comprehensive guide for you to teach you.
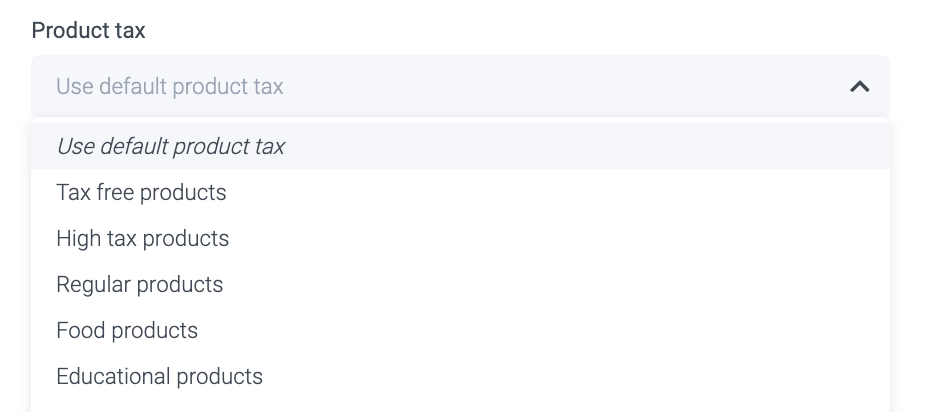
2. Scroll down until you see: Product Tax
The Control Panel will automatically have set your default Tax which you have set up earlier.

3. Now, click on the drop-down
When you click on the drop down you can select a product-specific tax that you created in the Tax Configurations.
Scroll down to the bottom of the page and click on Save
Make sure to repeat this process for all products that need individual VAT% set-ups.
3. Good to know
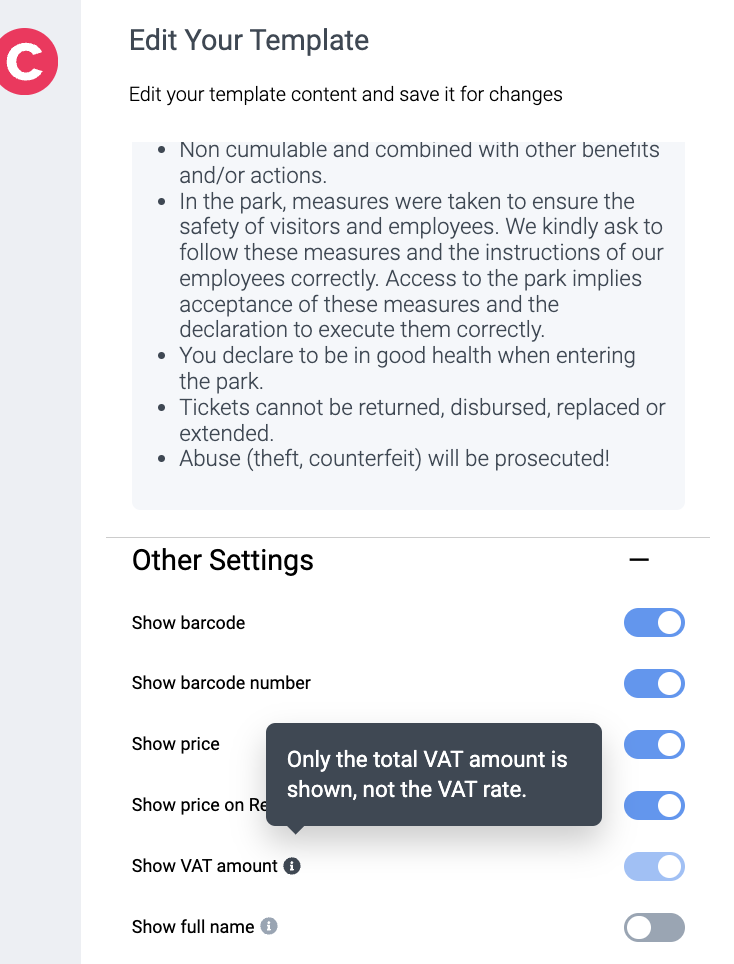
In your confirmation emails and ticket templates the VAT will be automatically calculated and appear within the total calculation of the price. The Tax % is not shown.
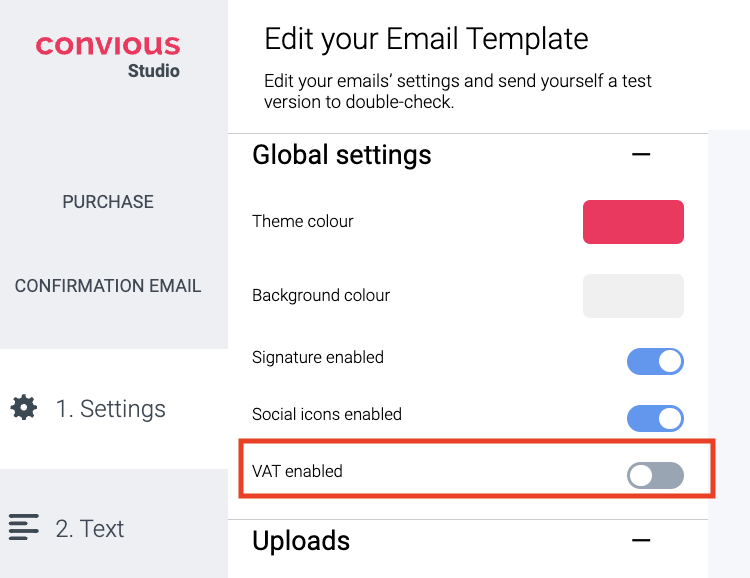
To have the Tax displayed in your order confirmation mail and/or ticket templates, you will have to ensure you enabled Tax in your Convious Studio.
To do this, please navigate to Engage > Email templates or Ticket templates, then click on Edit. Check out our guides on editing your email templates and e-tickets templates.
Once you are in the studio, enable VAT display by moving the toggle to the right.