Your emails can be a very powerful tool, and your upsells can be a great source of income. Combining the two may allow you to unleash their true power! It is a great plac to promote a special offer, meal options or add-ons.
Why are upsells in emails useful?
1. Deliver convenience: Did your visitor forget to purchase a parking ticket? Your email is the perfect reminder!
2. Increase the visibility of your Upsells, boost potential revenue generated by Upsells and increase the Lifetime Value of your customers.
3. Personalises the visitor experience by offering Upsells that are relevant
How to add Upsells to your pre-event email
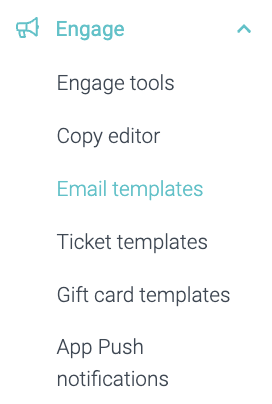
1. Navigate to your left-hand menu and select Email Templates within the Engage section.
Here you will see all the emails you can activate and the ones you already have activated.
You can see whether or not you have an email activated by the toggle on the right-hand side. If it is turquoise and to the right: your email is active! If it is grey and to the left: your email is inactive.
2. Scroll down to your pre-event email and click Edit.

Now you are in the Convious Studio. If you want to recap the general settings of emails and how to edit them, head to our article How to edit email templates for a step-by-step explanation. In this article, we will focus on adding the Upsells.|
3. You can enable the Upsells for your email in the Global settings.
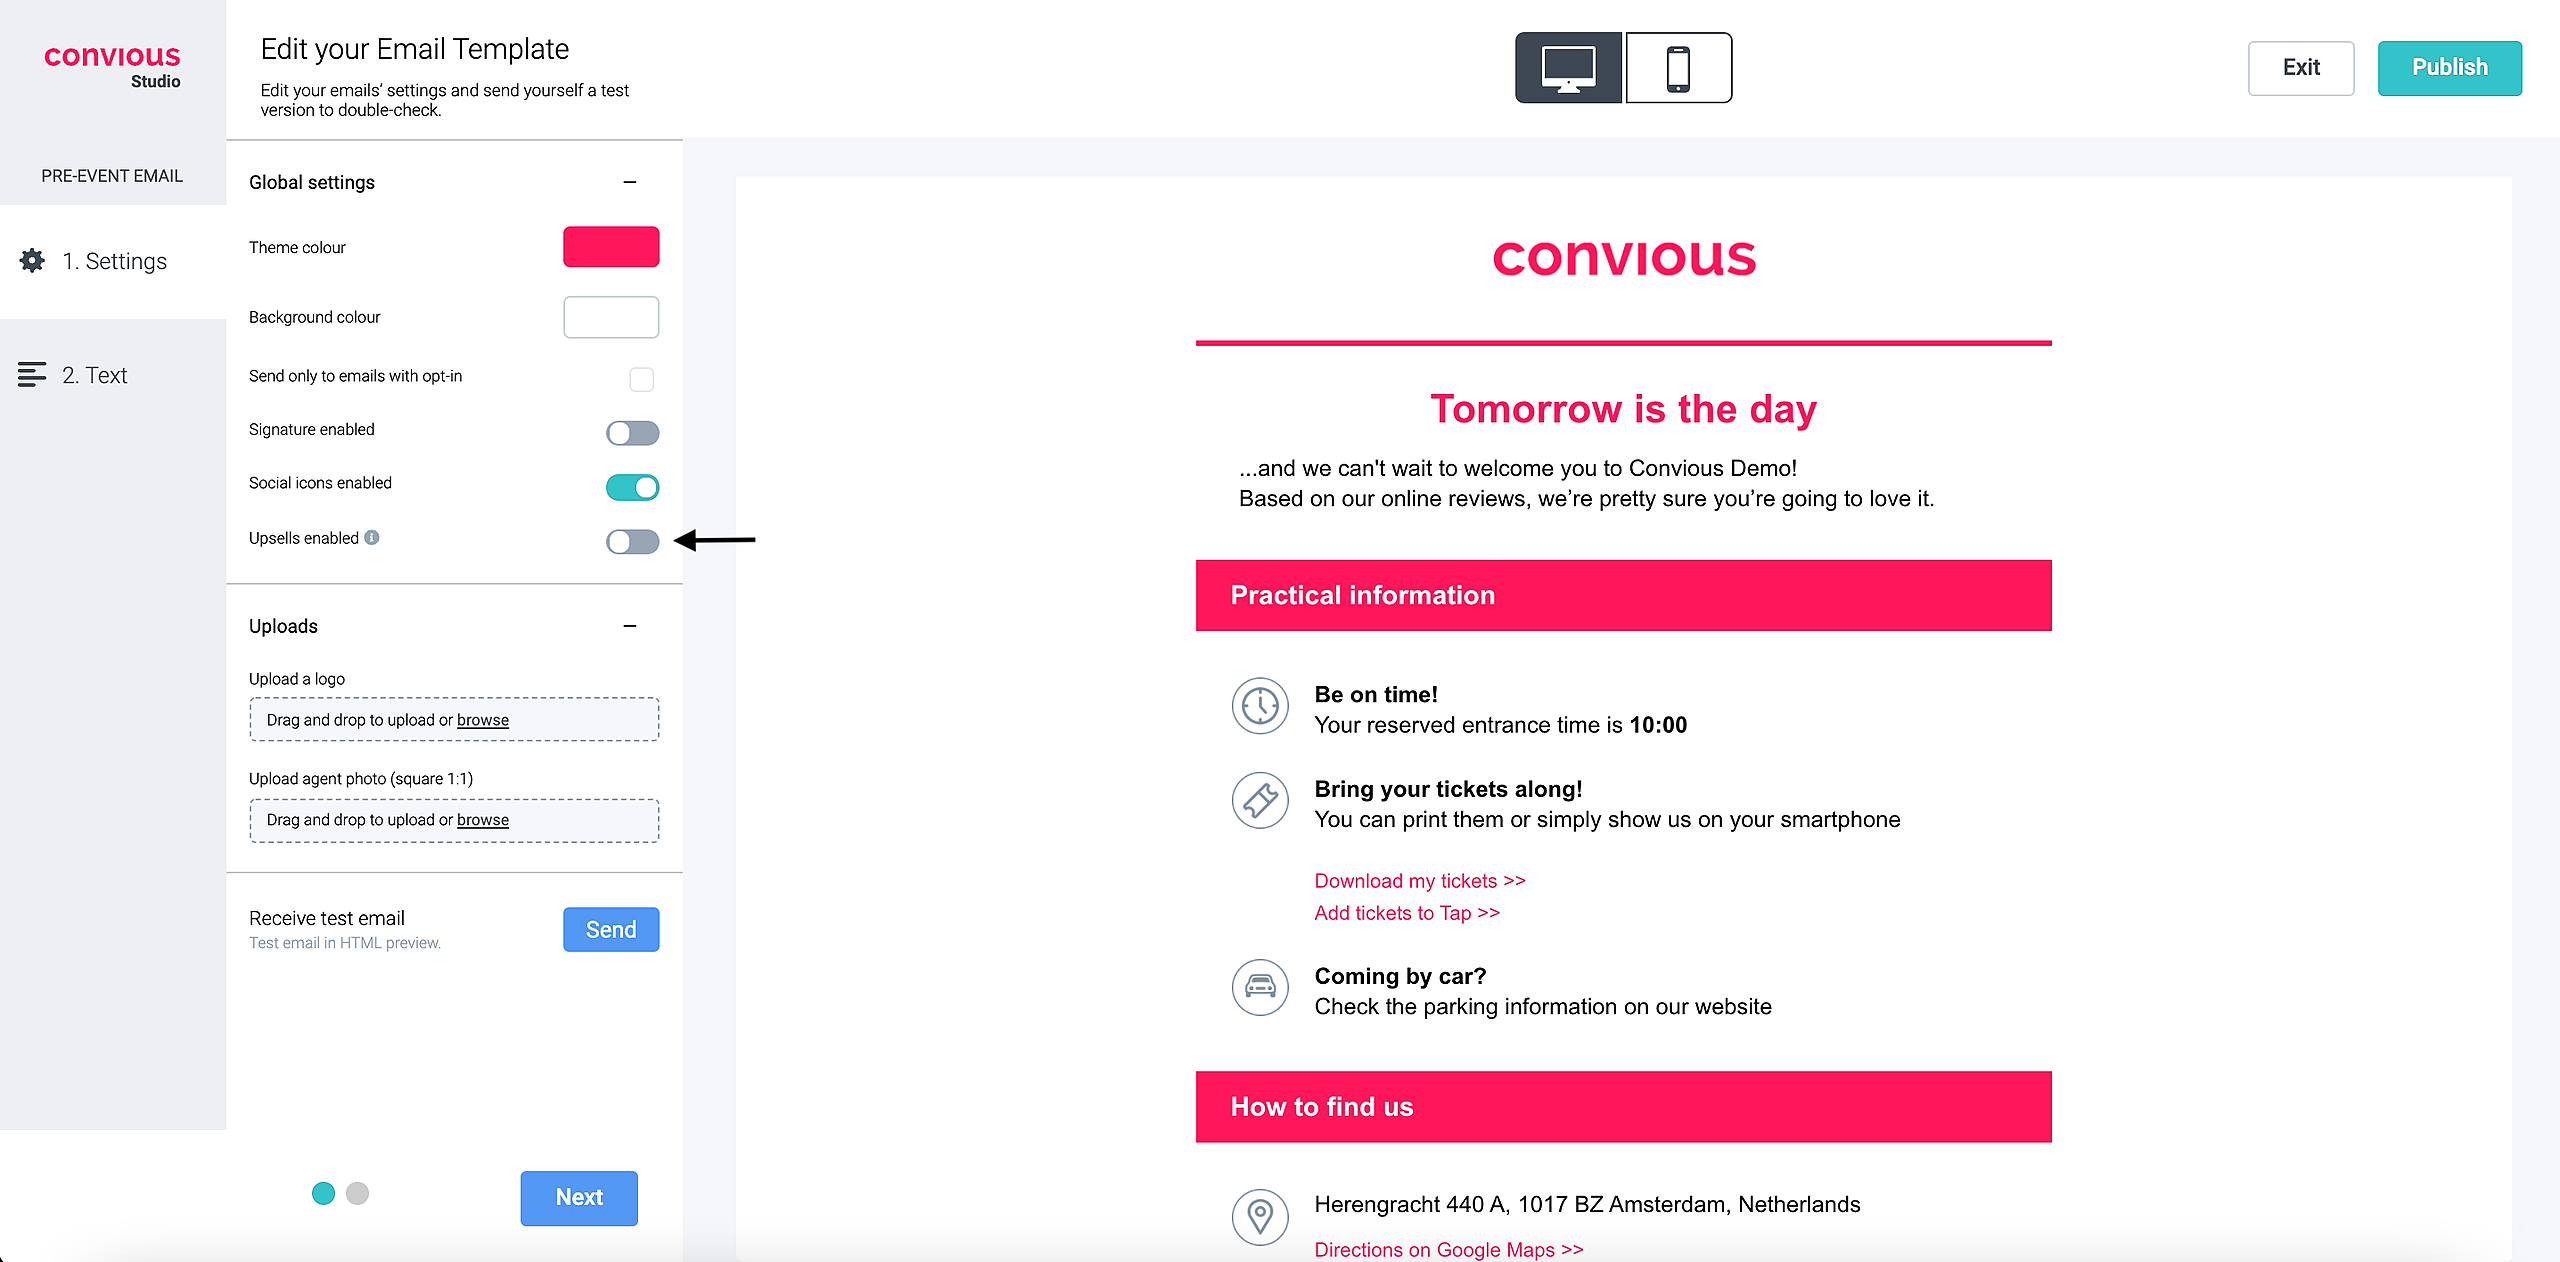
Switch the toggle to the right to enable the Upsell and expand the Upsells setting section.
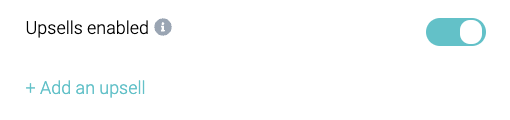
4. Click on +Add an upsell.
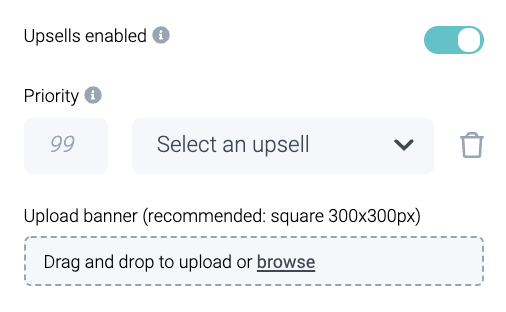
Let's first select an Upsell before deciding on the priority.
5. Expand the drop-down menu to see all your setup upsells and choose the one you want to add.
TIP: If you have duplicate Upsells use the article ID of the upsell you want to connect to identify it.
Please be aware that the upsell product itself has to be enabled; otherwise it will not be shown in the actual email, even if it is selected to show in the email.
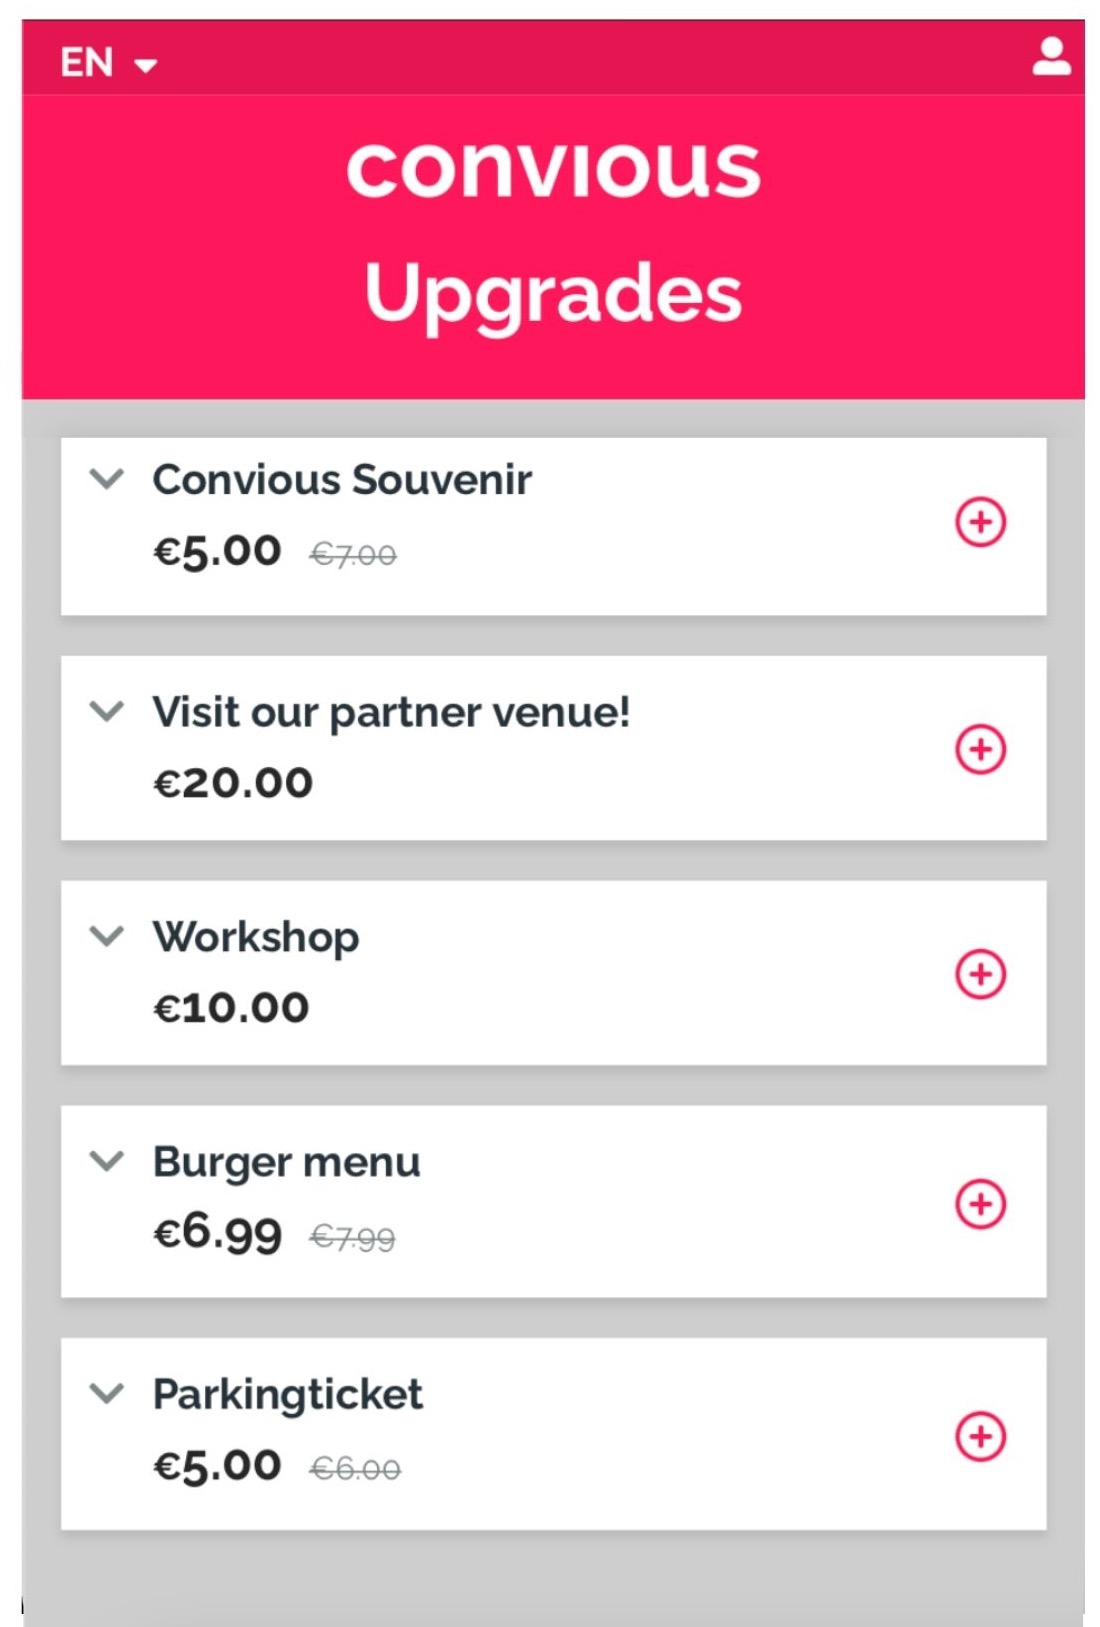
Once you select it, you will see that the preview text will change to the description you added to your upsell.
If you want to edit this description, you will need to edit it in its products' settings or using the copy editor. With the copy editor, you will also be able to change the title of your upsell section.

6. Once you select a product, add an image to make the email more visual and attractive. Be sure to upload an image because it will not be taken from the product itself.
We recommend uploading a square image (300x300px) as it suits the provided space the best.
You can drag & drop an image or browse your computer library.
7. Next, if you want to add more than one upsell, you will also need to set priorities to them, so we know which one prioritize and thus, show before the other one.
As usual, the lower number means higher priority. Please note that the two upsells with the highest priority from the same product list as the items of the initial order will be shown in the email. This means if the order included dated tickets, the upsells with the highest priority from the dated ticket product list will be shown.

8. You can add new Upsells by clicking +Add an upsell and following the same steps as above.
Please note that if you add more than two upsells, only the two upsells with the highest priority will be included in the email (if they are not already purchased).
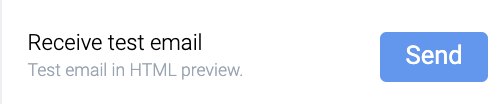
To check your work, you can send yourself a test email.
Please be aware that you will see the upsell as it was attached in this test email, including the correct copy, but it will not be linked correctly in the test email.
In the real emails going out to your customers, the button Buy now will be linked directly to your Checkouts' Upgrade page of your Checkout.