Tools to turn one-time customers into loyal fans do not need to be complicated! They can be as easy as providing a discount code that makes considering a future visit just another tat more attractive to your visitors.
This is why you can now easily enable giving the little gift to your customers right from your Convious Control Panel.
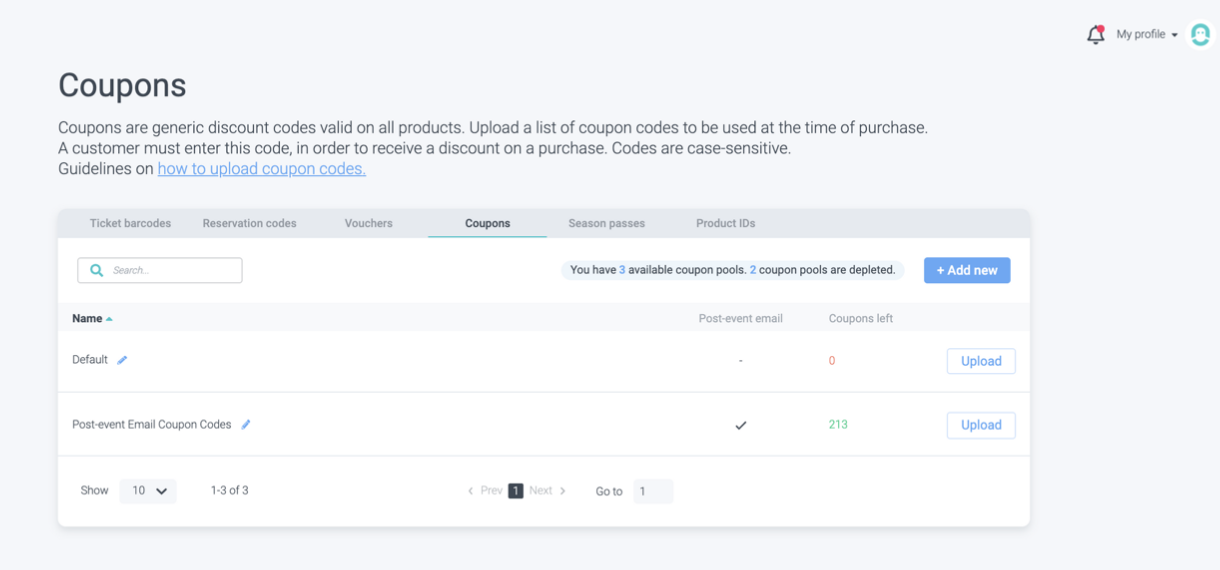
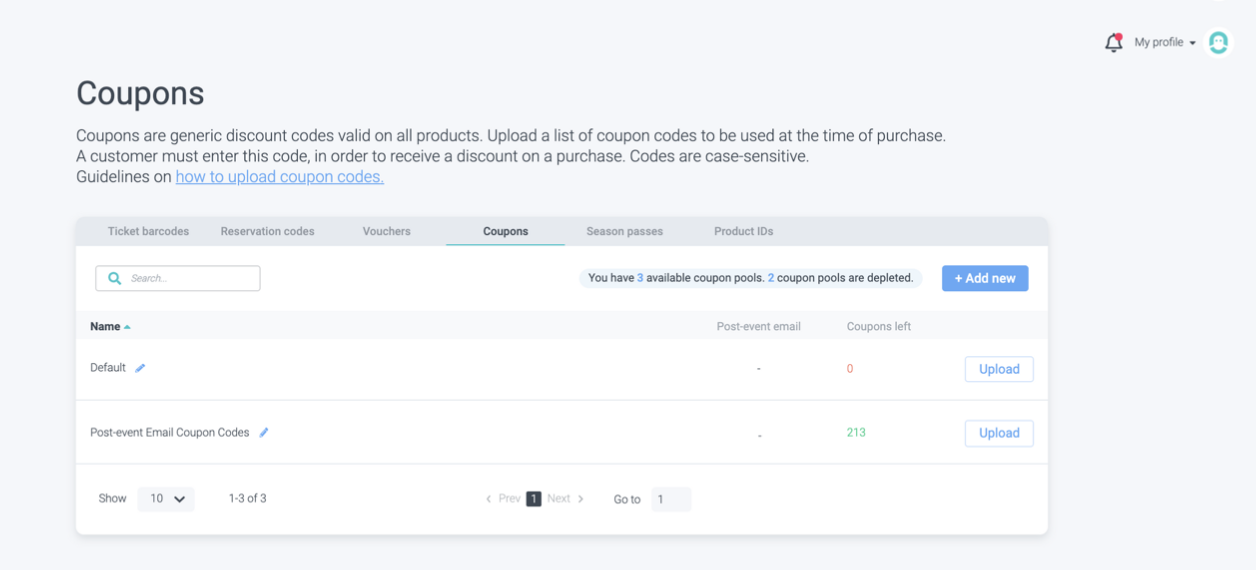
1. First, before you can add your discounts to your post-event email, you will have to upload them to the Control Panel.
In this case, you need to upload Coupon codes. Most likely, you want to have a separate coupon code pool for this purpose with specific coupons. Here you can find out how to format and upload your file to create this pool.
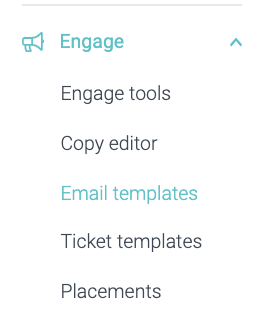
2. Once you have done that, you can head over to your email templates.3. Find your post-event email and click Edit.

Now you are entering the Convious Studio.

4. First, you will see the settings page of your post-event email. Here you can edit the global settings:
Theme colour
Background colour
Enable a signature
Enable social iconsand
Assign a coupon pool
This is where you need to select the right coupon pool from the drop-down menu.
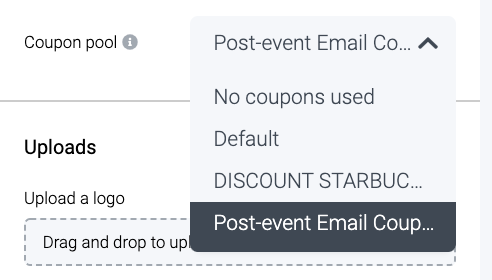
Please note that you should ensure the pool you connect has coupons uploaded. If an attached coupon pool is empty, the email will not be sent at all. But do not worry: If you have a pool connected and that is running out of coupons, we will notify you so you can either upload more coupon codes or, if you want to stop sending codes, you can de-attach the coupon pool, and the post-event email will be sent out as per usual without any discount codes.
Additionally, on your settings page, you can also edit your logo and the agent photo used in the signature of the email.
Lastly, you can send yourself a test email to see whether everything displays the way you would like it to. But please note that the discount code display will not be shown in a test email to avoid using and wasting discount codes for tests. The test email will be sent to the email that you are logged into the Control Panel with.
5. Following, you will need to add the voucher variable, so your voucher will be displayed.
This may sound tricky but it is actually very easy:
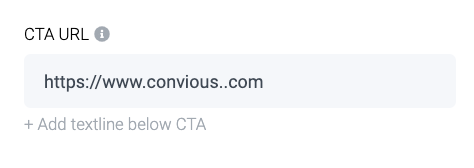
a) Head to the CTA URL field and choose + Add textile below CTA to add another text field to your email.
b) Pick an attractive sentence that explains you are giving a voucher code - maybe you want to add why you provide the code or why your customer should return soon - you have creative liberty here!
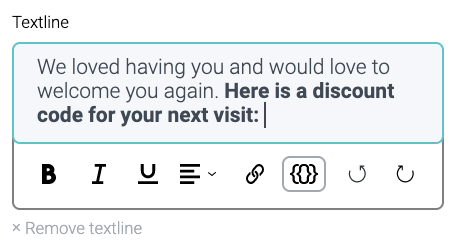
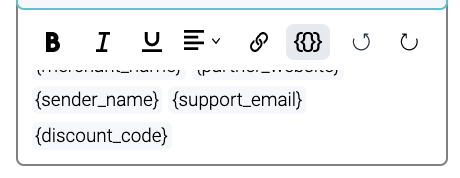
Choose the {{}} field to show the variables.
Select {discount_code}
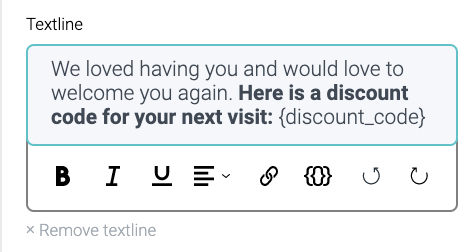
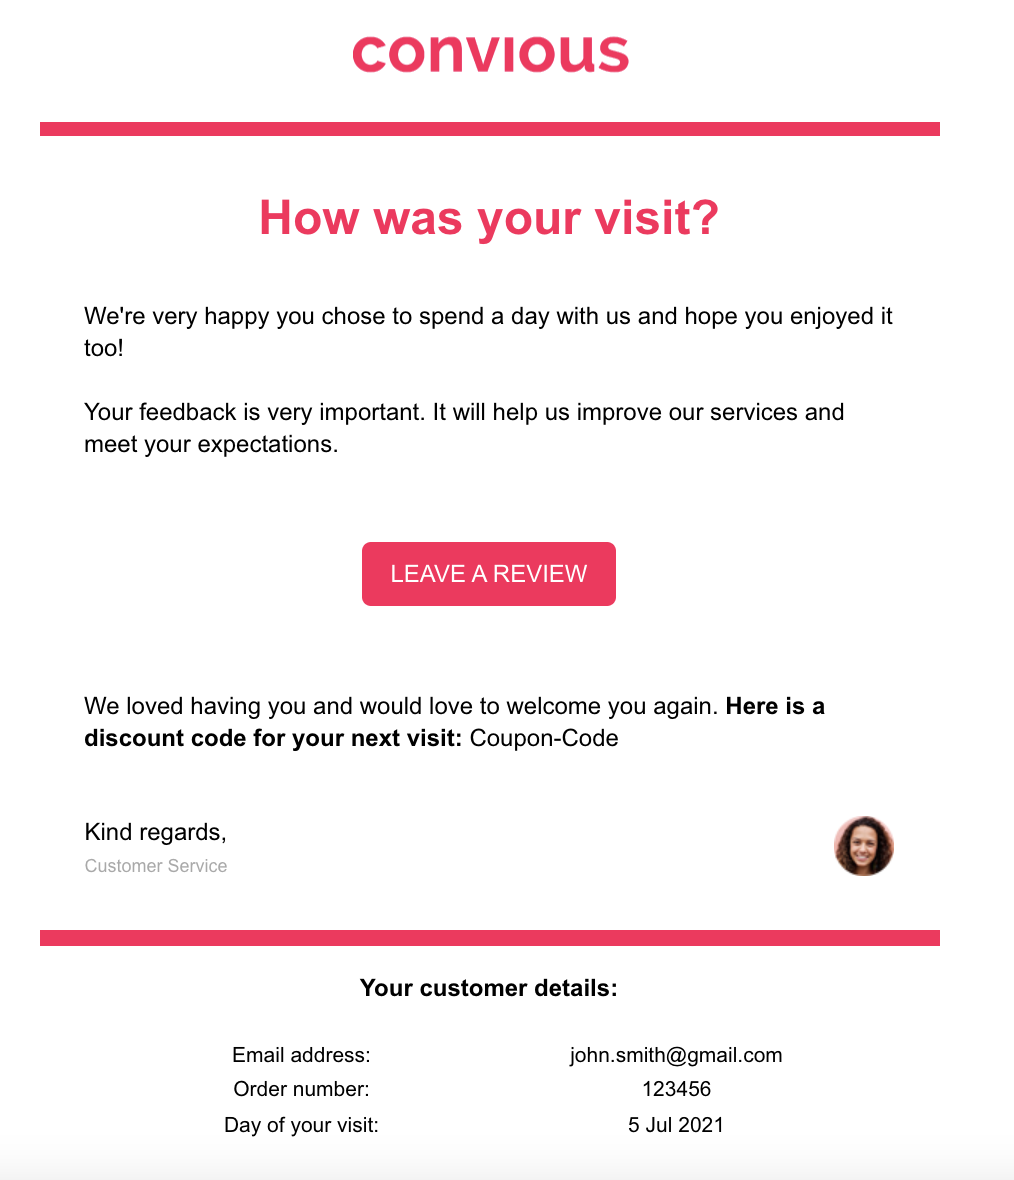
Now, the added line will appear in your preview, including a placeholder for where the real coupon will be used.
6. Make sure to add all translations of your newly added text field.
7. Lastly, make sure to hit Publish and that your post-event email is enabled.

DONE!
After publishing your email, you will see your coupon code is also attached to the post-event email on your coupon codes page.