Next to having your offers ready to sell - you also want your Checkout to be as appealing as possible. This includes look & feel or style and copy. To edit your copy, please head over to the Copy Editor. Your Checkout look & feel are very important, and thanks to the Convious Studio, very easy to edit!
1. How to navigate on your engage tools page
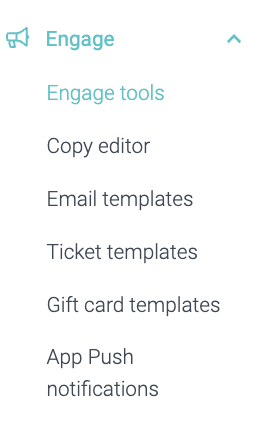
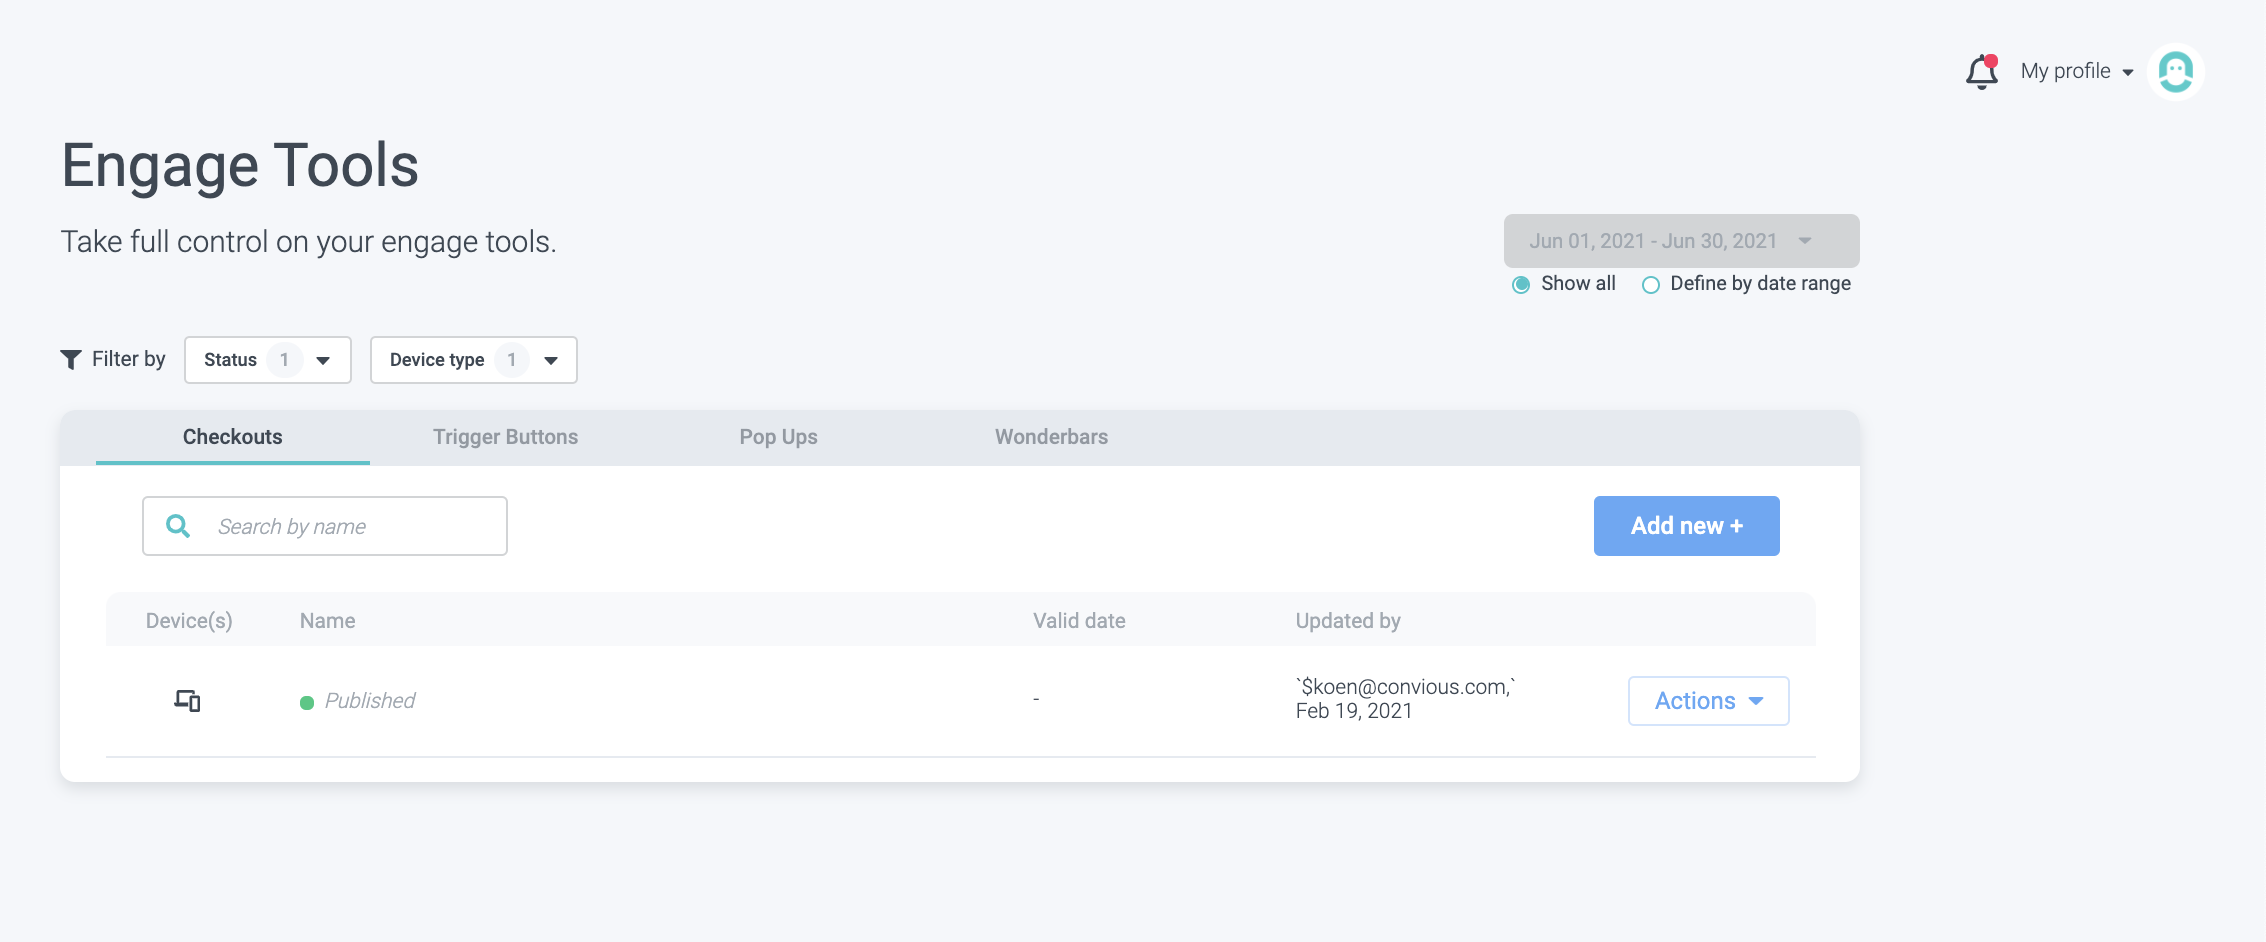
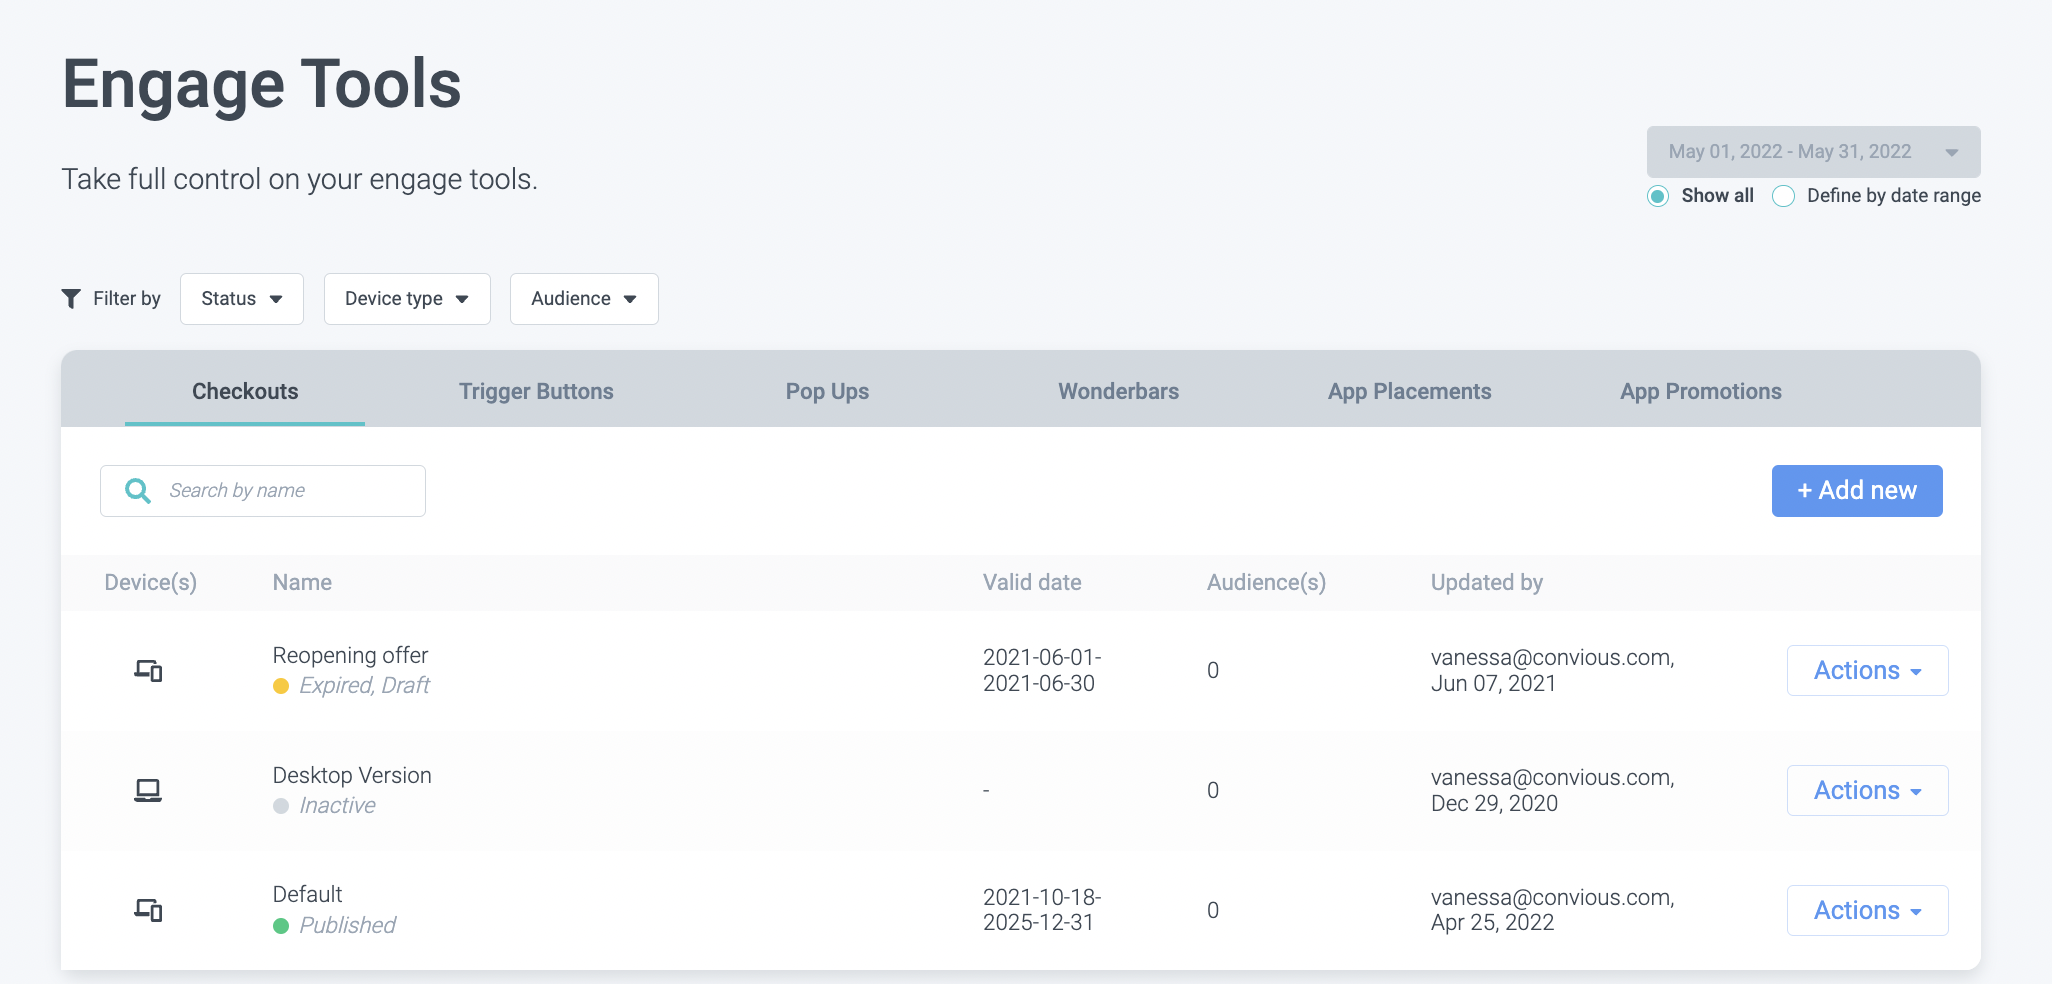
1. Navigate to the main menu on the left-hand side of your screen and click Engage Tools within the Engage section.
Now, you will see all your previously set up engage tools separated by tabs.
To view your setup Checkout, choose the Checkout tab.
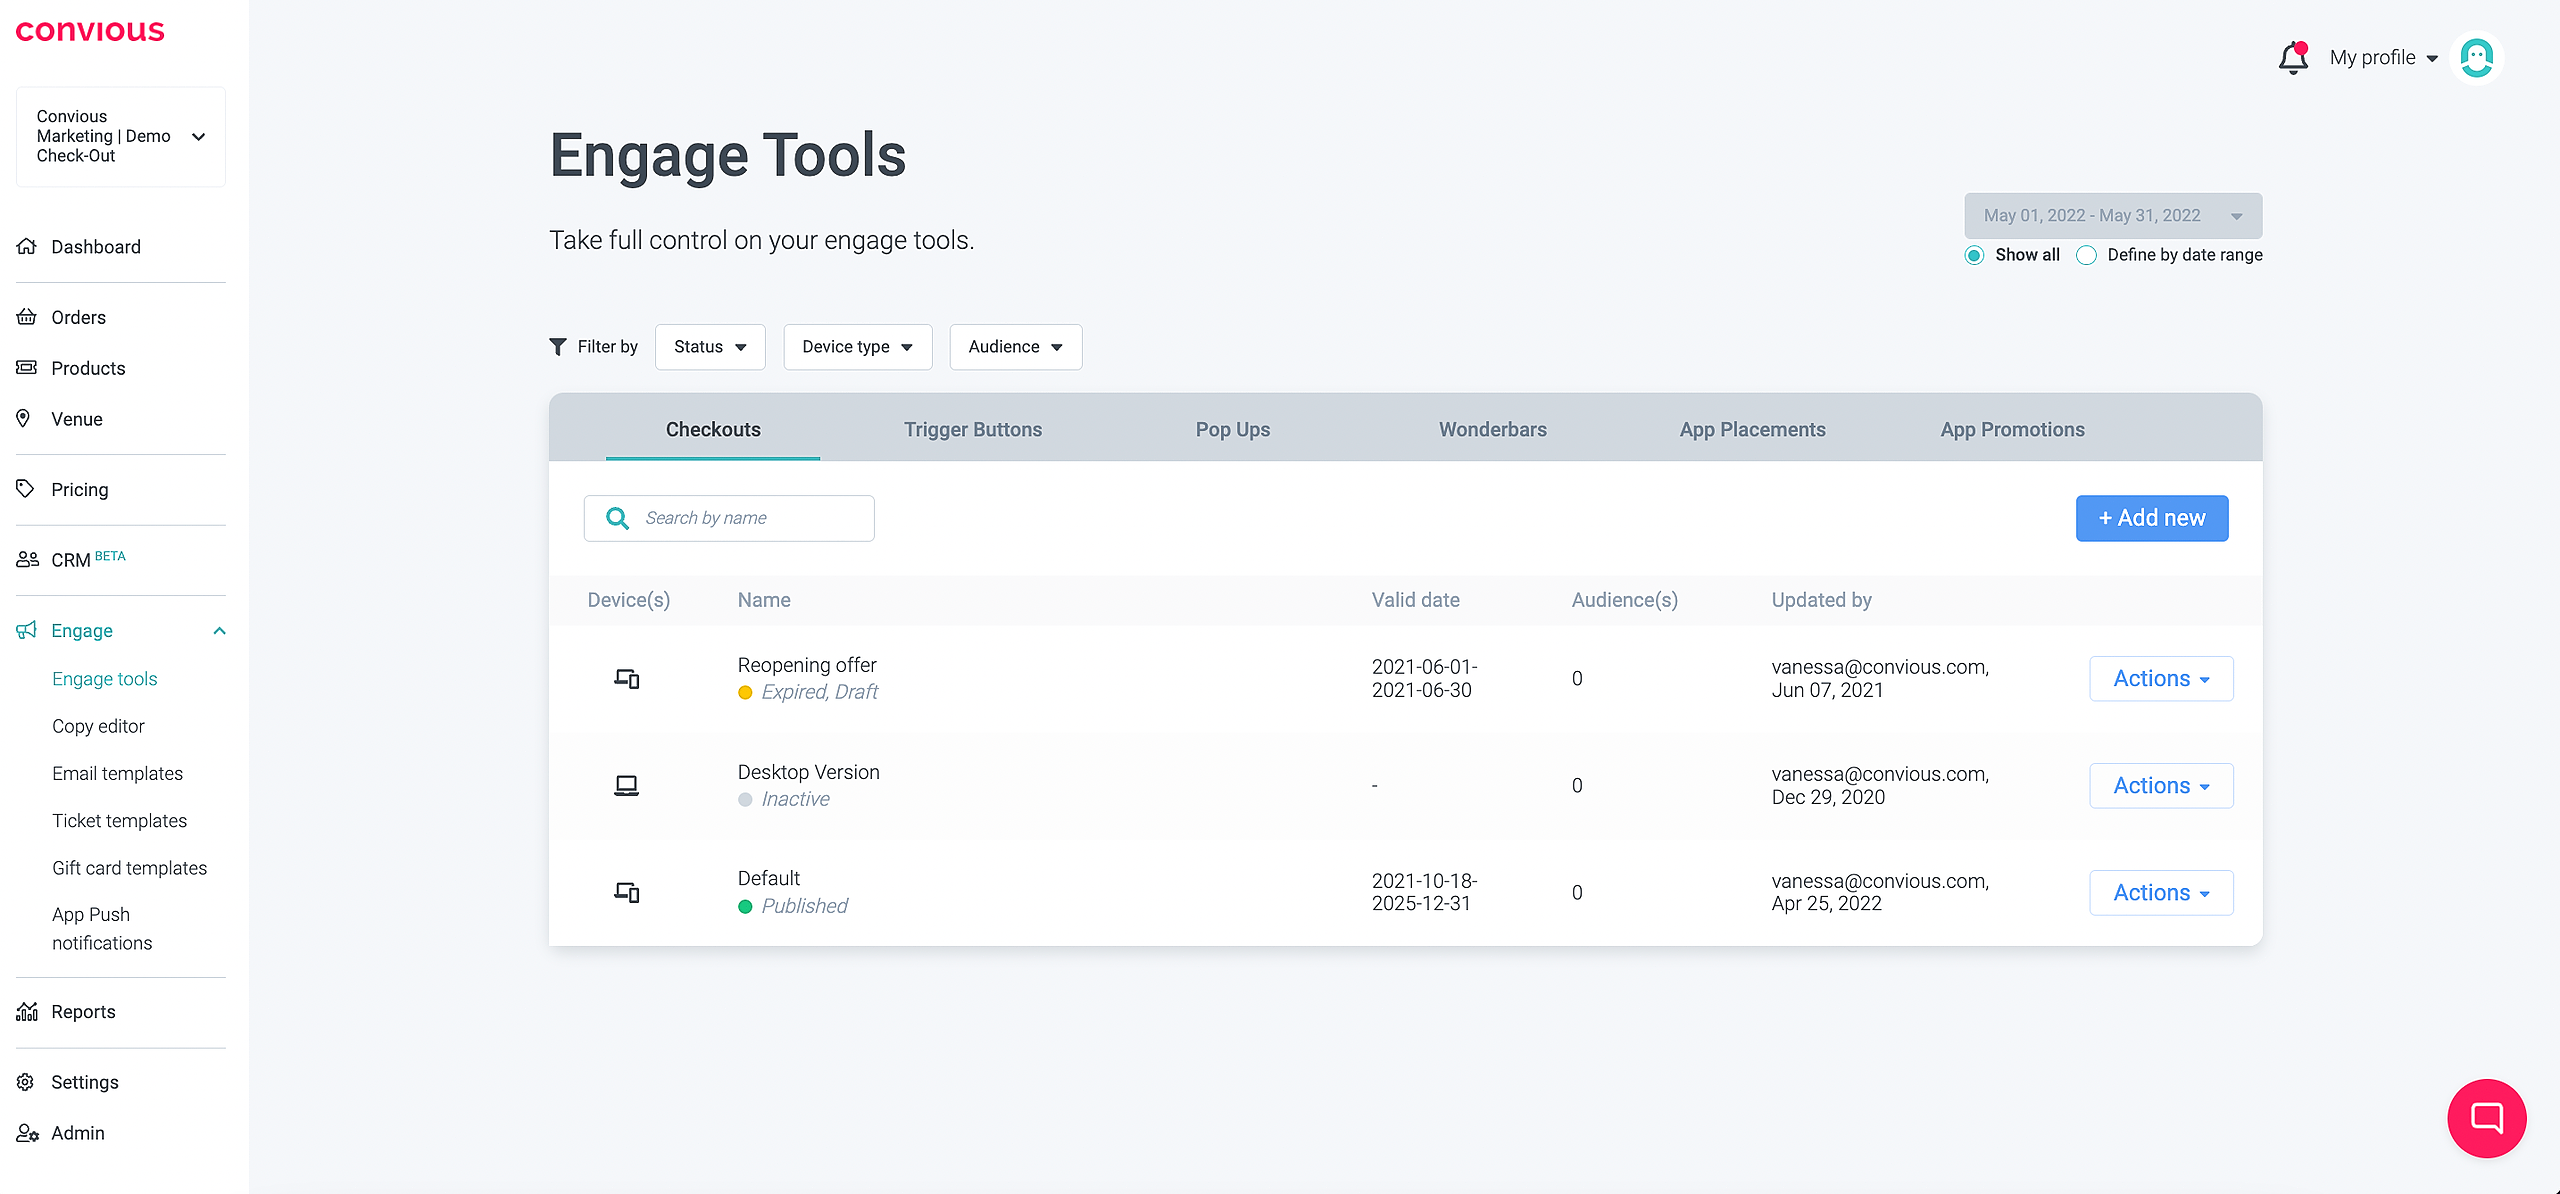
In each overview, you can:
Unpublish or publish an Engage tool version
Edit its information: Name and device - you can not change its type.
Studio: edit its text, style, triggering, or settings
Delete a version
via the Actions option on its right-hand side.

2. Per engage tool, you can filter your previously set-up versions by date range, status, or device type.
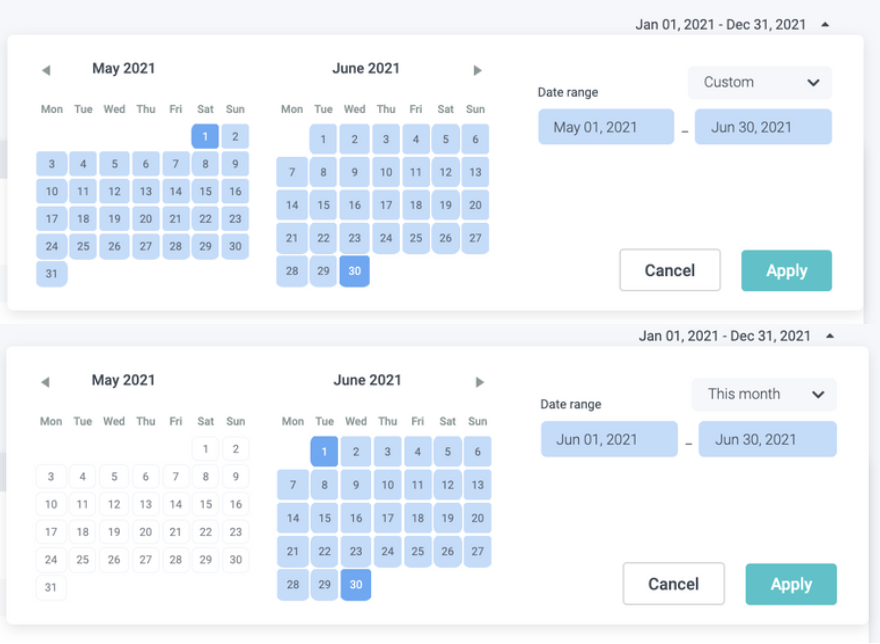
2 a) If you want to filter them by date range, you have to choose to Define by date range.
Then you can choose either a custom date range within the calendar or select a pre-defined range.
b) If you want to filter by Status, select Status at the filter menu on the left and select one more status you want to view.
You can filter and view published versions, unpublished versions, drafts, upcoming (scheduled) versions, and expired (previously published) versions.
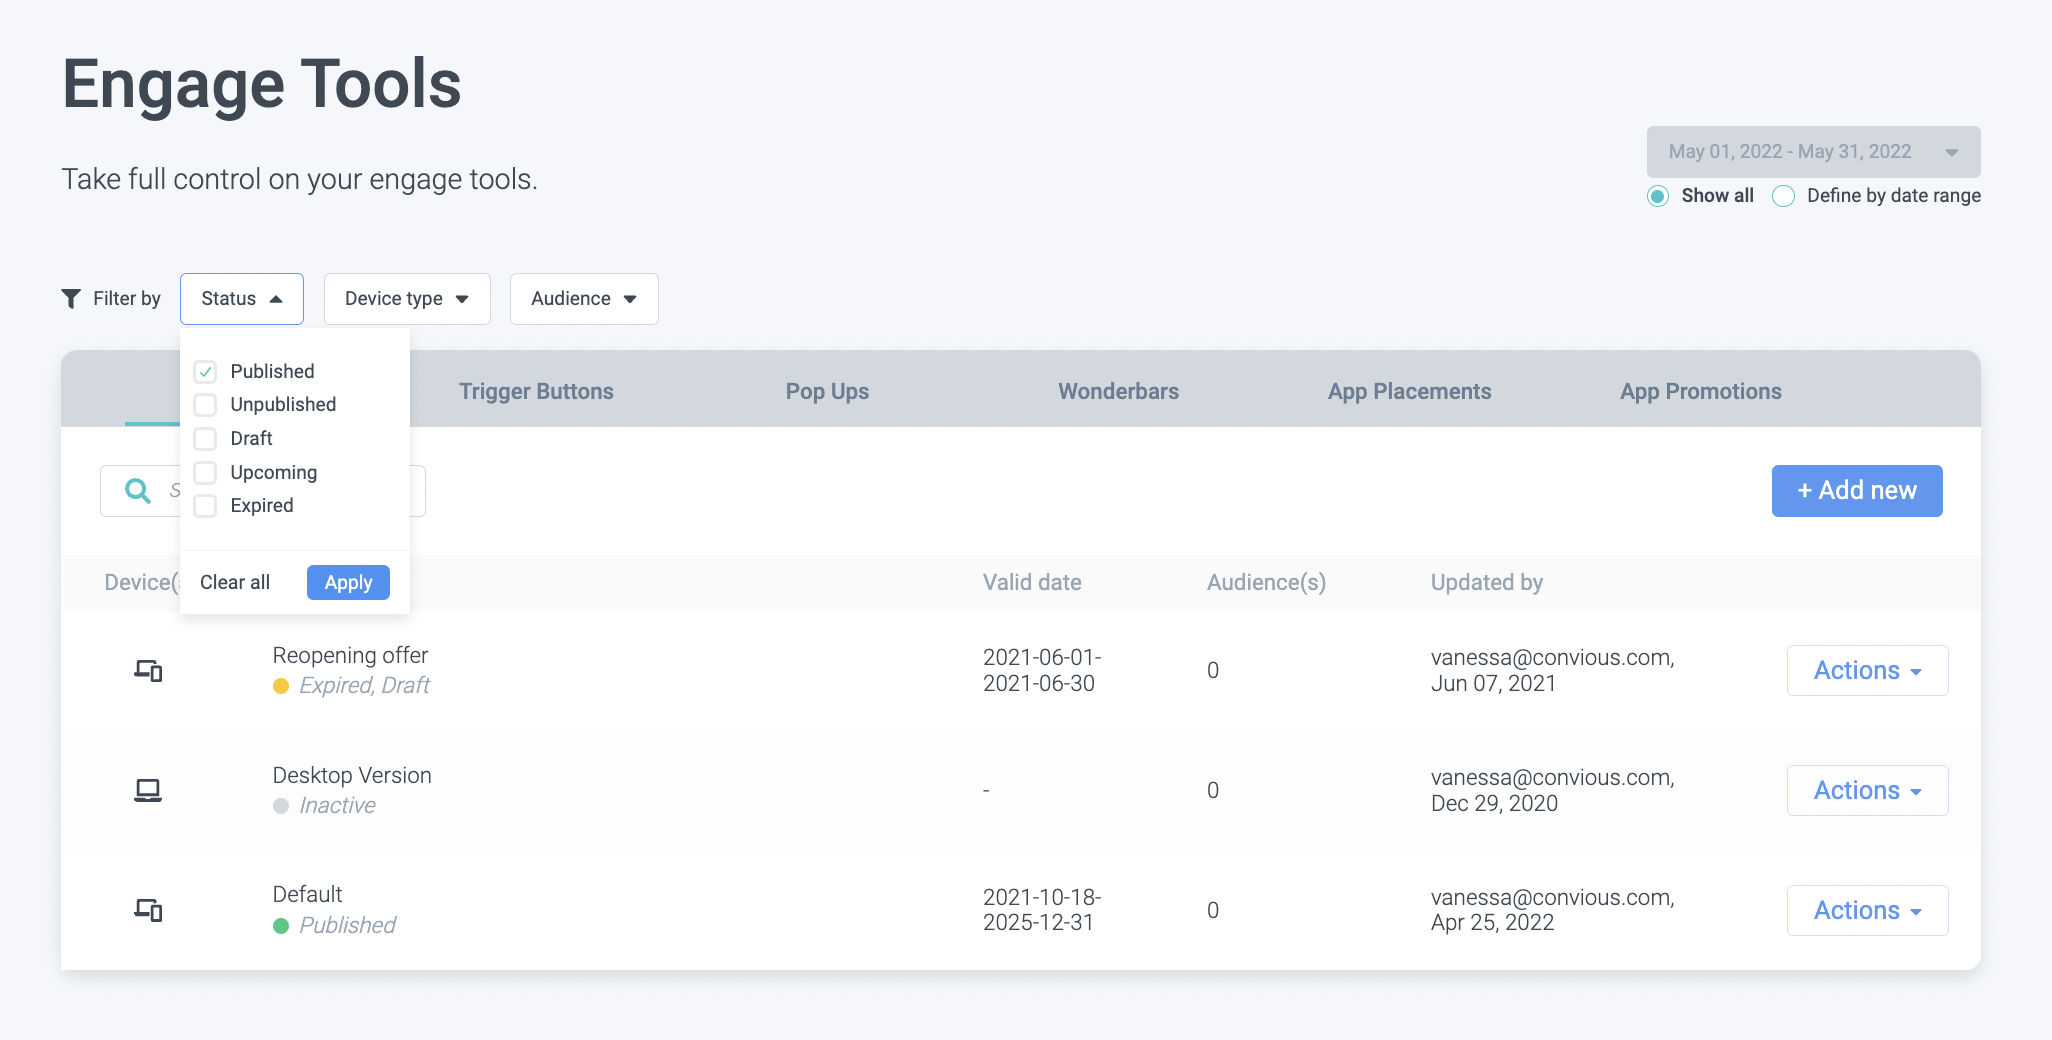
Make sure to select the right status and hit apply.
2 c) Lastly, you can filter by device type. Since you can set up various versions per tool and per device type that they are displayed on, you can now also select to only view mobile versions, desktop versions, or those versions that will be displayed on all device types.
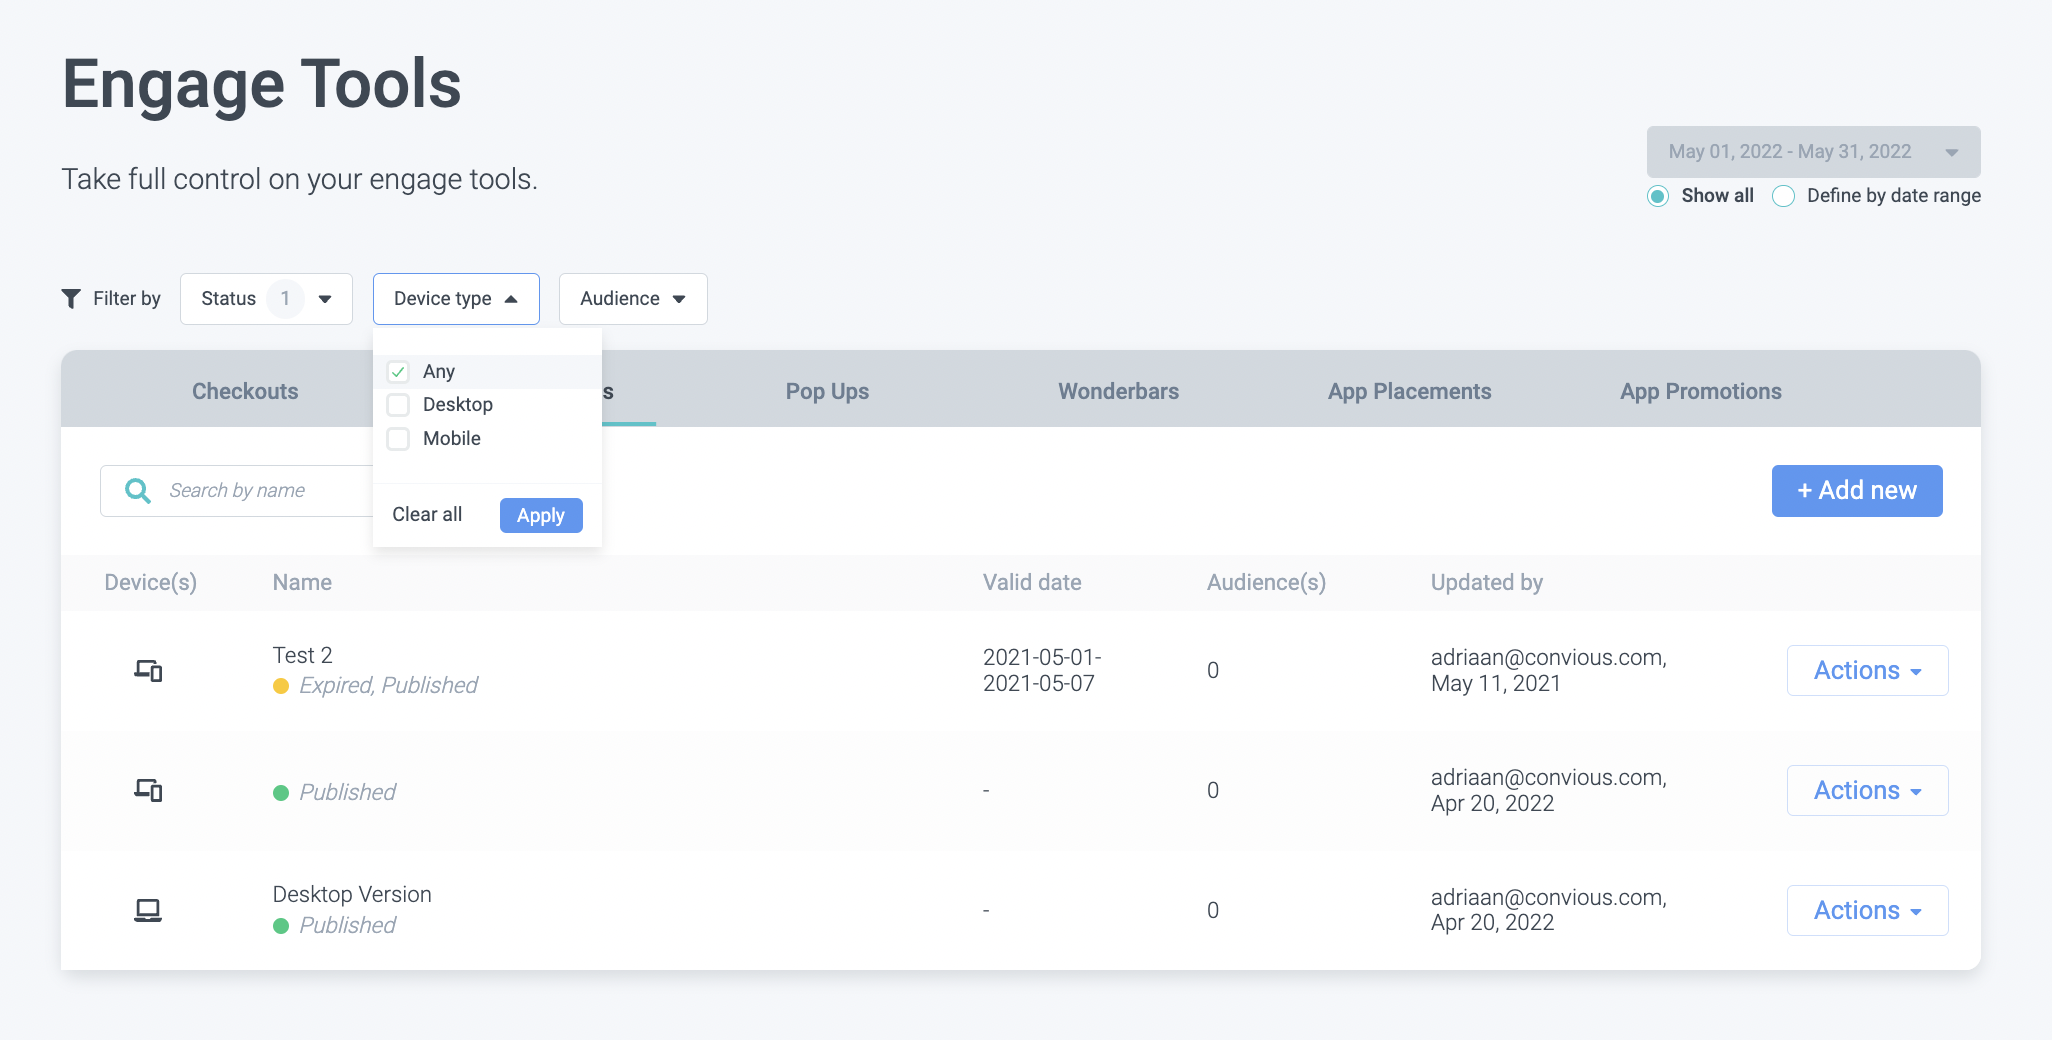
Make sure to select the device type you want to filter for and hit apply.
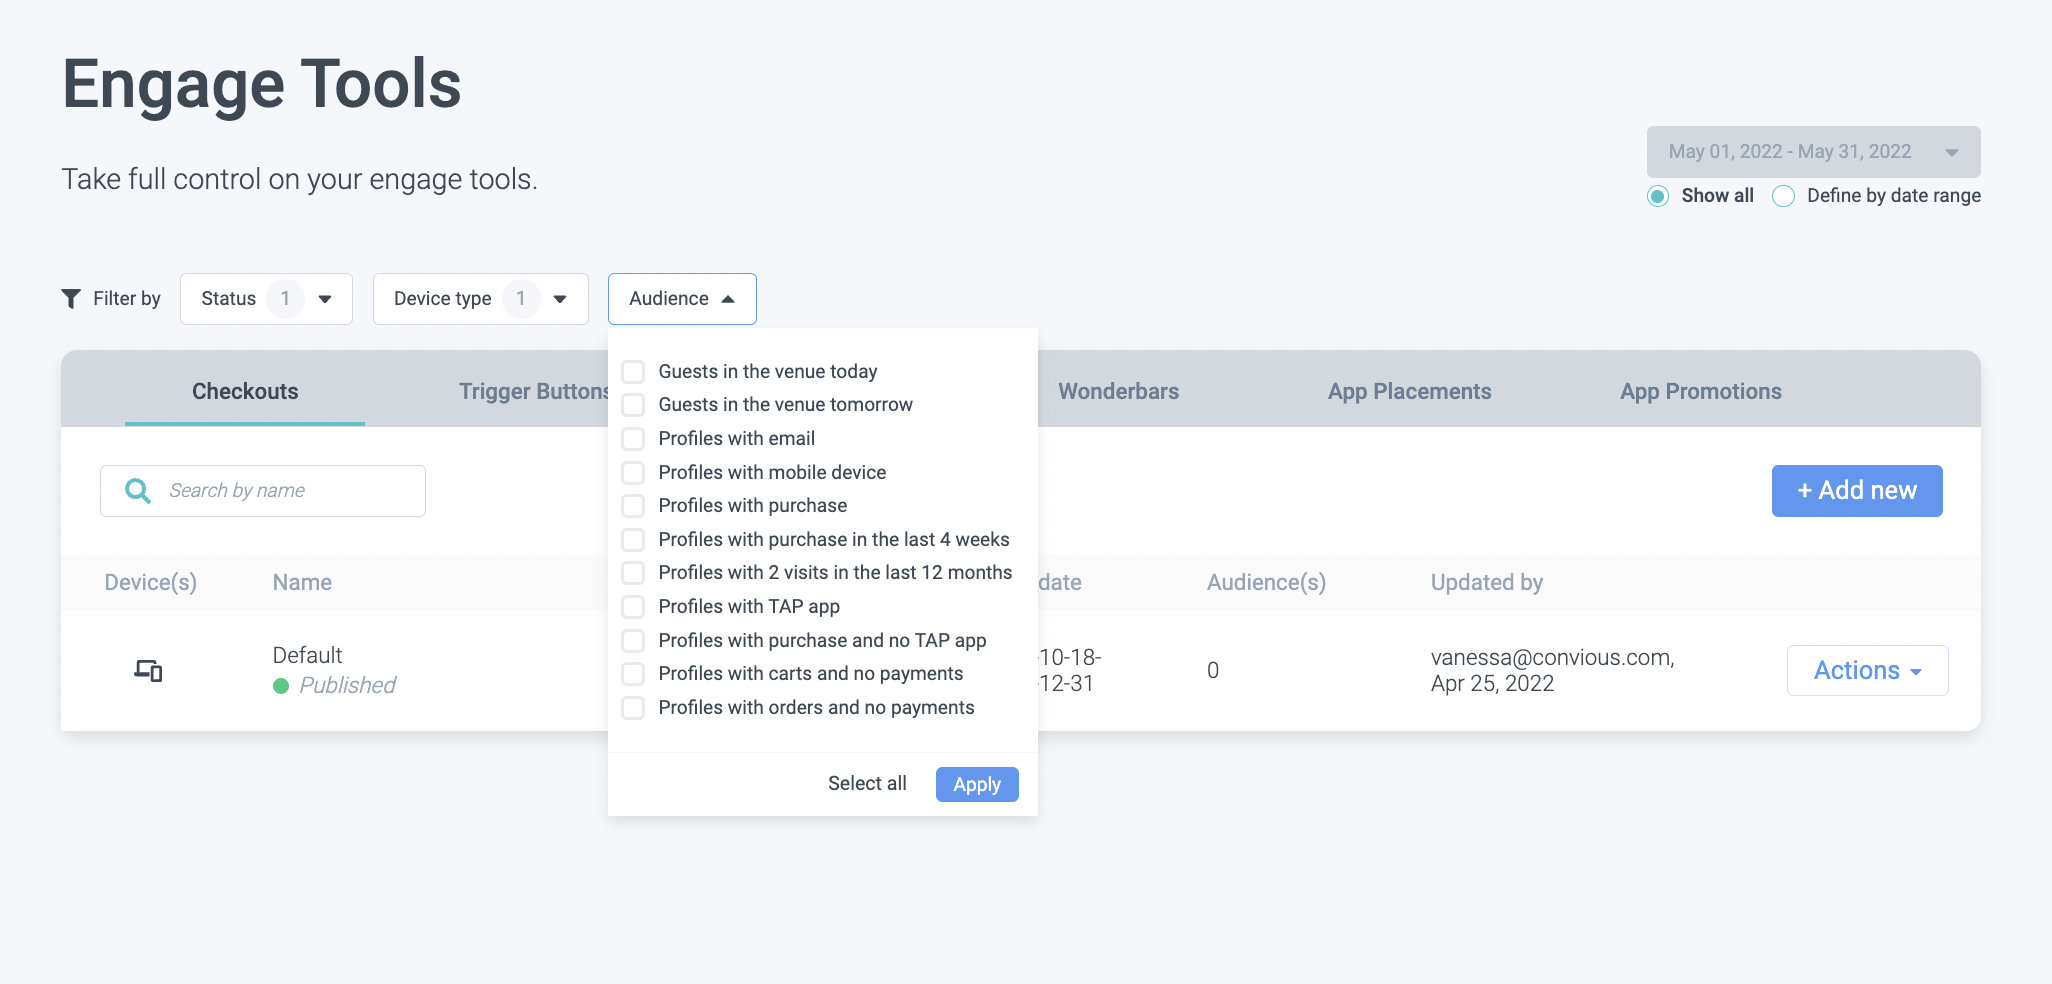
2 d) Lastly, if you are using the power of personalized engage tools and have versions set up by audience type, you can filter by audience.
2. How to create a new Checkout
1. Click +Add new, If you don't have it set up yet.
2. Give it a name.
The tool type will be set depending on the engage tool tab you are on.
3. Set up the device you want to trigger this on.
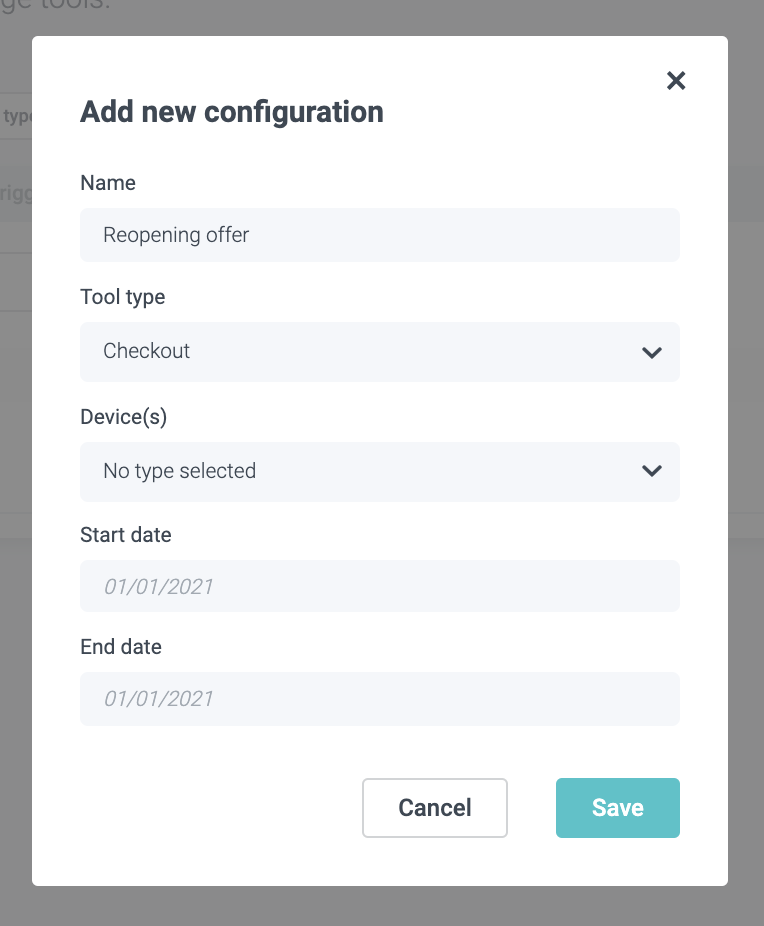
All (default version): This is displayed on desktop as well as mobile and when desktop/mobile versions are not defined.
Desktop: These are desktop or laptop devices with screens larger than 7" in diagonal.
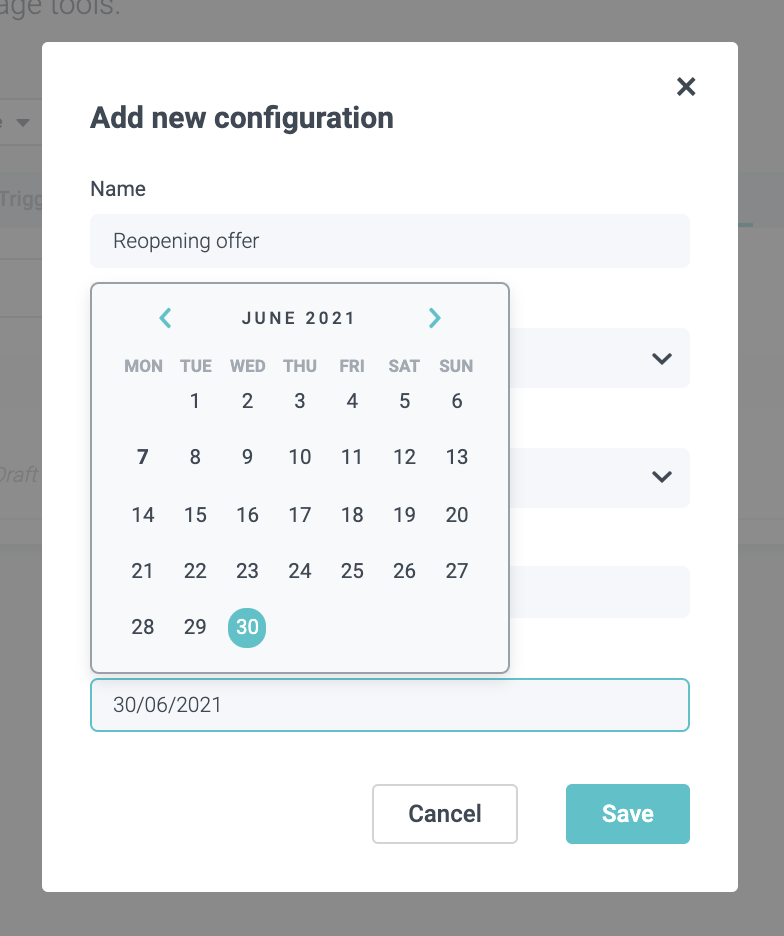
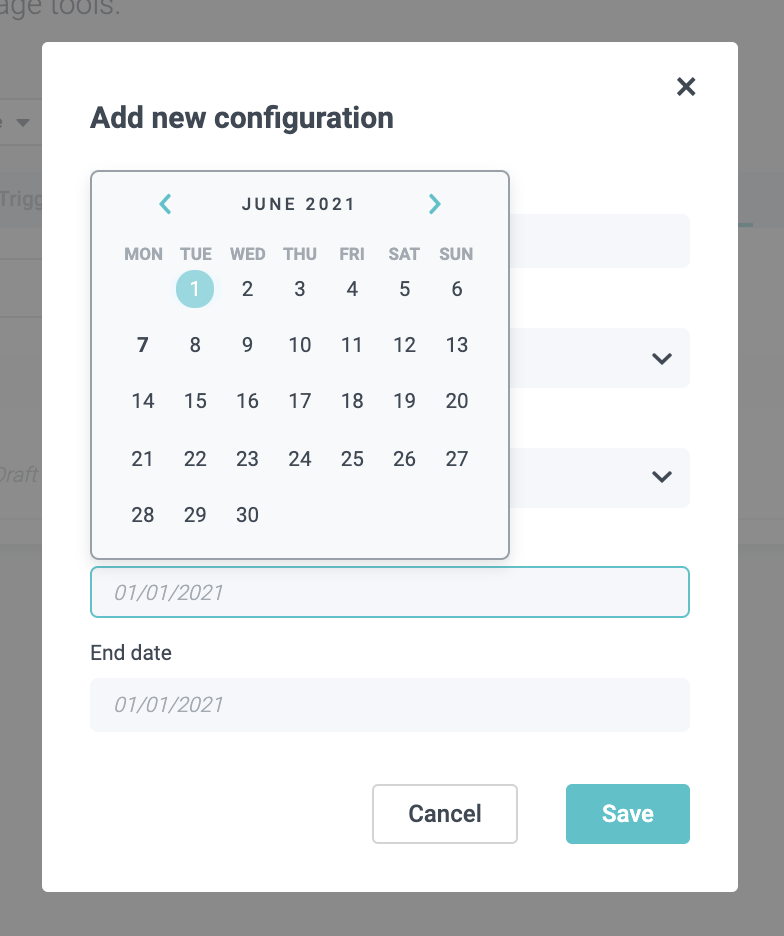
Mobile: These are hand-held devices that include a phone.4. Schedule your version by setting a start and end date.
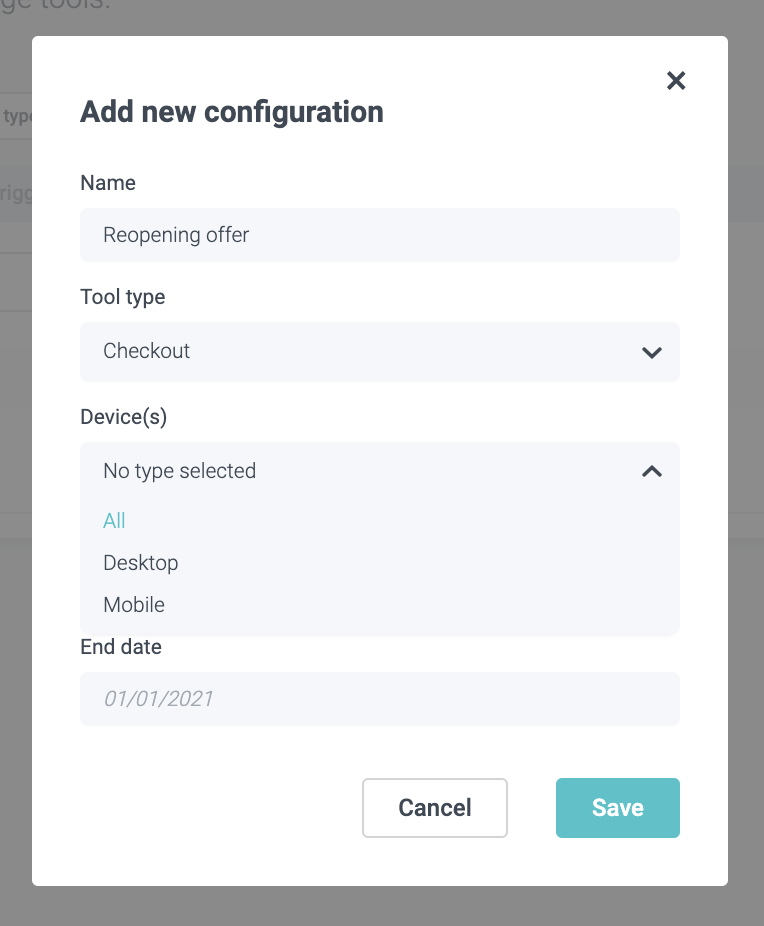
5. Click Save.
To edit the new Checkout, click on Action and then Studio to enter the Convious Studio.
You will always be able to recognize the Convious Studio by this Logo in the top-left corner:

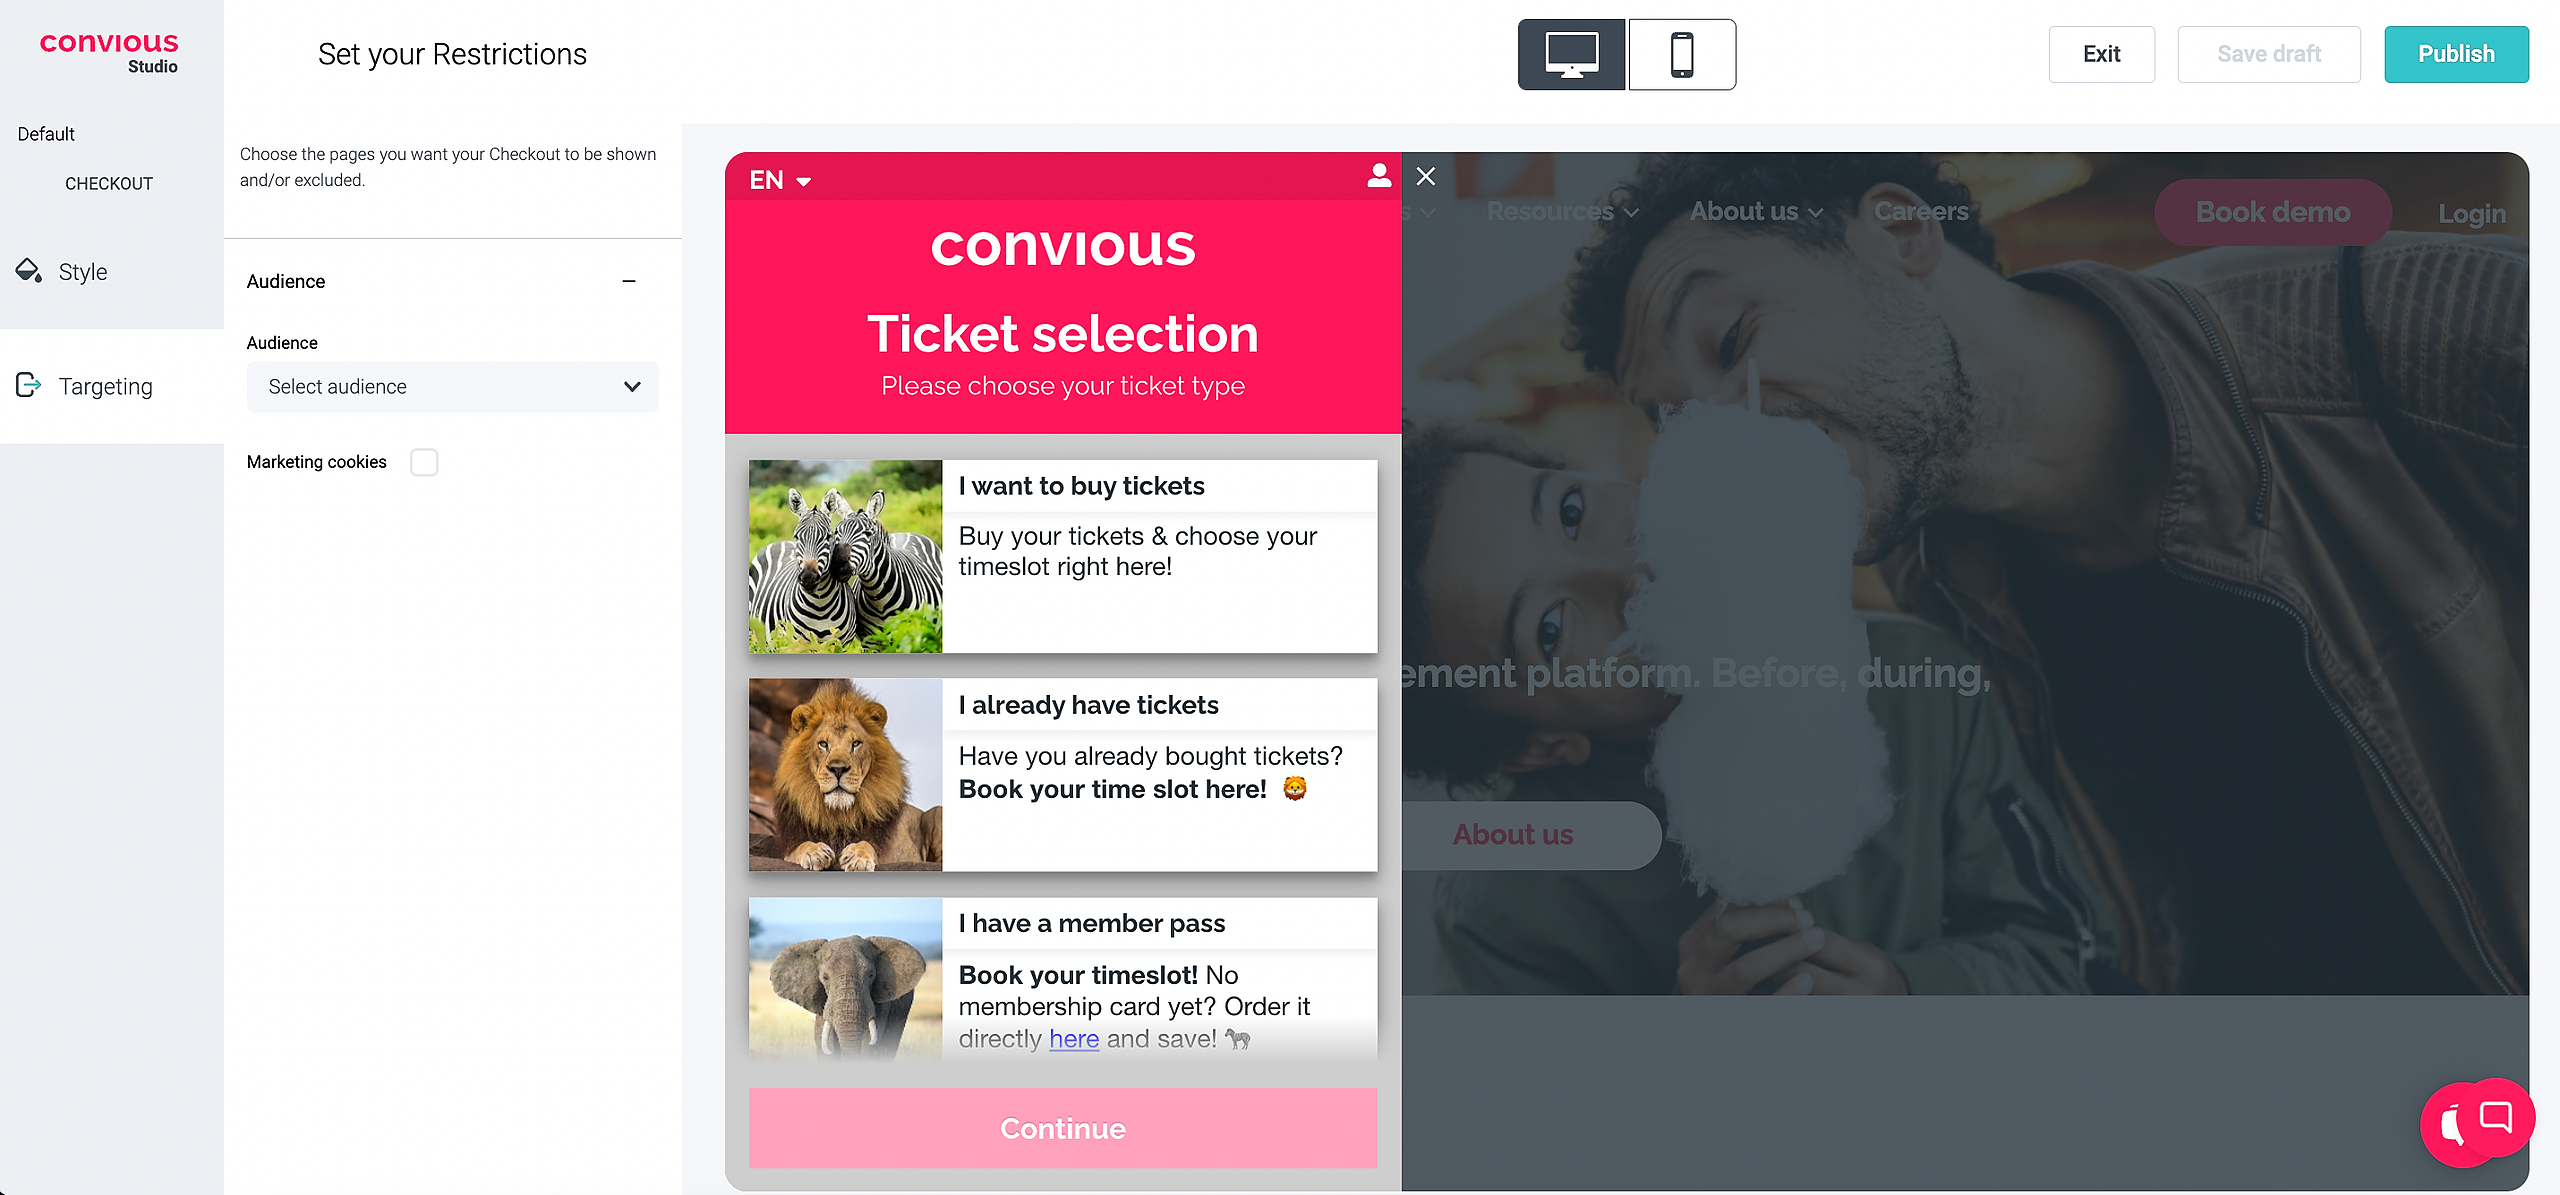
3. Style your Checkouts
1. First, you need to upload your logo.
2. Then, you need to set up your theme color. This should be your brand's main color.
3. Set your button settings. This is the button that will appear at the bottom of your Checkout once a selection is made.
You will be able to define your:
Button corners: Square, Slightly rounded or round.
Button style: Solid or gradient.
Button color: Use the door picker or enter a HEX or RGB code to add a color.
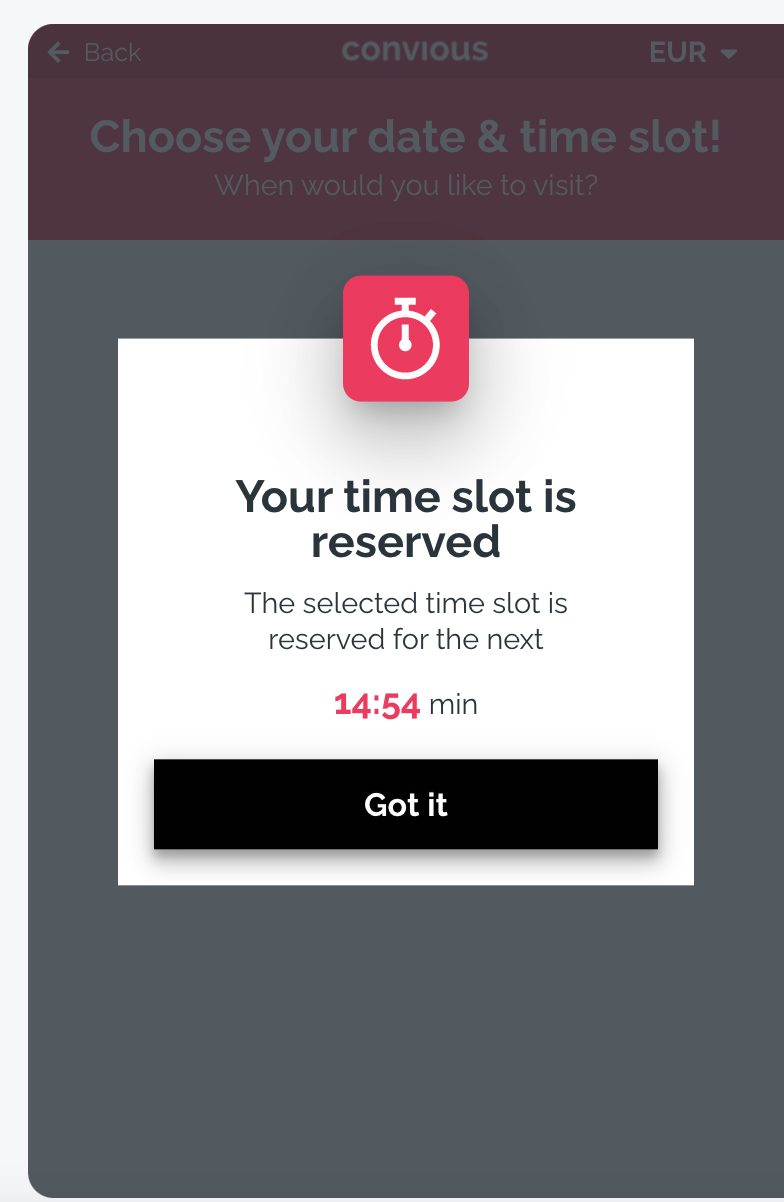
Notice button color: this will be the button that will appear on the 15-minute reservation notification window at the end of the Checkout flow. Use the door picker or enter a HEX or RGB code to add a color.
4. Enter your Typography.
You will need to set a primary and secondary typography.
If you have a common typography, it will appear in the drop-down menu. If you have a typography that is not included in the provided selection, you can upload it by choosing custom and entering its Css script below.
Custom fonts work only with Google Fonts using the following structure: @import url('https://fonts.googleapis.com/css?family=Hubballi'). Instead of "Hubballi" add the name of the font.
4. Audiences for Checkouts
Is your Checkout part of an Engage tool campaign such as Black Friday season pass campaign for those who are most likely to buy one and you want to adjust your Checkout just for them? This is possible with audience targeting!
So, let's dive into how to set up your engage tool, including audiences.
When entering the targeting section, you should see the following option:

Expand the drop-down to see the entire list of pre-defined audiences you can choose from:
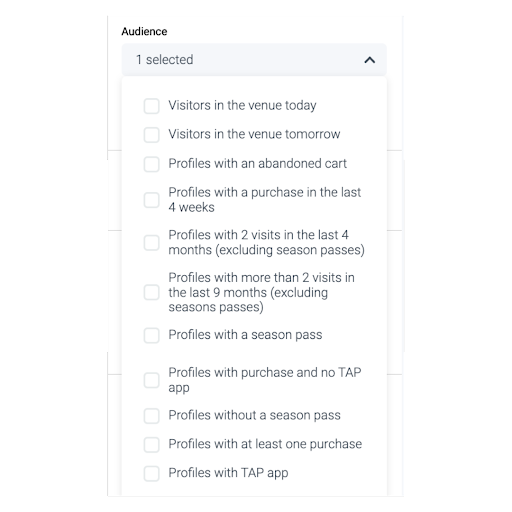
First, you will need to define the character of the campaign you have prepared.
Why? Because you can't just use your customers' information for marketing purposes without their consent. But you can target them if the purpose behind your message is merely related to the service you offer.
Service: The communication of new COVID measures or that parking is not possible on parking lot 1 today is considered vital to the service you deliver and, thus, a service message.
Marketing: Targeting your customers to offer parking tickets or upsell a special meal deal is considered marketing.
If your message is a service message, you can disregard the marketing cookie checkbox below the audience selection.

If your message is a marketing message, you need to tick the cookie checkbox below the audience selection because this means that this engage tool version will only be shown to those who consented to having their data used to personalize their experience on your website.
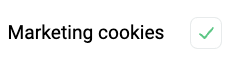
In this case, if it is part of a marketing campaign and all other engage tool versions you created to have the box ticked, it makes sense to tick it here as well to avoid incoherence for the other visitors.
Please note that to guarantee you don't miss this important checkbox, we implemented a security pop-up that will remind you to check whether you have set the right filters before you publish. It will only appear if the marketing cookies checkbox is not ticked.
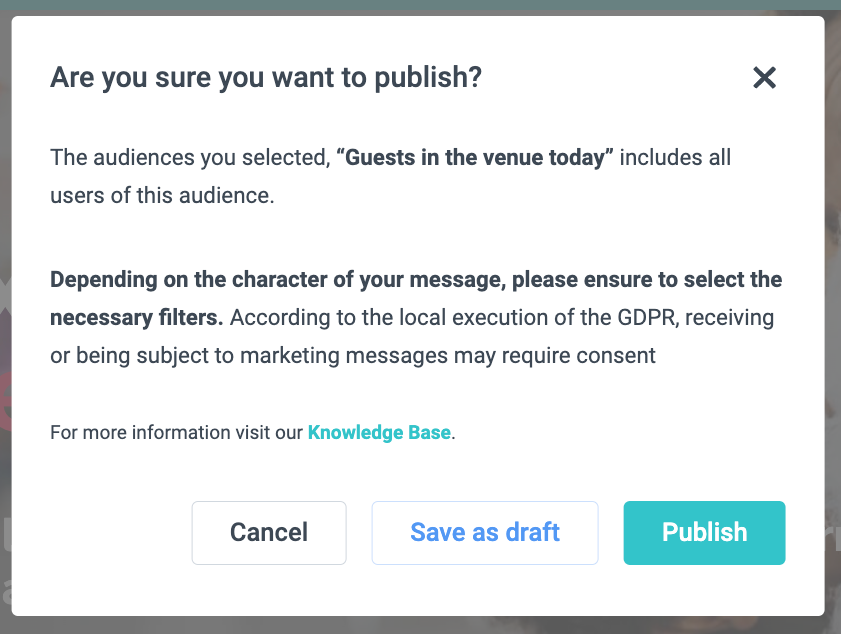
If you're sure to have it all set up right, hit Publish. If you want to revisit it and come back later, hit Save as a draft, and if you want to edit it right away, just hit Cancel, edit your version, and hit publish once again.
Do you not see the audiences in your Convious Studio but want to seize the many possibilities of personalization? Please get in touch with your Customer Success Manager, and we can set it up with you.