As you most likely know, the Wonderbar is a vital part of the three Convious engagement tools. It will appear at the top of your website with an engaging and customized message for your visitor! This is vital to most of our partners, driving traffic to your ticket shop and generating high conversion rates.
As with your other engagement tools, it is clear that you want your Wonderbar to be as engaging as possible while also integrating perfectly with your website's design! Luckily, you will be able to be in charge of ensuring this will be the case at all times.
To make sure your engage tools are always in perfect shape for your visitors - you can set up multiple engage tools for different audiences and devices.
1. How to navigate on your engage tools page
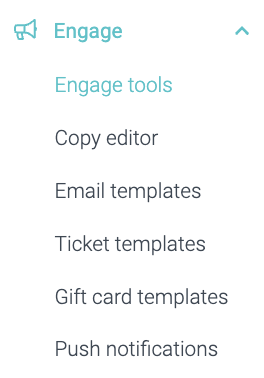
1. Navigate to the main menu on the left-hand side of your screen and click Engage Tools within the Engage section.
Now, you will see all your previously set up engage tools separated by tabs.
To view your setup Wonderbars, choose the Wonderbar tab.

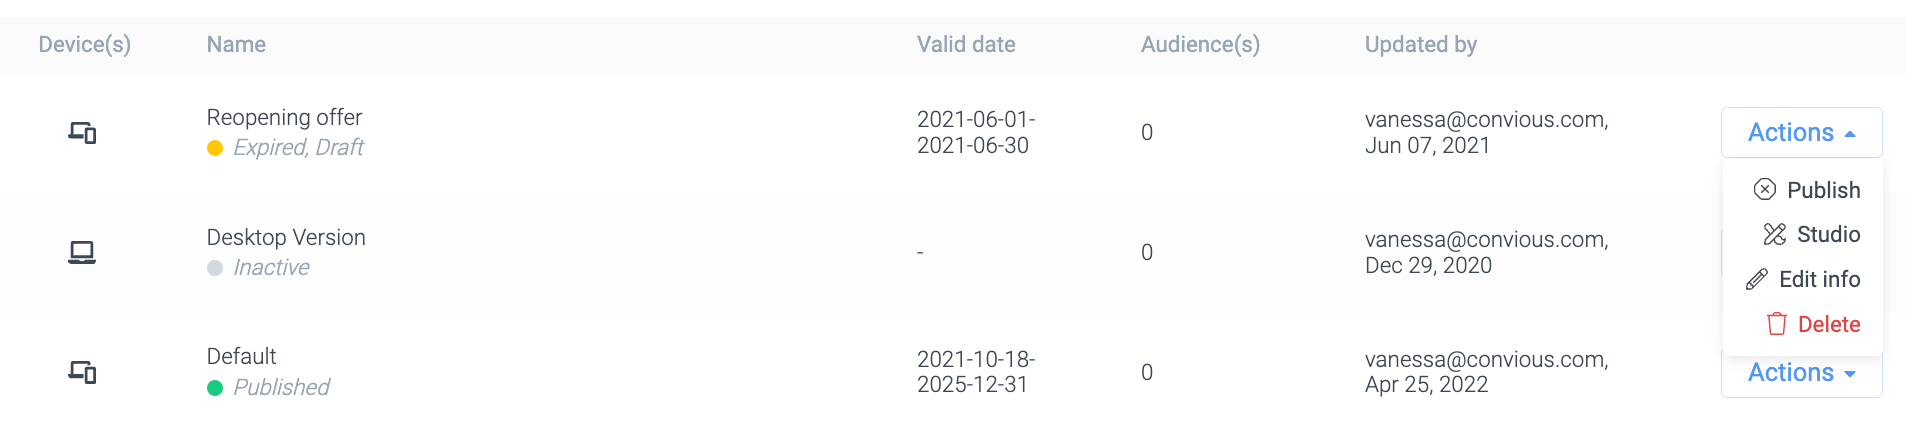
In each overview, you can:
Unpublish or publish an Engage tool version
Studio: edit its text, style, triggering or settings
Edit its information: Name and device - you can not change its type.
Delete a version
via the Actions option on its right-hand side.
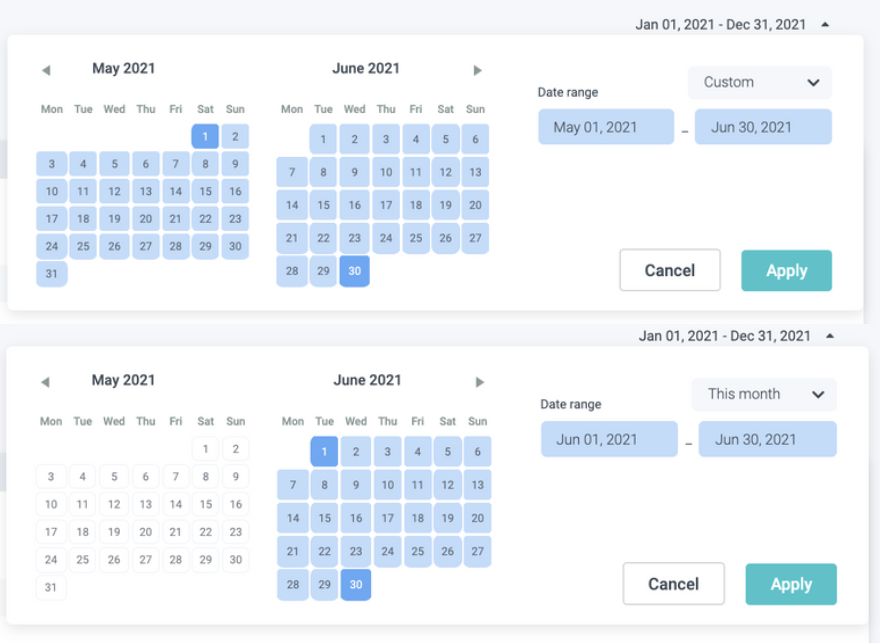
2. Per engage tool, you can filter your previously set-up versions by date range, status, or device type.
2 a) If you want to filter them by date range, you have to choose to Define by date range.
Then you can choose either a custom date range within the calendar or select a pre-defined range.
b) If you want to filter by Status, select Status at the filter menu on the left and select one more status you want to view.
You can filter and view published versions, unpublished versions, drafts, upcoming (scheduled) versions, and expired (previously published) versions.
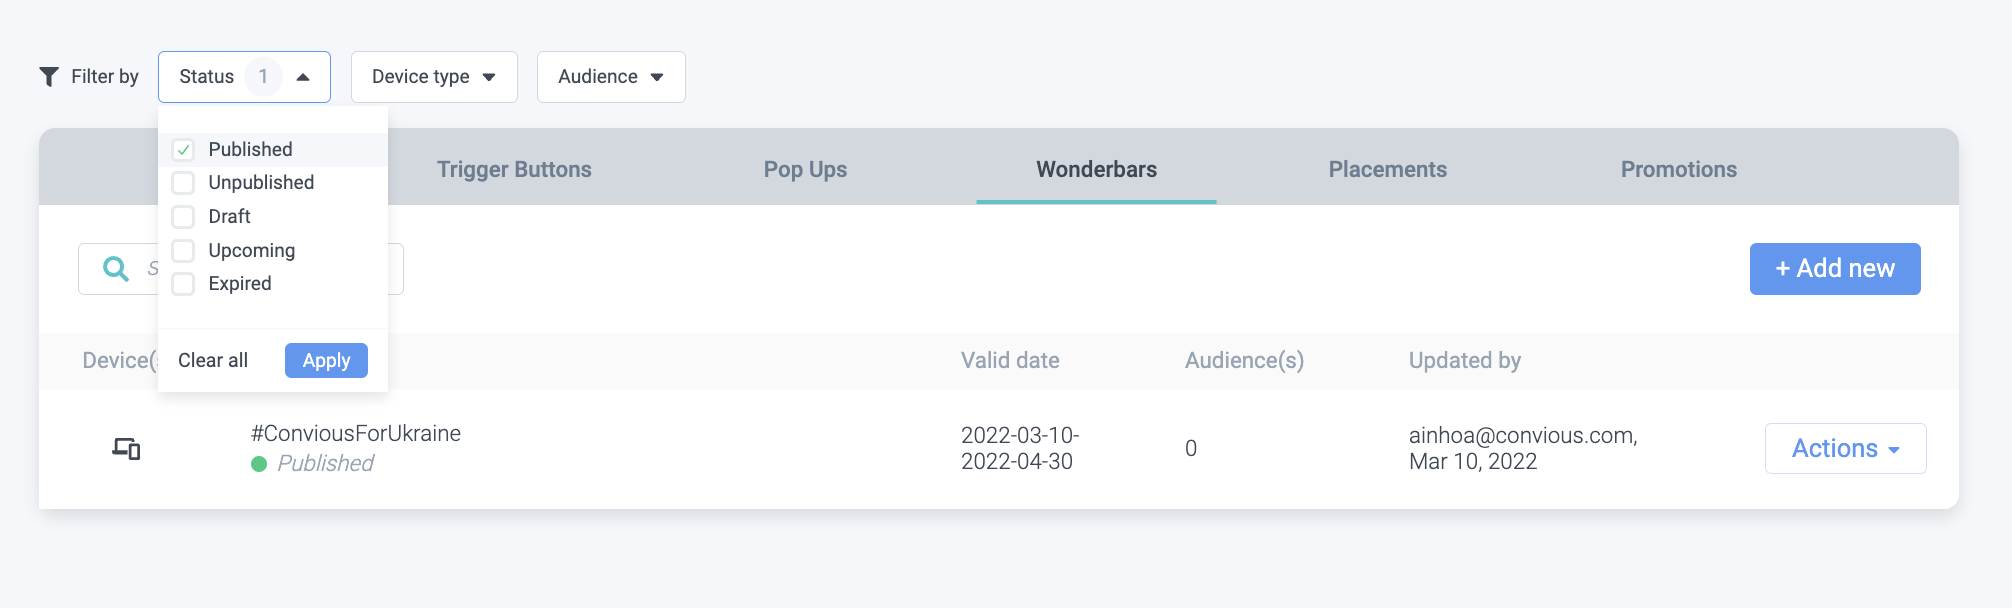
Make sure to select the right status and hit apply.
2 c) Further, you can filter by device type. Since you can set up various versions per tool and per device type that they are displayed on, you can now also select to only view mobile versions, desktop versions, or those versions that will be displayed on all device types.
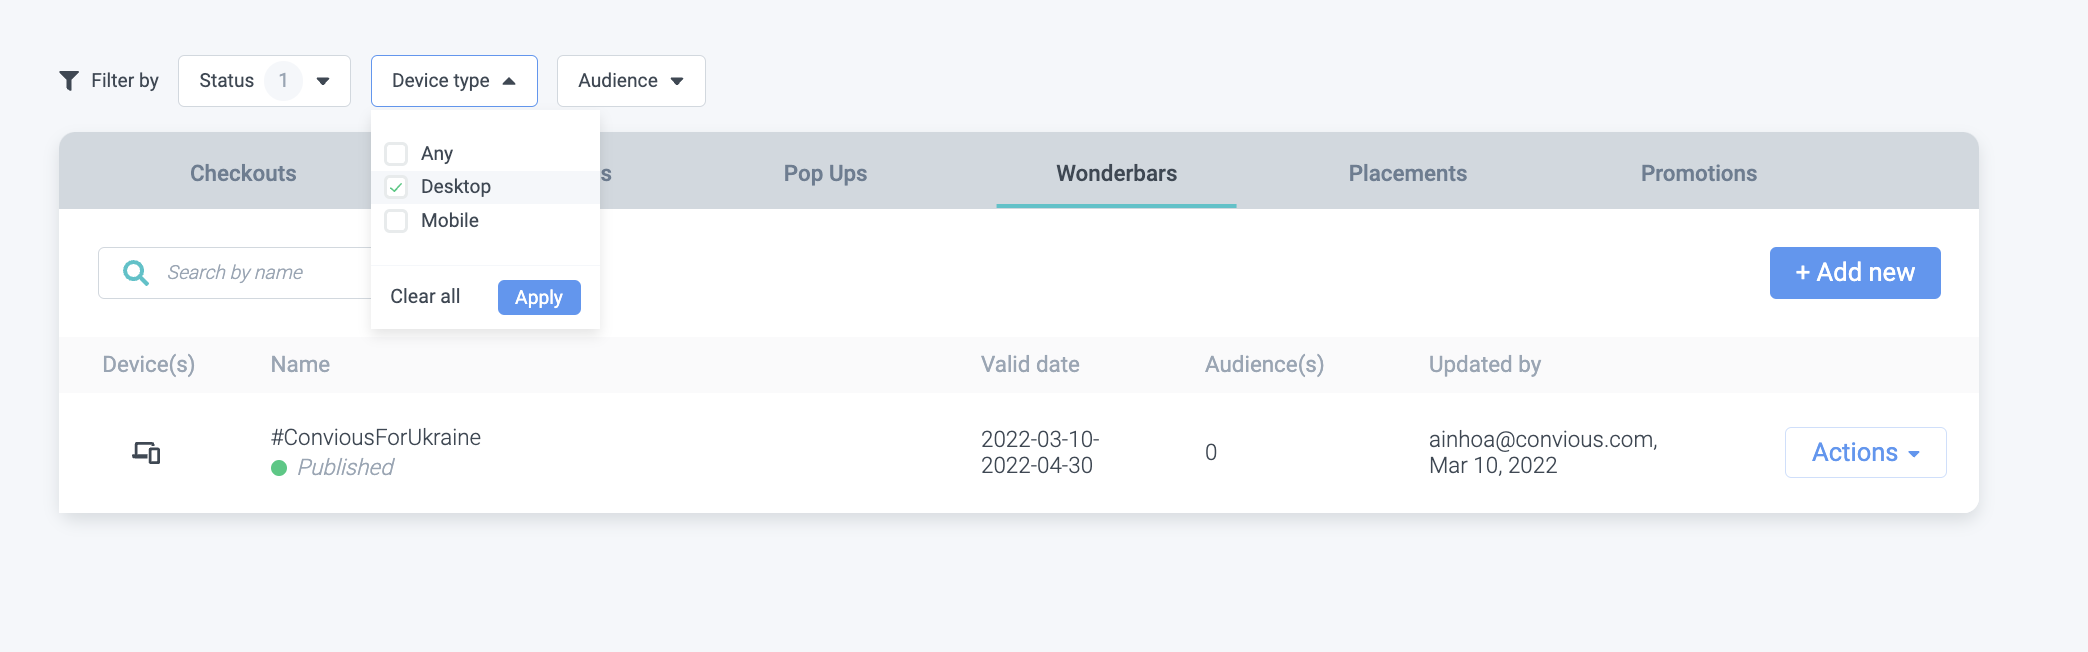
Make sure to select the device type you want to filter for and hit apply.
2 d) Lastly, if you are using the power of personalized engage tools and have versions set up by audience type, you can filter by audience.
2. How to create a new Wonderbar
1. Click Add new, If you don't have it set up yet.
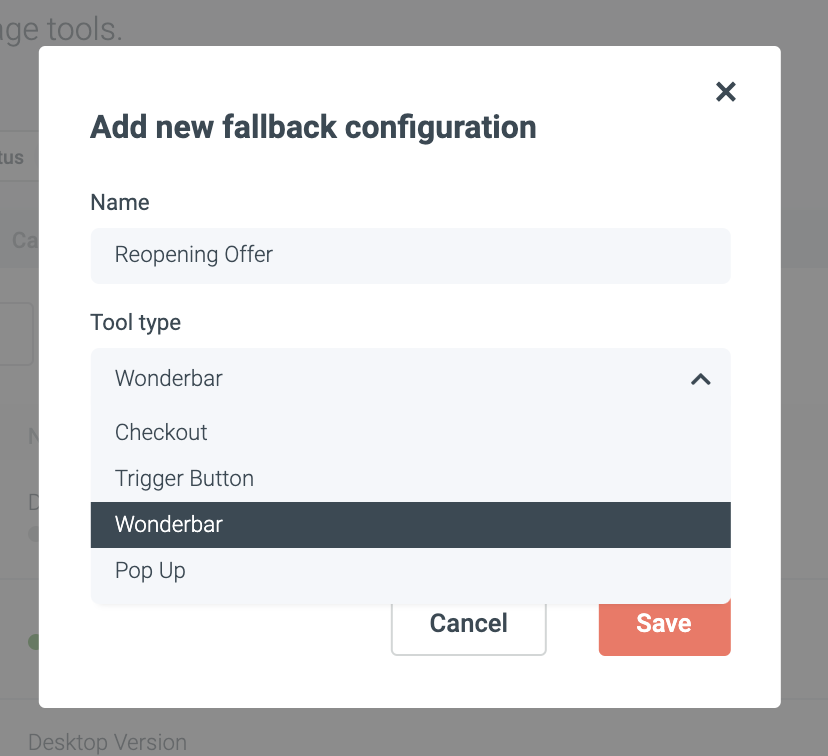
2. Give it a name.
The tool type will be set depending on the engage tool tab you are on.
3. Set up the device you want to trigger this on.
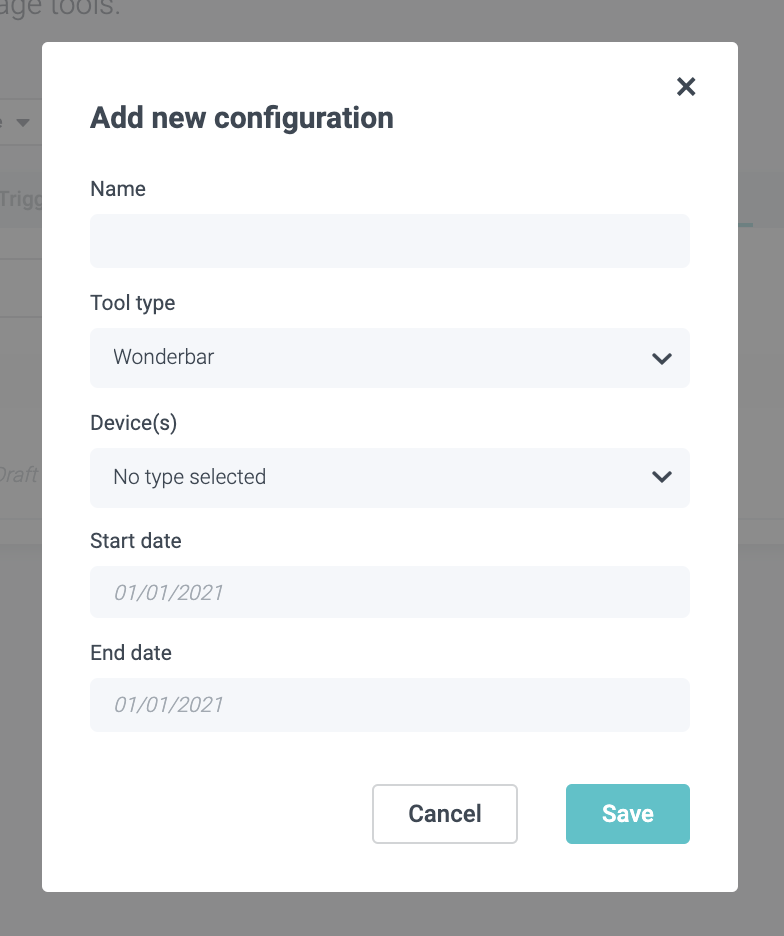
All (default version): This is displayed on desktop as well as mobile and when desktop/mobile versions are not defined.
Desktop: These are desktop or laptop devices with screens larger than 7" in diagonal.
Mobile: These are hand-held devices that include a phone.4. Schedule your version by setting a start and end date.
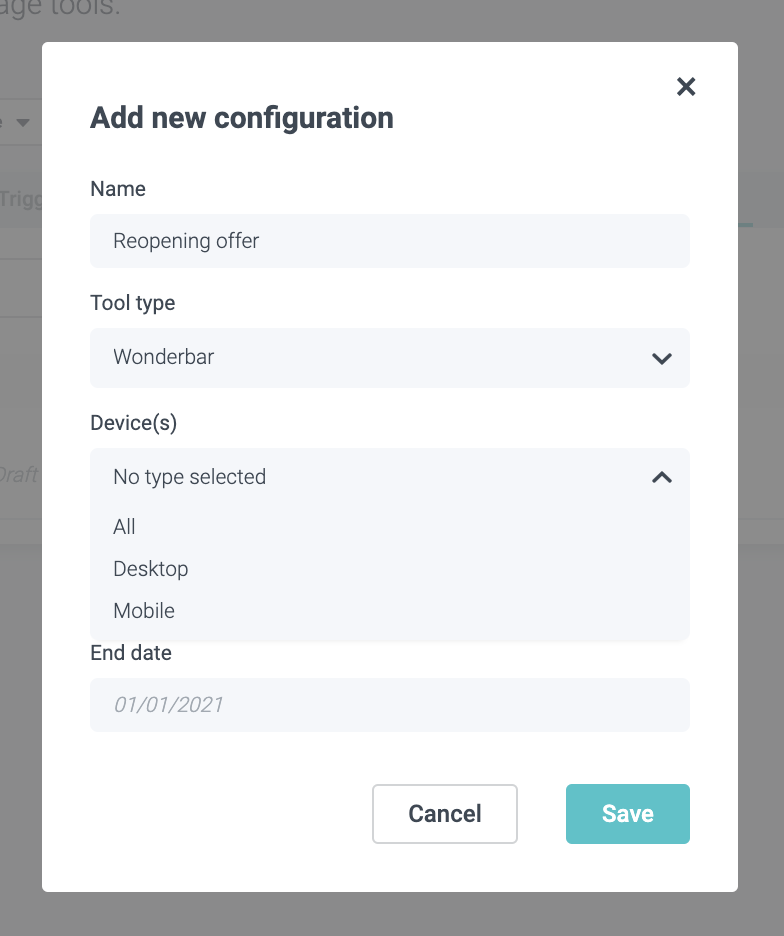

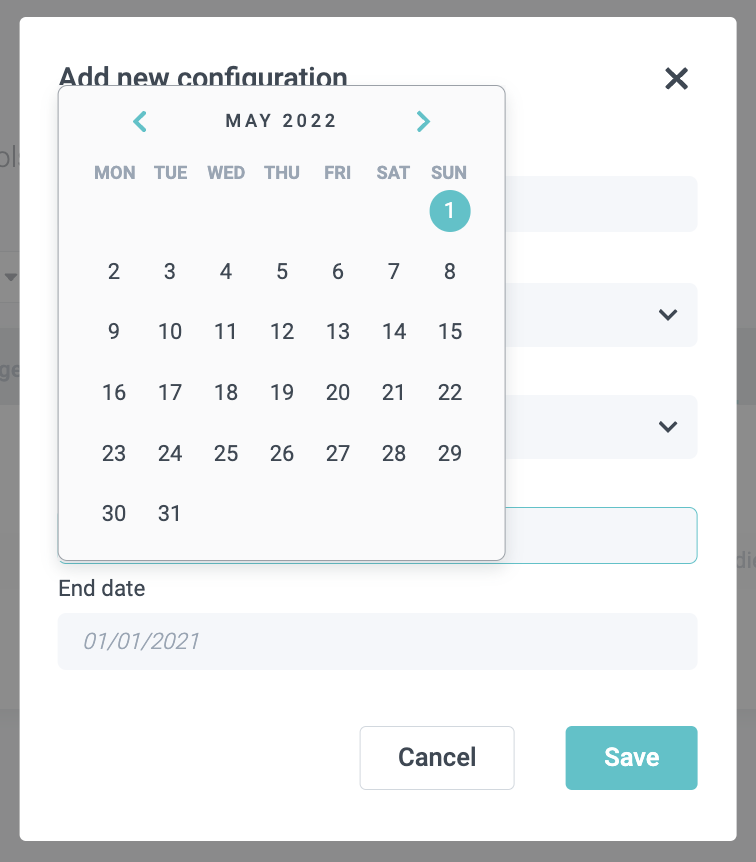
5. Click Save.
Do you have questions about scheduling different versions that haven't been answered? Head over to the Convious Engage tools - FAQ.
To edit the WonderBar, click on Action and then Studio to enter the Convious Studio.

You will always be able to recognize the Convious Studio by this Logo in the top-left corner:
3. Wonderbar text
The first step within the Studio will be setting the language settings, defining text, and linking the WonderBar to the right destination.

1. Decide on the default languages you will set up for your WonderBar.
NOTE: Set up all languages that you offer your website and your Checkout is published in to guarantee smooth user experiences.
2. Once you have chosen your Language, for example, English and German, you need to decide your default language. This is supposed to be your website's and Checkout's main language.
NOTE: If you are editing your WonderBar, your languages will be pre-selected based on your choice at the point of setup.
3. Now, it is time for an engaging WonderBar text and Button Text or CTA (Call-to-Action).
When you enter your text, you will immediately be able to see how it will appear within the WonderBar.
PRO TIP: The WonderBar is a great tool to highlight certain offers, benefits, or announcements that the user might want to investigate and find out more about when entering your website. Traditionally, simply offering and reminding of the option to purchase by clicking, which makes the ticket purchase even easier for the website visitor, also works wonders!
4. Then, you need to make sure your WonderBar is connected to your Checkout if you use it to drive traffic to your tickets, which we highly recommend as we have seen immediate results of using this tool for conversion-generating purposes.
You can easily make sure the two are actively connected by clicking on the toggle and moving it to the right.
Use the WonderBar, for example, to drive traffic to an announcement, which we do not advise you to do. You can also link it to an alternative URL that will function as the destination page your users will be sent to after clicking the button. Here you can also decide to send them to that destination page in a new window. If you do not choose this option, the destination URL will be opened within the current window.
5. Create translations for the additional languages you chose before by going through the same workflow per language.
6. Hit Next to move on to the next step!
4. Wonderbar style
Now you will have to decide on the look and feel of your WonderBar.
Just with your other engagement tools, it is in your interest that they, on the one hand, blend in with your website's design, but at the same time, and this is very important: that they stand out!
The WonderBar is just below the tabs of every browser and gives you the unique opportunity to remind your website, visitors of your offer, at the moment they are ready to move on to a different tab. An appealing style will keep your website visitors' attention more easily and keep them not only on your site but drive them towards your Checkout.
1. First, you will decide on and configure some general features:
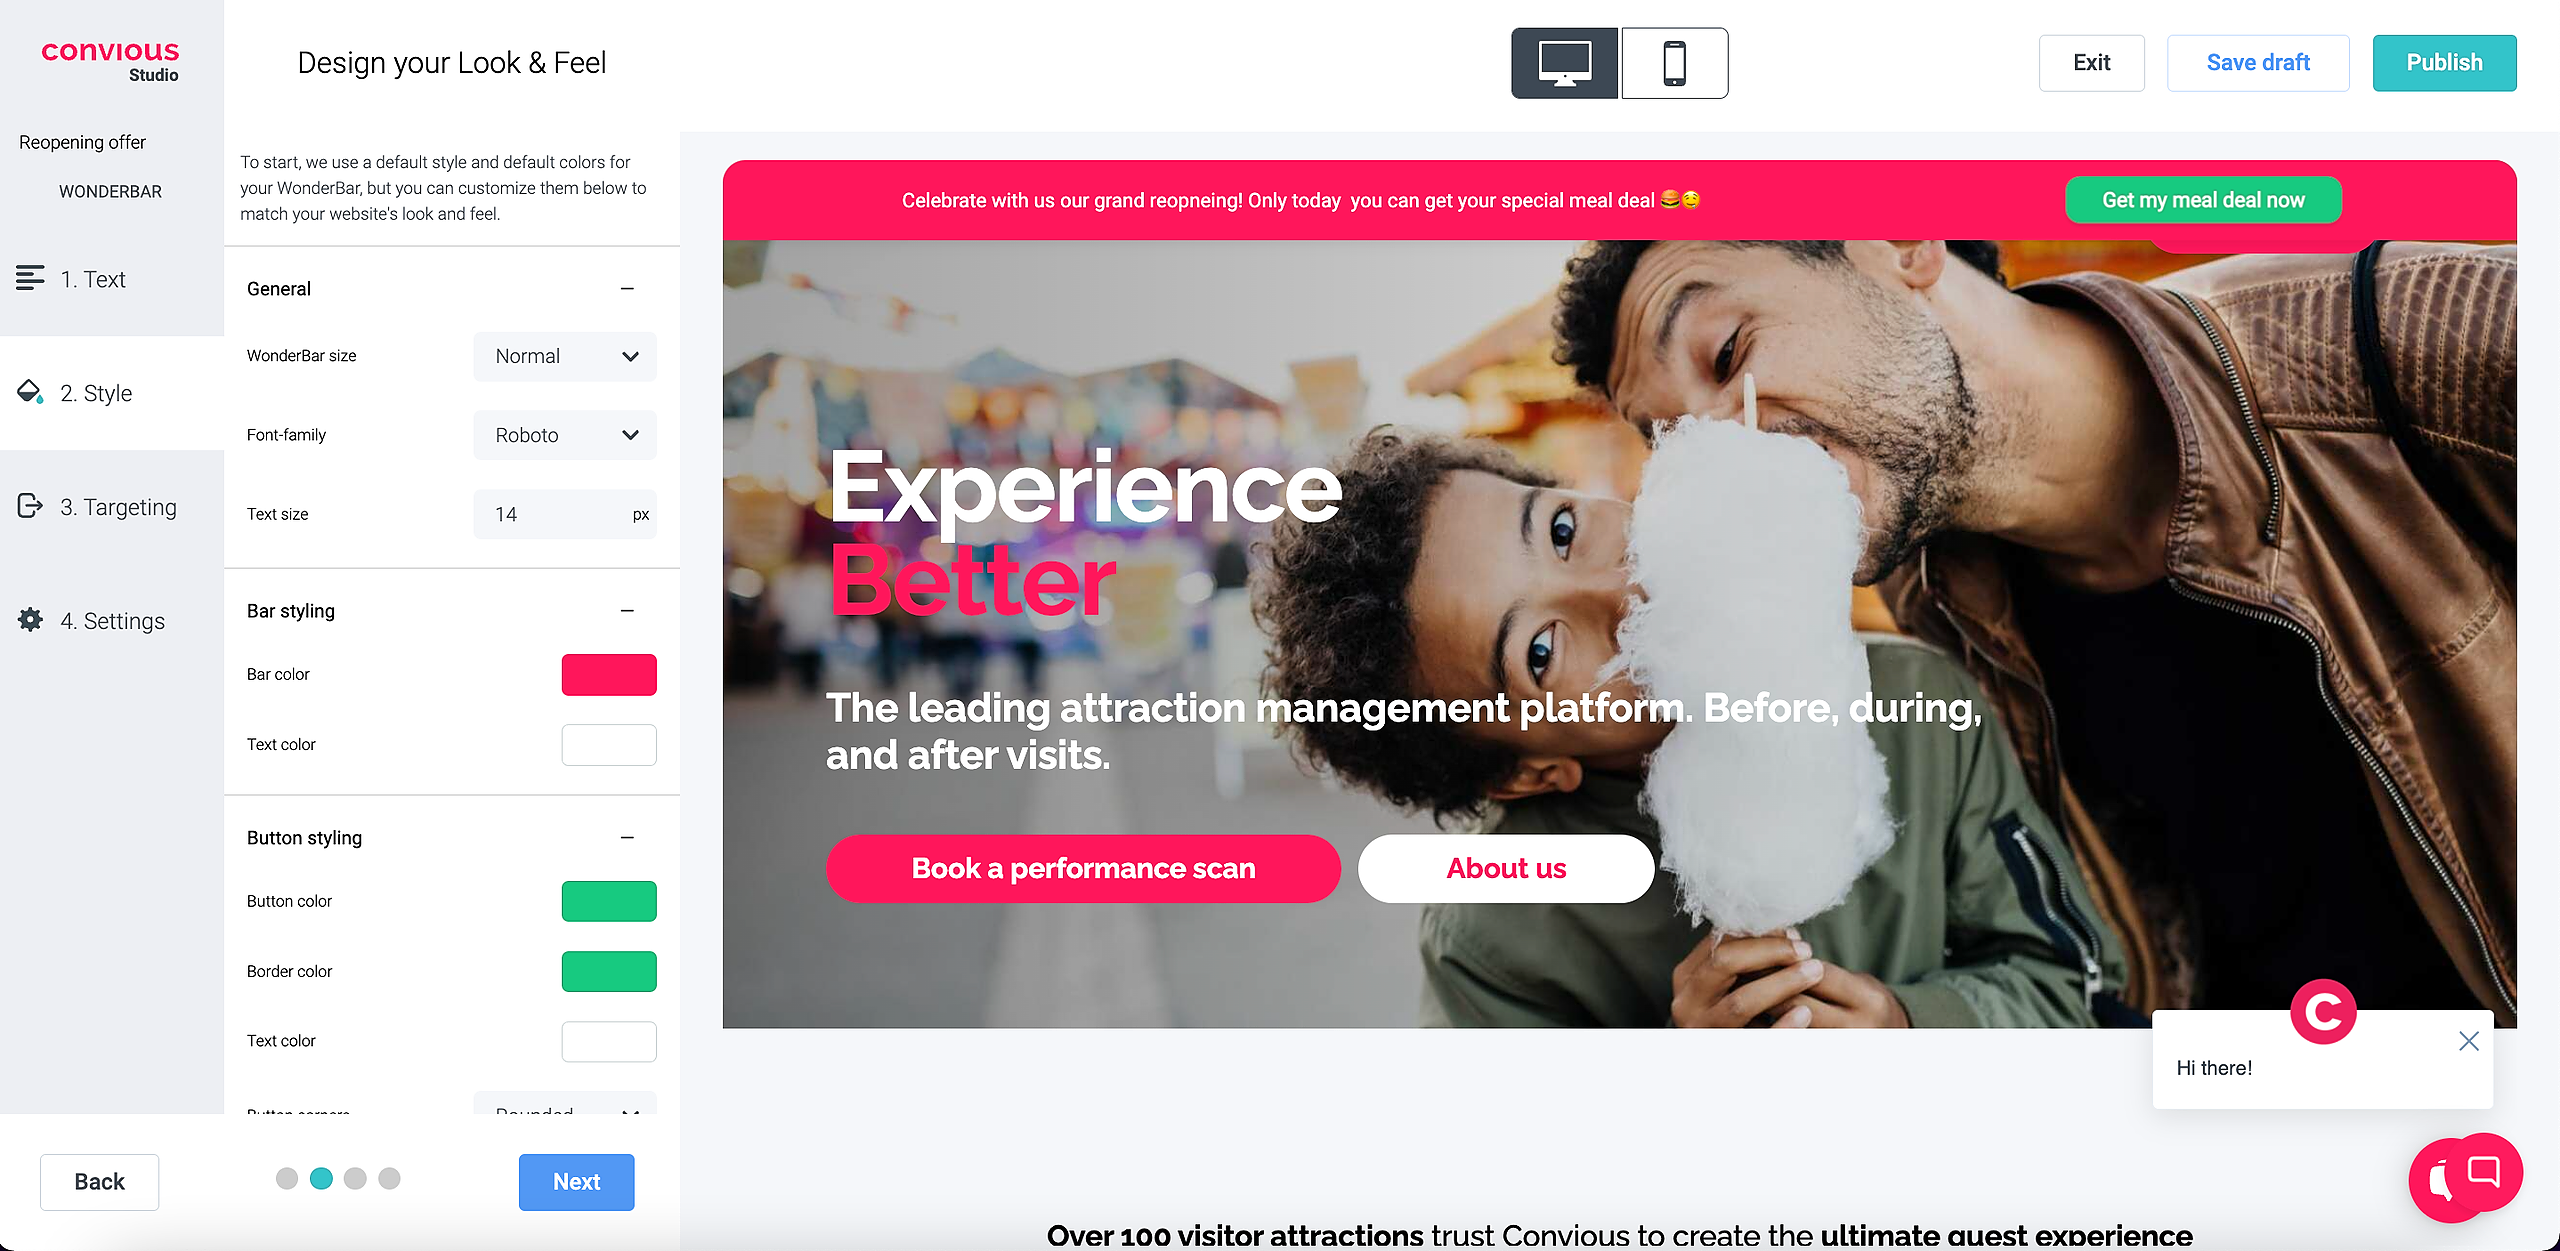
WonderBar size
Text font
Text Size
2. Next up is the styling of the bar itself. You will have to set a Bar color and a Text color. To do so, you can either enter a HEX code, RGB codes, or use the cursor to find the color of your choice.
3. Lastly, you need to style your Button or Call-to-Action.
Here, you have a lot of opportunities to make it your own: Button color, Button corners, Border colors, Border width and Text color.
PRO TIP: As you want visitors to feel compelled to click it, it should be clear and actionable such as 'Find out more' or 'Buy Now.'
3. Hit Next, and you are halfway done with setting up your WonderBar!
5. Wonderbar targeting
The third step is setting clear targeting rules to define on which specific pages your WonderBar will be shown.

1. Display on will be pre-set to All Devices as you have chosen to design the Default Version.
2. Secondly, you have the chance to hide your WonderBar on certain pages in case you would like to do so. If you expand the section with a click, you can choose between URLs that contain ..., URLs that do not contain ..., and REGEX.
If you choose URLs that contain, you can add any phrase included in a page URL on which you do not want the WonderBar to be shown.
If you want, for example, to hide it from your Impressum, you add /impressum to the field and click Add to save. Then the Trigger Button will not be shown on any URL that contains /impressum.
The same works on the contrary if you choose URLs that do not contain.
REGEX is short for regular expression and can be defined as 'a string of text that allows you to create patterns that help match, locate, and manage text.' This is, in most cases, only relevant for developers. We recommend using the simple rules: URLs that contain or URLs that do not contain to make it easy.
Generally, we recommend not to hide your WonderBar or any of your engagement tools from your pages, but if there is a special page from which you do not want to induce a purchase, you can most certainly do so.
3. Hit Next to go to the last step.
6. Wonderbar settings
In the last step, you will be able to set further visibility rules for showing your WonderBar to your audience.
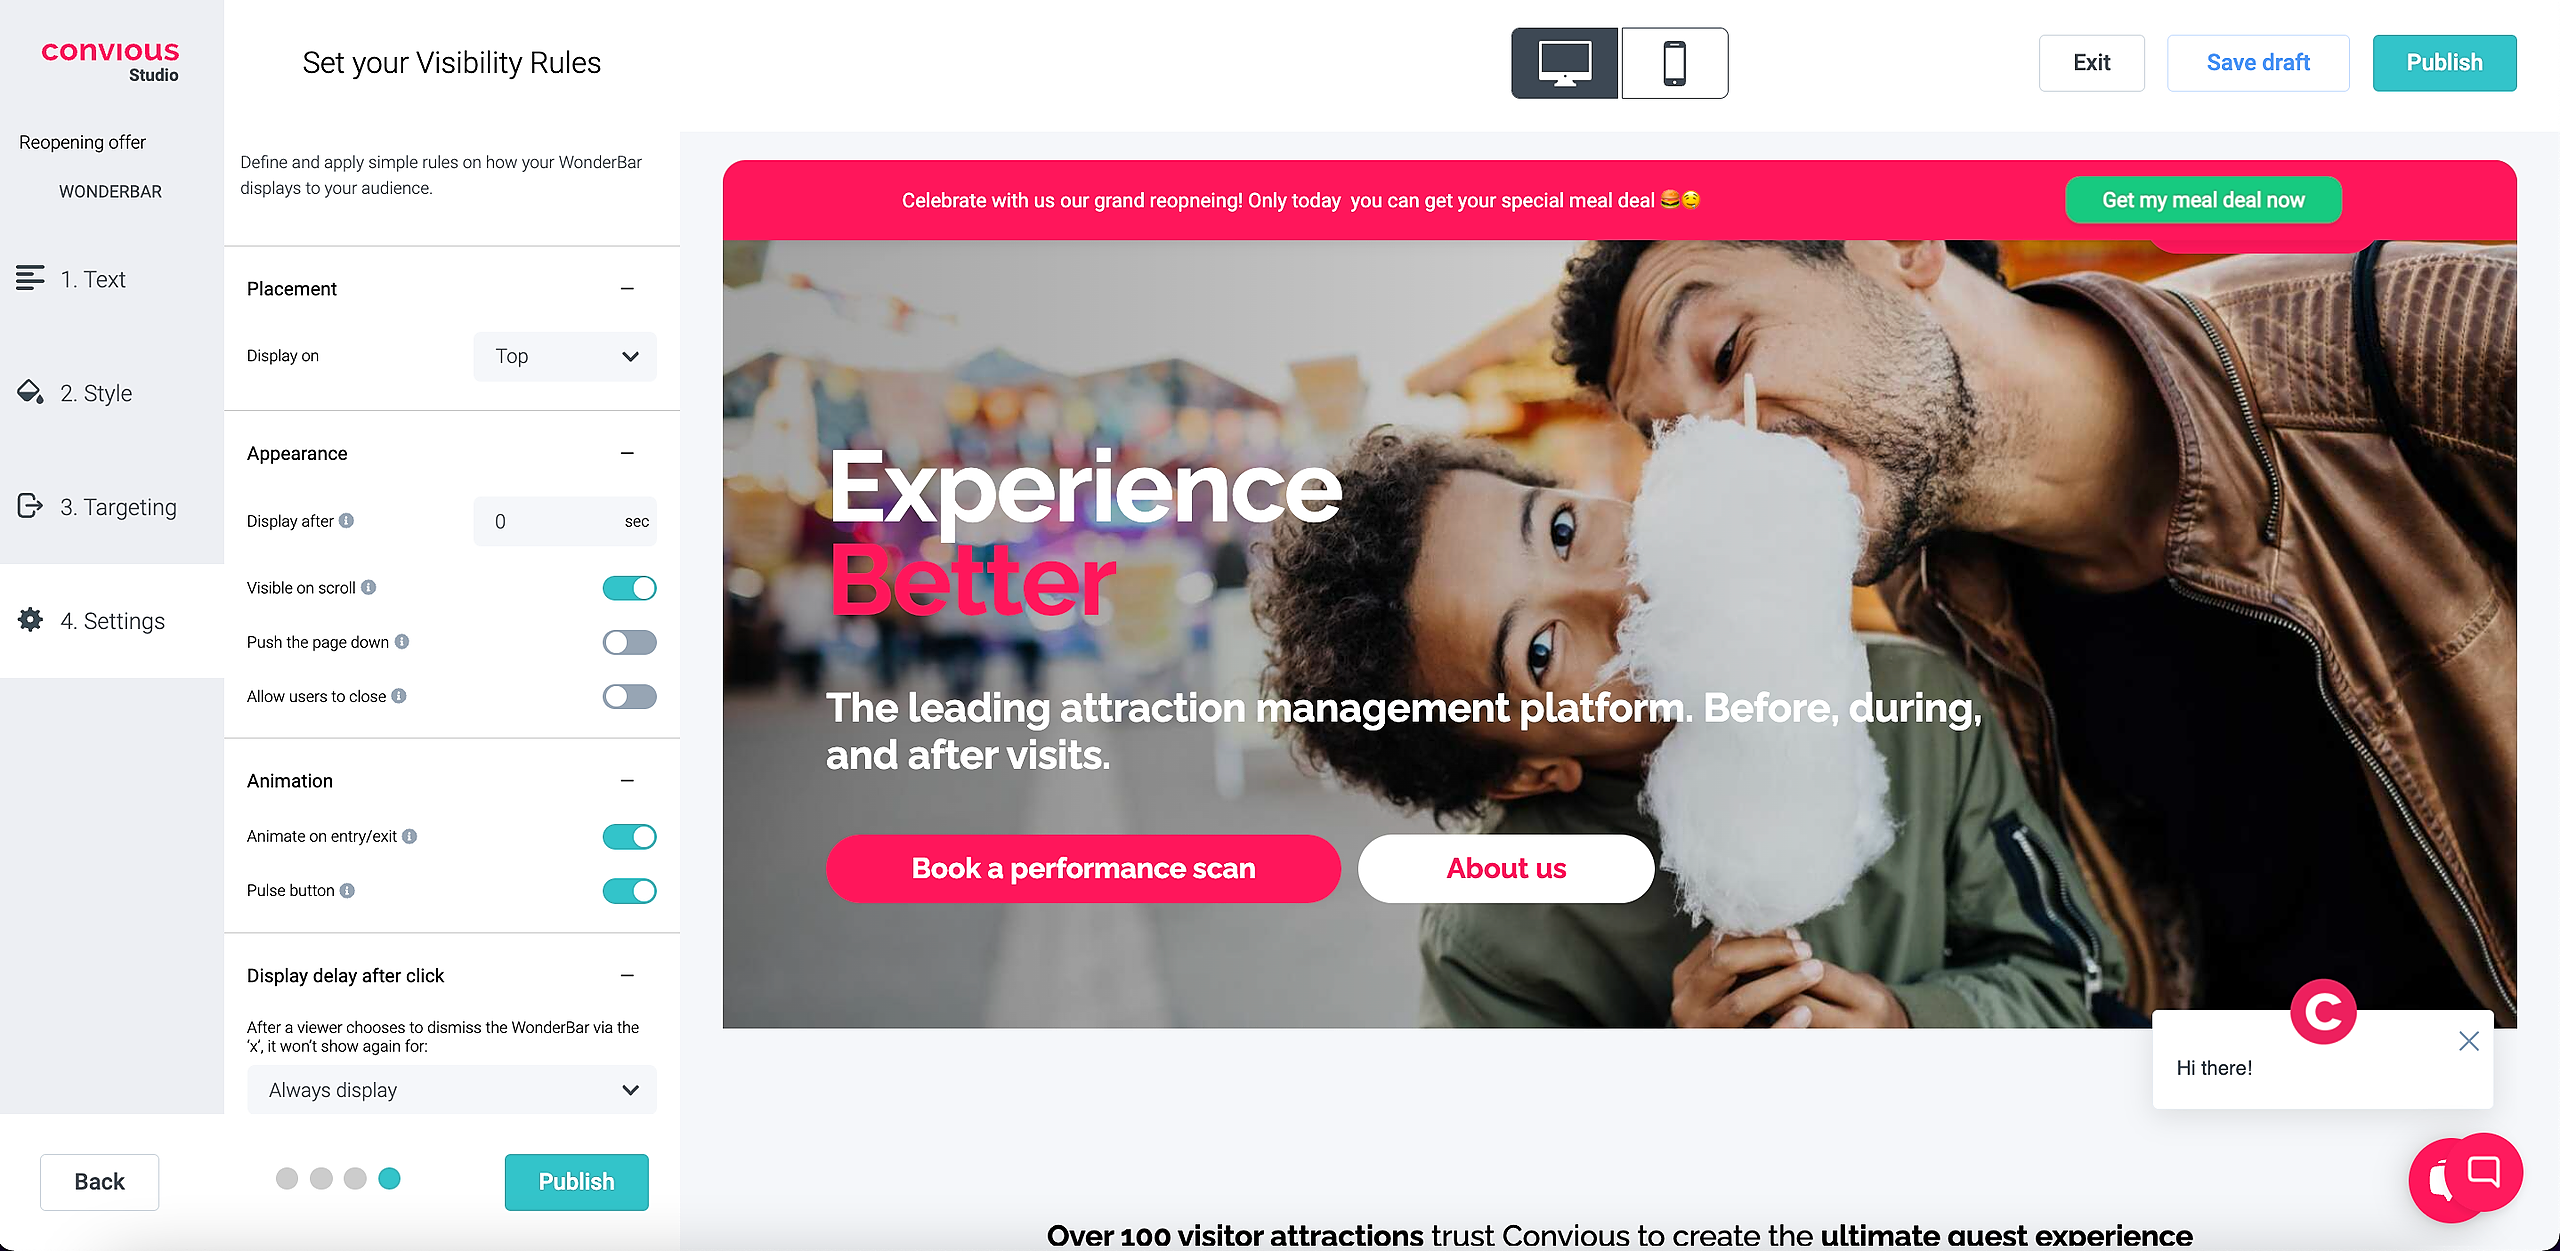
1. The first is deciding the tools' Placement. You have the option to show your WonderBar at the top or at the bottom of your page. For the aforementioned reasons, we strongly advise you to always use the Wonderbar at the top of your page.
2. Next up is Appearance:
You need to define what the minimum stay or timespan your visitor should have spent on your page before they get exposed to your WonderBar. Here, you can freely choose the number of seconds you find appropriate.
NOTE: Always consider that there might be loading delays due to weak network connections or browser difficulties. So, don't make this timespan too long, because then they might exit before it appears!Decide if you want it to be visible on the scroll. This means when enabled, your WonderBar will be fixed on top of your page unless the user clicks the x to hide or close it.
Enabling the push the page down setting will prevent the WonderBar from covering any of your website content.
Decide whether or not you want your website visitors to be able to close your WonderBar if they feel bothered by it.
NOTE: We strongly advise you to add this option to your WonderBar, as customers should not be bothered or feel trapped or forced towards action; this might end up in closing your website entirely. If, however, they dismiss your WonderBar they are at least still on your website and might find their way to your Checkout via a different engagement tool.
3. The ultimate way to make your WonderBar stand out is clearly an Animation. In your Convious Studio, you have the option to enable Animate the text upon entry, meaning your WonderBar will smoothly slide into your page, grabbing immediate attention. If disabled, your WonderBar will be static.
Further, you also have the chance to let your button pulsate for a unique spotlight on your Call-to-Action.
4. Last up is deciding for how long you want to dismiss your WonderBar for any unique website visitor. The time span you can choose from here range from a persistent option Always display, to days, weeks and months.
PRO TIP: We recommend choosing the daily option to ensure customers are not bothered, but once he or she returns to your website a day later, showing high motivation to buy, he is also seized as another chance to be induced by it.
🎉 Hit Publish to either schedule to go live, go live instantly, or select Save draft to come back to editing later!
7. Audiences in Engage tools
If you have the advanced engage tool module included in your contract with us, you can target your website users and create personalized experiences for them. This will not only advance their online purchasing or booking experience but was to be found to have a direct impact on conversion.
So, let's dive into how to set up your engage tool, including audiences.
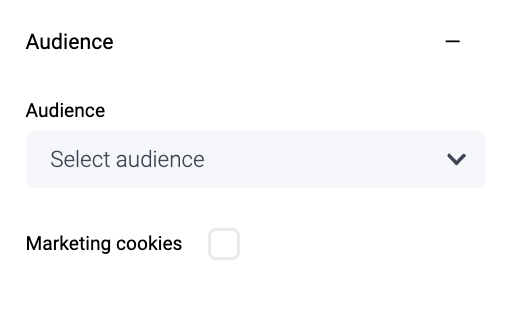
When entering the targeting section, you should see the following option:
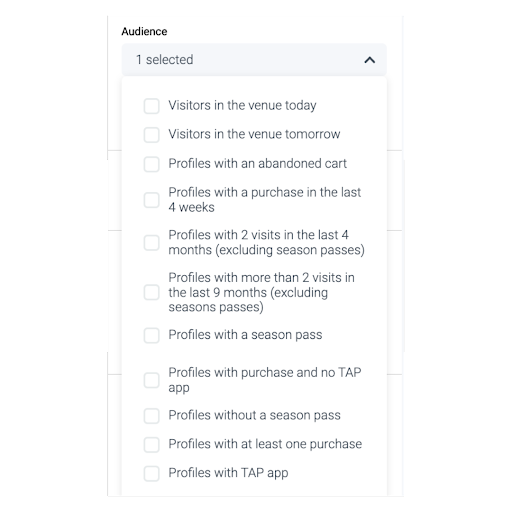
Expand the drop-down to see the entire list of pre-defined audiences you can choose from:
Do you want to give your season pass holders quick access to the reservation flow? Make sure your visitors in the venue today have all the information at hand or find the parking ticket they may have forgotten.
All these are good examples of personalization based on an audience. Let's take the example of your visitors who abandoned their cart.
First, you will need to define the character of the message you have prepared.
Why? Because you can't just use your customers' information for marketing purposes without their consent. But you can target them if the purpose behind your message is merely related to the service you offer.
Service: The communication of new COVID measures or that parking is not possible on parking lot 1 today is considered vital to the service you deliver and, thus, a service message.
Marketing: Targeting your customers to offer parking tickets or upsell a special meal deal is considered marketing.
If your message is a service message, you can disregard the marketing cookie checkbox below the audience selection.
If your message is a marketing message, you need to tick the cookie checkbox below the audience selection because this means that this engage tool version will only be shown to those who consented to have their data used to personalize their experience on your website.
In our example above, we have to tick the marketing cookie checkbox as the message is clearly a marketing message.
Please note that to guarantee you don't miss this important checkbox, we implemented a security pop-up that will remind you to check whether you have set the right filters before you publish. It will only appear if the marketing cookies checkbox is not ticked.
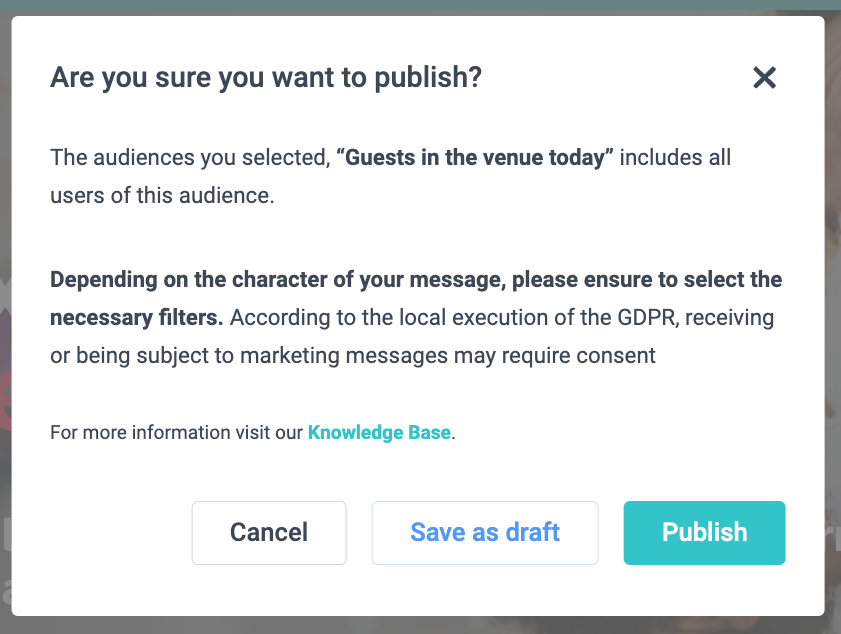
If you're sure to have it all set up right, hit Publish. If you want to revisit it and come back later, hit Save as a draft, and if you want to edit it right away, just hit Cancel, edit your version, and hit publish once again.
Do you not see the audiences in your Convious Studio but want to seize the many possibilities of personalization? Please get in touch with your Customer Success Manager, and we can set it up with you.
8. Push the page down
We offer an option to “Push the Page Down,” which shifts your website content downwards to prevent the Wonderbar from overlapping it.
However, this feature may occasionally interfere with other elements, such as a Cookiebot Widget that is positioned, for example, 80px from the bottom. This occurs because only iframes and elements directly attached to the bottom of the page are unaffected by the push-down effect.
To prevent the Cookiebot Widget from being pushed down, you can apply the following code. Note that the 80px value is just an example and should be adjusted as needed:
body {<br> transition: padding-top 1s ease-out;<br>}<br><br>body:has(#convious-wonderbar-frame) {<br> padding-top: 70px;<br>}<br><br>@media screen and (max-width: 767px) {<br> body:has(#convious-wonderbar-frame) {<br> padding-top: 98px;<br> } <br>}