English Guide
To give you more oversight and control, you can now set-up your VAT for your products straight from your Convious Control Panel. No matter which country you are operating in, this is an important part of setting up your pricing information. Thus, we enabled two ways to set this up for your products globally and provided the opportunity to override this individually for specific products.
For example, you might have a general VAT of 16% on all your tickets, whereas your F&B is taxed only 5%. Now, you can set this up easily in your Control Panel.
How to set up a global VAT%
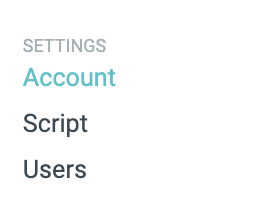
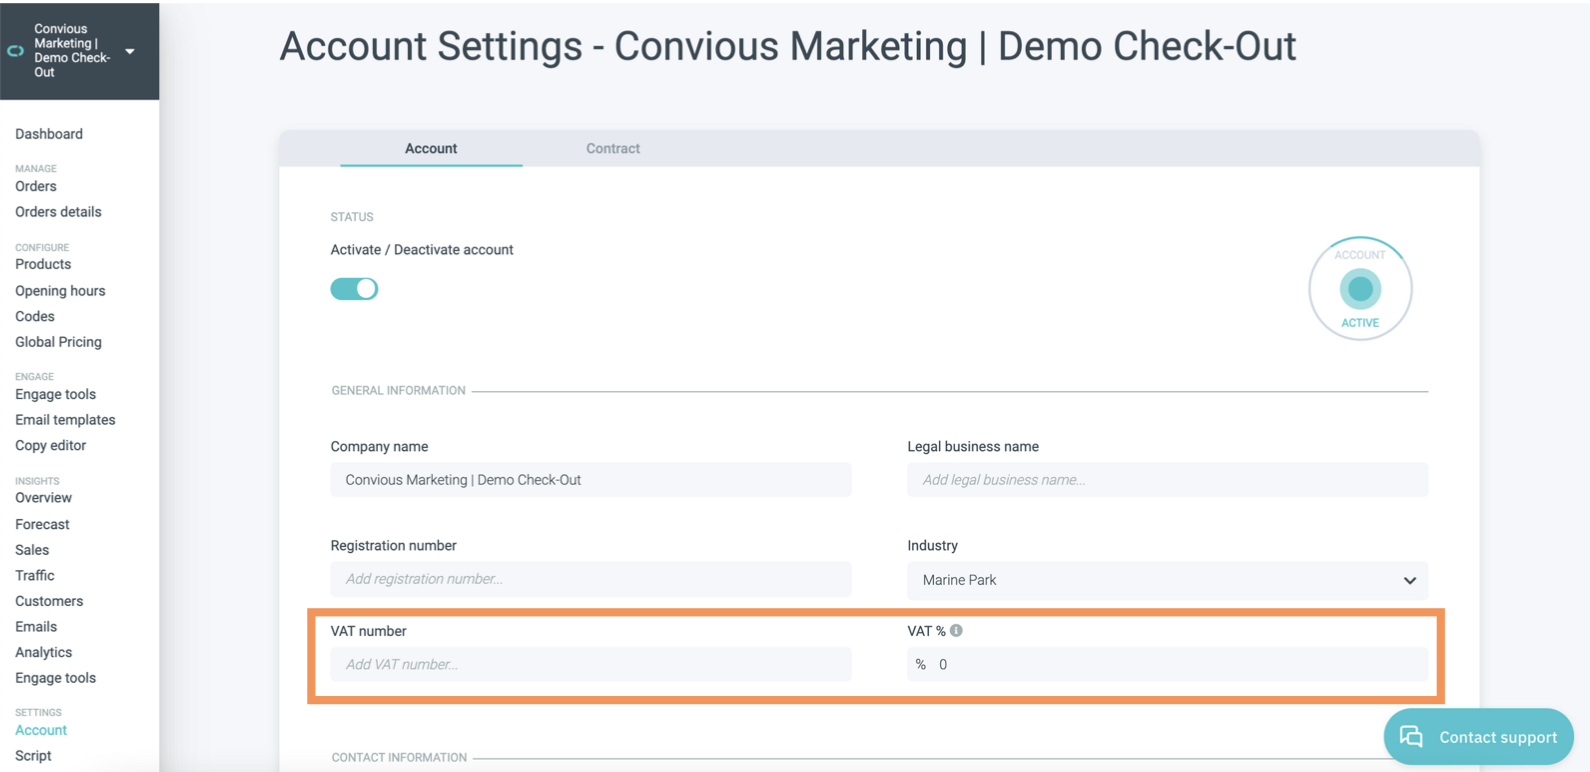
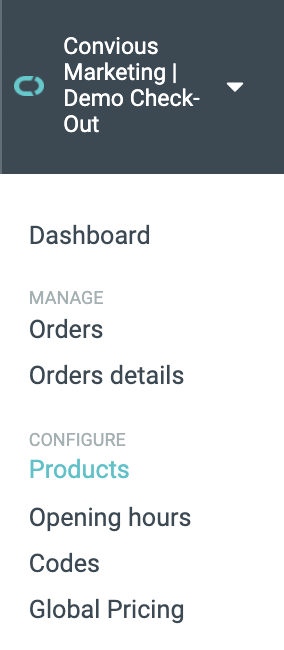
1. Navigate to your account settings by going to Account below the Settings Section in your left-hand menu.
Once you are there, you will see your account settings, including the fields to enter your VAT number and your global VAT percentage.
2. Please add the missing information here.
The VAT% you are setting will be the global VAT setting you set for all your products on default. Thus, it should be your main VAT%. Don't worry if you have certain products with a different VAT we will show you how to override this setting below.
Do you not see the VAT fields here? Please contact your company admin to give you the rights to edit and set-up the global VAT%.

3. After adding the missing information, make sure you scroll down and hit save.
DONE!
Be aware that it might take a few minutes until the global setting is activated and will show per product.
How to set product-specific VAT% & override the global setting
Evidently, this needs to be done per product individually either when setting up a new product or by editing an existing one:
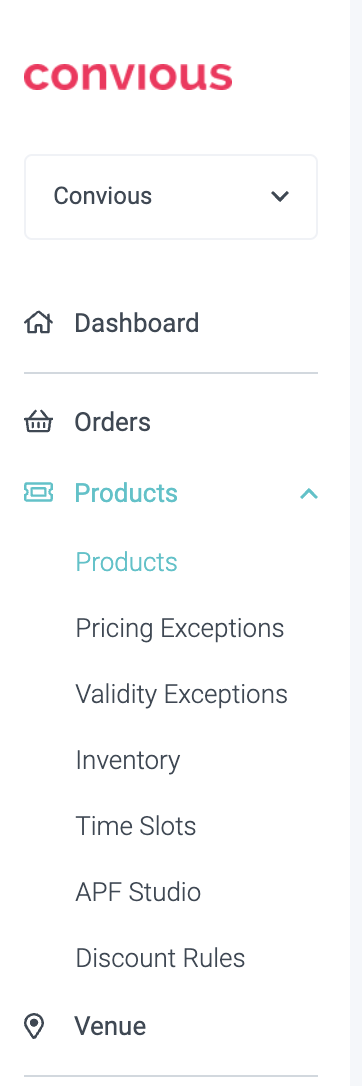
1. Please navigate to Products within the configuration section in your left-hand menu.
Whether you create a new product or choose to edit an existing product, you will land on the product detail page where you can edit the product's properties.
In case you do not know how to set up a new product, we have a comprehensive guide for you to teach you.
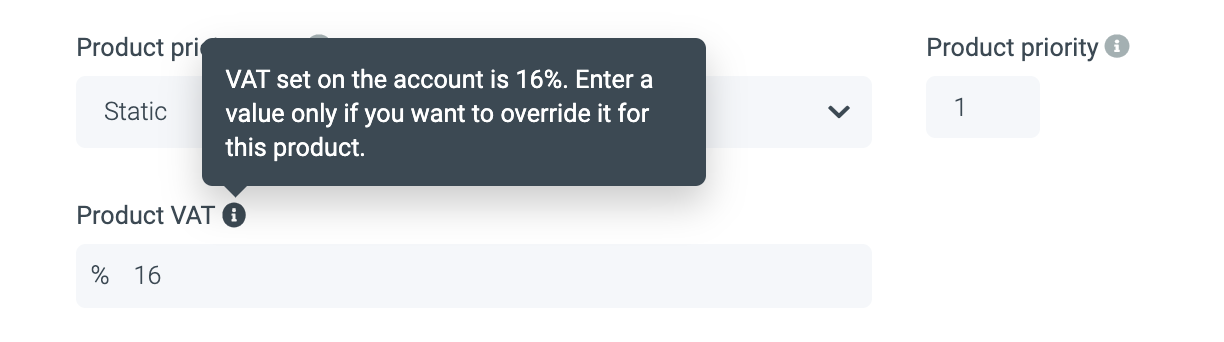
2. Scroll down until you see: Product VAT
The Control Panel will automatically have set your VAT% on the global setting you have set-up earlier.
As shown below, if this is 16%, you will see 16% entered in this field.

3. Now, enter the product-specific VAT%.
As shown above, entering a different % here will override your global setting.
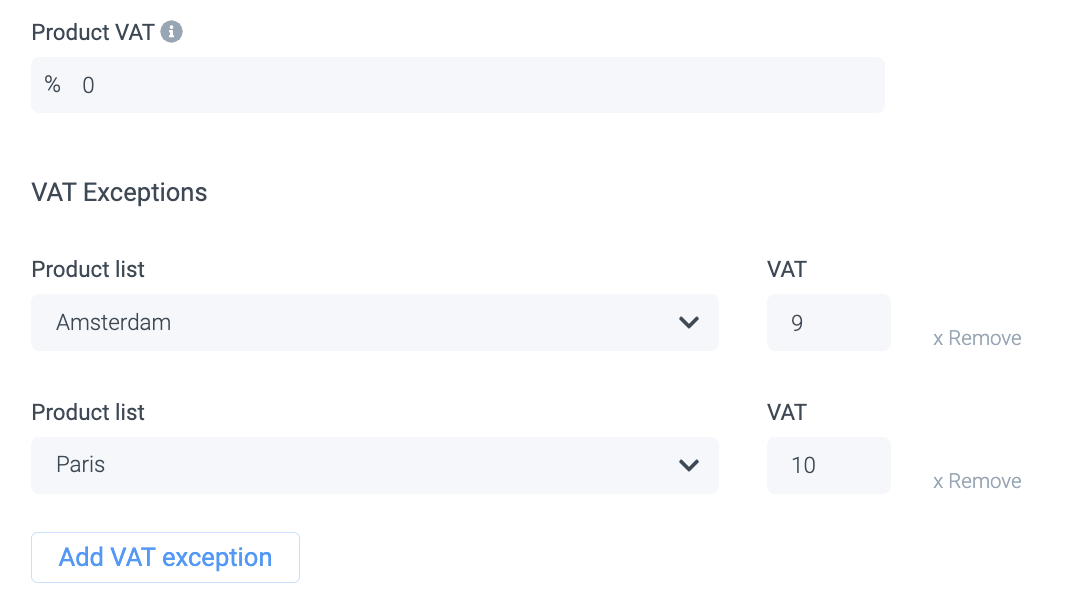
4. If needed, you can add a VAT exception.
This might be useful if you have a multi-location venue and you have a product added to multiple locations (product lists).
For example, the Dutch tax for Adult product is 9% but the French tax is 10%. When customers buy ticket in "Amsterdam" product list, they will see Dutch VAT in the ticket template but if they buy ticket via "Paris" product list, they will see French VAT.
To do that, select the product list of that location and enter VAT which is applicable for that location.
5. Scroll down and hit save.
DONE!
Make sure to repeat this process for all products that need individual VAT% set-ups.
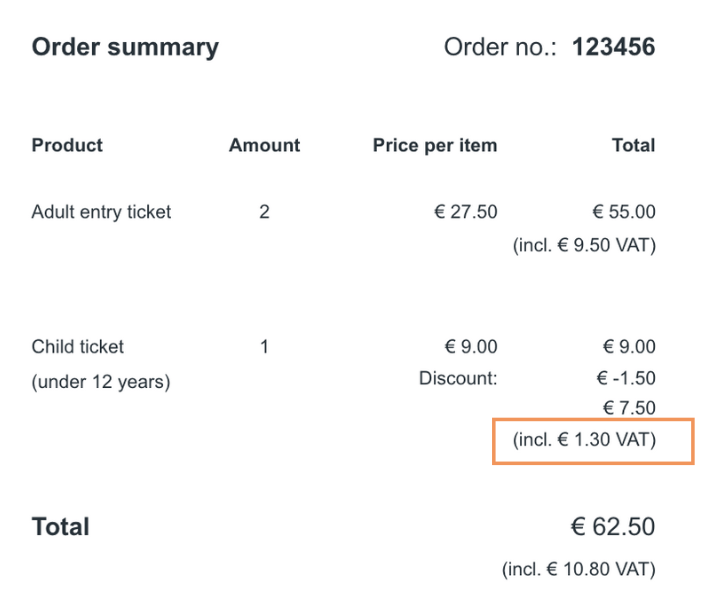
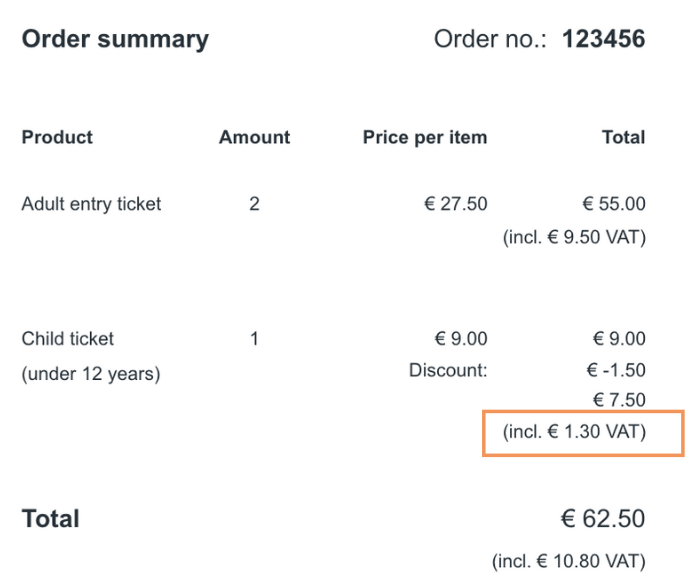
Closing note: In your confirmation emails the VAT will be automatically calculated and appears within the total calculation of the price.
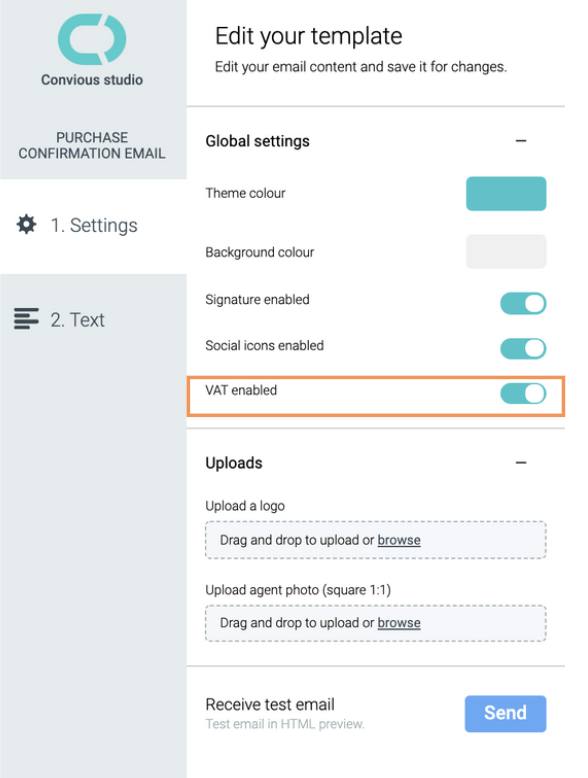
To have the VAT displayed in your order conformation mail, you will have to ensure you enabled VAT in your Convious Studio.
To do this, please navigate to Email Templates, then click on Edit below Purchase confirmation email. You can find a full guide on editing your emails here.
Once you are in the studio, enable VAT display by moving the toggle to the right.
See an example of how it will be displayed below:
German Guide
Dies ist eine einfache Anleitung um einen allgemeinen Umsatzsteuersatz, der für die Mehrheit Ihrer Produkte gilt (z. B. 16 %), aber wenn benötigt auch produktspezifische Sätze einstellen, die für einzelne Produkte einen eigenen Umsatzsteuersatz eintragen (z. B. 5 %).
Anleitung zum Einstellen des allgemeinen Umsatzsteuersatzes
1. Navigieren Sie zu Ihren Account Settings, indem Sie im Menü zu ihrer Linken Account wählen.
Hier öffnen sich nun Ihre Accountdetails und Einstellungen und somit auch die Felder für Ihre MwSt.-nummer (VAT number) und Ihre Umsatzsteuersatz in Prozent (VAT%).
2. Bitte fügen Sie diese Informationen nun hinzu.
Der Prozentsatz, den Sie hier angeben, wird fortan ihr allgemeiner Umsatzsteuersatz sein, der für die Mehrheit Ihrer Produkte gelten wird. Keine Sorge, wir zeigen Ihnen auch, wie Sie diesen für bestimmt Produkte überschreiben können.
Sehen Sie hier die diese Felder und Informationen nicht? Bitte wenden Sie sich an Ihren Firmen-admin, damit er Ihnen die Rechte zum Bearbeiten und Einrichten der globalen MwSt. gibt.3. Nachdem Sie Ihre Informationen angegeben haben, gehen Sie sicher, dass sie Save wählen, um Ihre Einstellungen zu speichern.
Bitte beachten Sie, dass es einige Minuten dauern kann, bis die allgemeine Einstellung aktiviert ist und per Produkt angezeigt wird.
Produktspezifische Sätze einstellen
Offensichtlich muss dies für jedes Produkt einzeln erfolgen, entweder bei der Einrichtung eines neuen Produkts oder durch die Bearbeitung eines bestehenden Produkts:
1. Bitte navigieren Sie hierfür zu Products innerhalb Configuration.
Unabhängig davon, ob Sie ein neues Produkt erstellen oder ein bestehendes Produkt bearbeiten, sollten Sie auf einer Produktdetail-Seite landen, auf der Sie die Eigenschaften des Produkts bearbeiten können.
Für den Fall, dass Sie nicht wissen, wie man ein neues Produkt einrichtet, haben wir eine umfassende Erklärung für Sie (EN).
2. Scrollen Sie nach unten, bis Sie das Produkt-Mehrwertsteuer Feld erreichen.
Das Control Panel wird Ihnen hier automatisch Ihre allgemeine MwSt. anzeigen, die Sie zuvor eingerichtet haben.
Wenn diese 16 % beträgt, 16 % in diesem Feld eingegeben.
3. Fügen Sie nun die produktspezifische Mehrwertsteuer hinzu.
Wie oben gezeigt, überschreibt die Eingabe eines anderen Satzes hier Ihre allgemeine Einstellung.
4. Navigieren Sie zum Ende der Seite klicken Sie Save, um Ihre Einstellungen zu speichern.
Stellen Sie sicher, dass Sie diesen Vorgang für alle Produkte durchführen, die individuelle MwSt.-Einstellungen benötigen.
Abschließender Vermerk: In Ihren Bestätigungs-E-Mails wird die Mehrwertsteuer automatisch berechnet und erscheint in der Gesamtberechnung Ihres Preises.
Damit die Mehrwertsteuer in Ihrer Purchase Confirmation E-Mail angezeigt wird, müssen Sie sicherstellen, dass Sie die Mehrwertsteueranzeige in Ihrem Convious Studio aktiviert haben.
Um dies zu tun, klicken Sie auf Email Templates und klicken Sie dann auf Edit unter der Purchase confirmation E-Mail. Eine vollständige Anleitung zur Bearbeitung Ihrer E-Mails finden Sie hier.
Sobald Sie im Convious Studio sind, aktivieren Sie die Anzeige der Mehrwertsteuer, indem Sie den Kippschalter nach rechts schieben.
Hier sehen Sie ein Beispiel für die Anzeige innerhalb Ihrer E-Mail: