Your venue's Opening Hours define the times when your business' gates open and when they are shut. Many times, this also impacts the time up until people can buy tickets. Also, your forecast report depends on your venue's opening days.
Make sure that events outside of your regular opening hours are covered in the opening times exceptions.
Example: When your regular opening times for your venue are from 10:00 - 17:00 and you offer a special experience between 18:00 - 19:00 -> Create an opening hour exception for the special event!
💡Pro tip: Give these exceptions a clear name so that you can find them back.
Please make sure that the days when your venue is open and closed are entered correctly. Especially if you are selling dated tickets
Setting opening hours & same-day ticket selling timeframe
In order to avoid last-minute tickets that will lead to unhappy visitors, it is important to know how to introduce such relevant information regarding your venue's opening and closing hours in the Convious system, since it will be dynamically shown in your pre-event emails.
Naturally, you want to avoid visitors buying tickets to your venue just half an hour before you close and you would want to be able to shorten your hours for specific days or close the entire day.
Luckily, it's an incredibly easy and straightforward process and we have hashed it out for you in just a few simple steps:
STEP 1: Log into your Convious Control Panel.
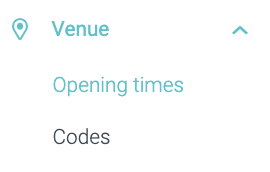
Once you are logged in, click in the Opening times in your Venue section in your left-side menu.
STEP 2: Click Edit
You will be redirected to the "Opening Hours Configuration" screen, where you will be able to see an overview of your opening and closing hours for your specific location(s). You will also see an additional column for "Tickets Sold Until", which simply states the time-limit up until people can buy tickets from your web-shop.
Once you are directed to this screen all you have to do is click on the "Edit" button at the right end of the row.
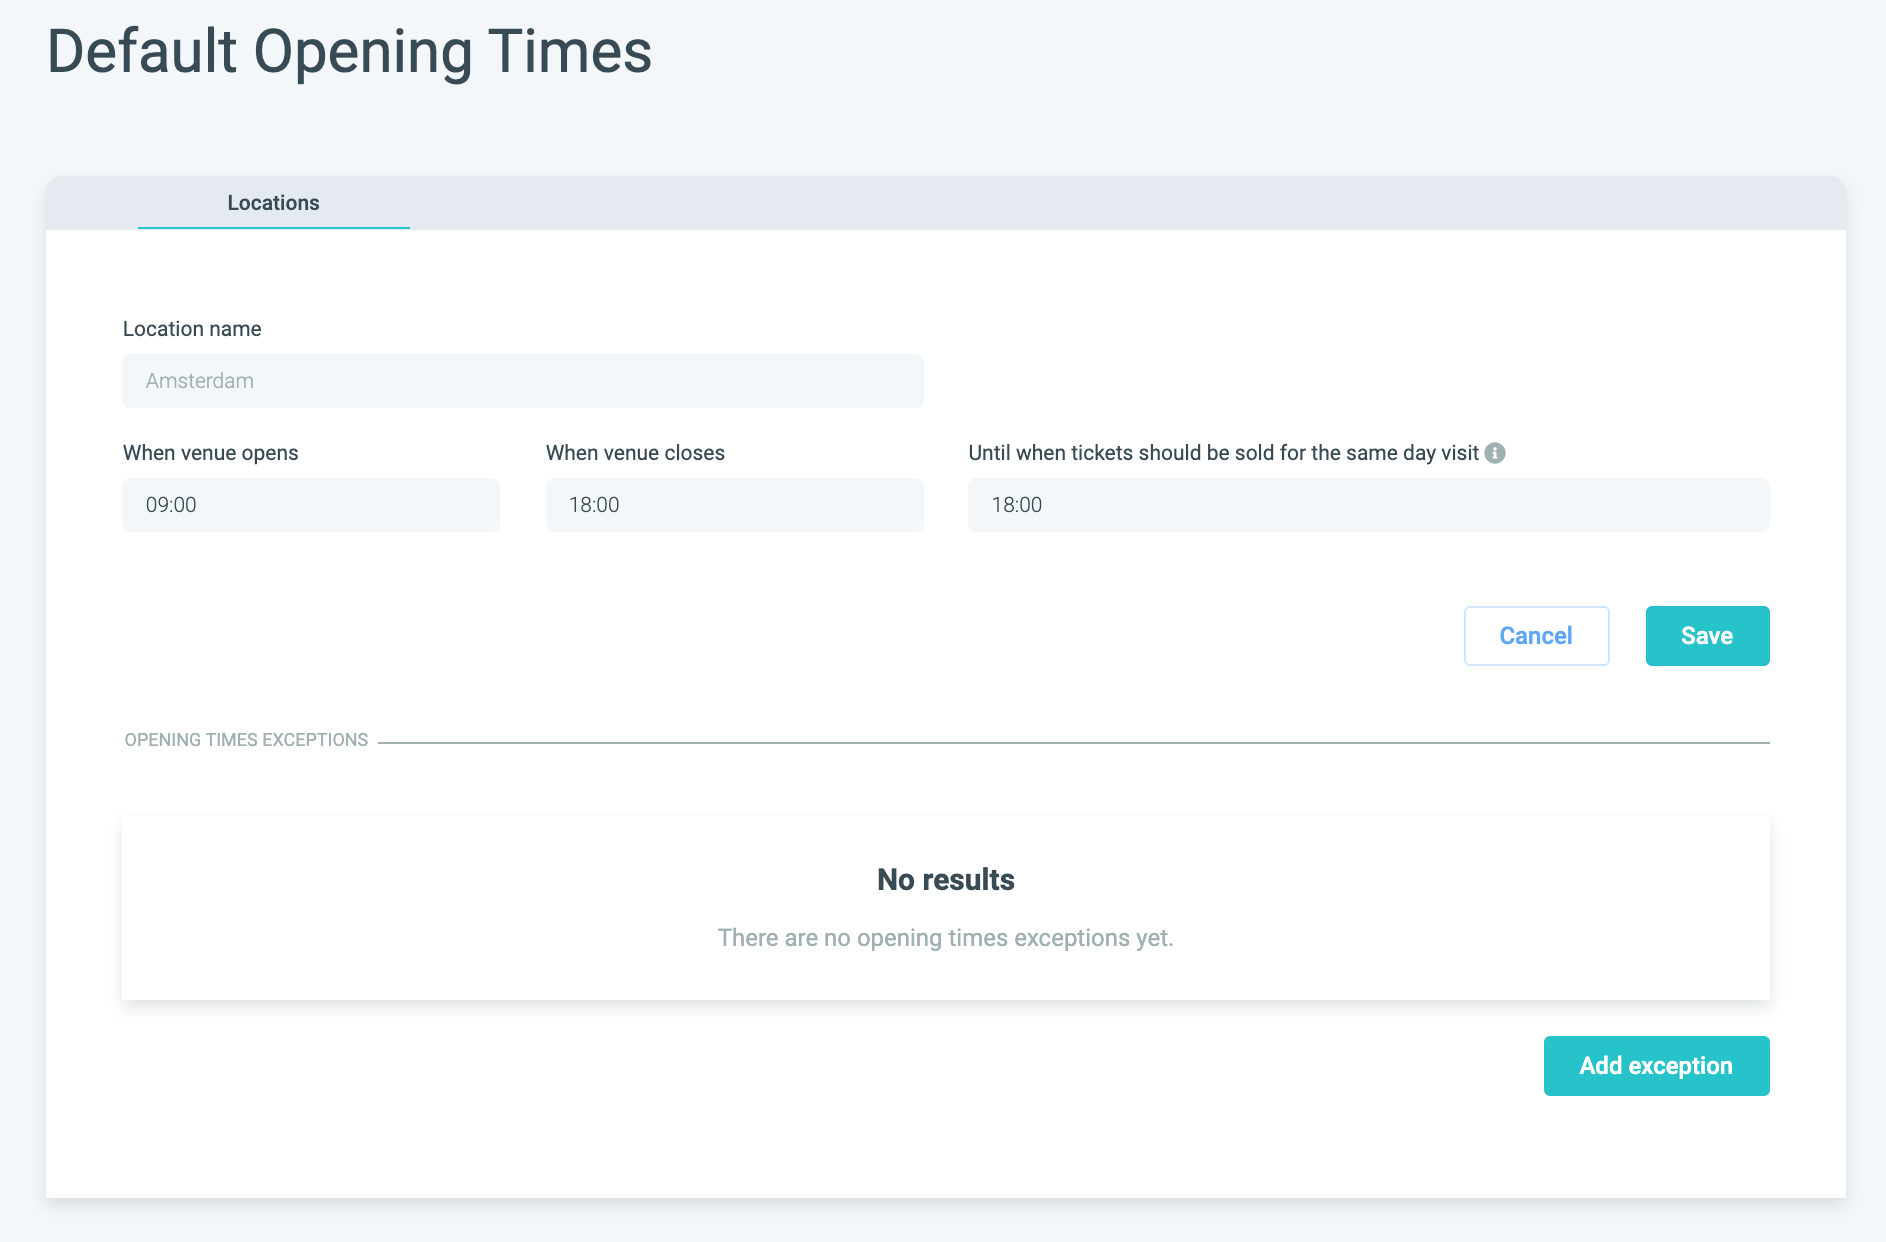
STEP 3: Edit your default opening times.
In this screen you can easily set up and edit the following fields:
- When your venue opens
- When your venue closes
- Until which time you want people to be able to buy tickets on the same day
*If you want to be able to sell tickets all-day-round set the field to 23:59. On the contrary, if you don't want people to be able to buy tickets on the same day of visit (perhaps because you are aiming for more in-advance bookings to help with your forecasting) then set this field to 00:01.
STEP 3: If needed, set exceptions.
Shorten your hours for specific days or close the entire day
Opening times usually don't remain static all year round. Depending on the seasonality, events, weather, and other external factors, you might need to open earlier on Mondays or close later on Saturdays, and so on. Therefore, being able to add exceptions is a necessary feature that allows you a higher degree of flexibility.
GREAT NEWS: Your opening hours will override your time slots. Thus, there is no longer a need to kick out or edit default time slots!
But please be aware that closing a specific time slot will require you to add an exception to your gate capacity. You can find more information here.
Back to exceptions:
The first thing you need to do to set up an opening hour exception is to click on that big blue button on the bottom right corner that says "Add exception".
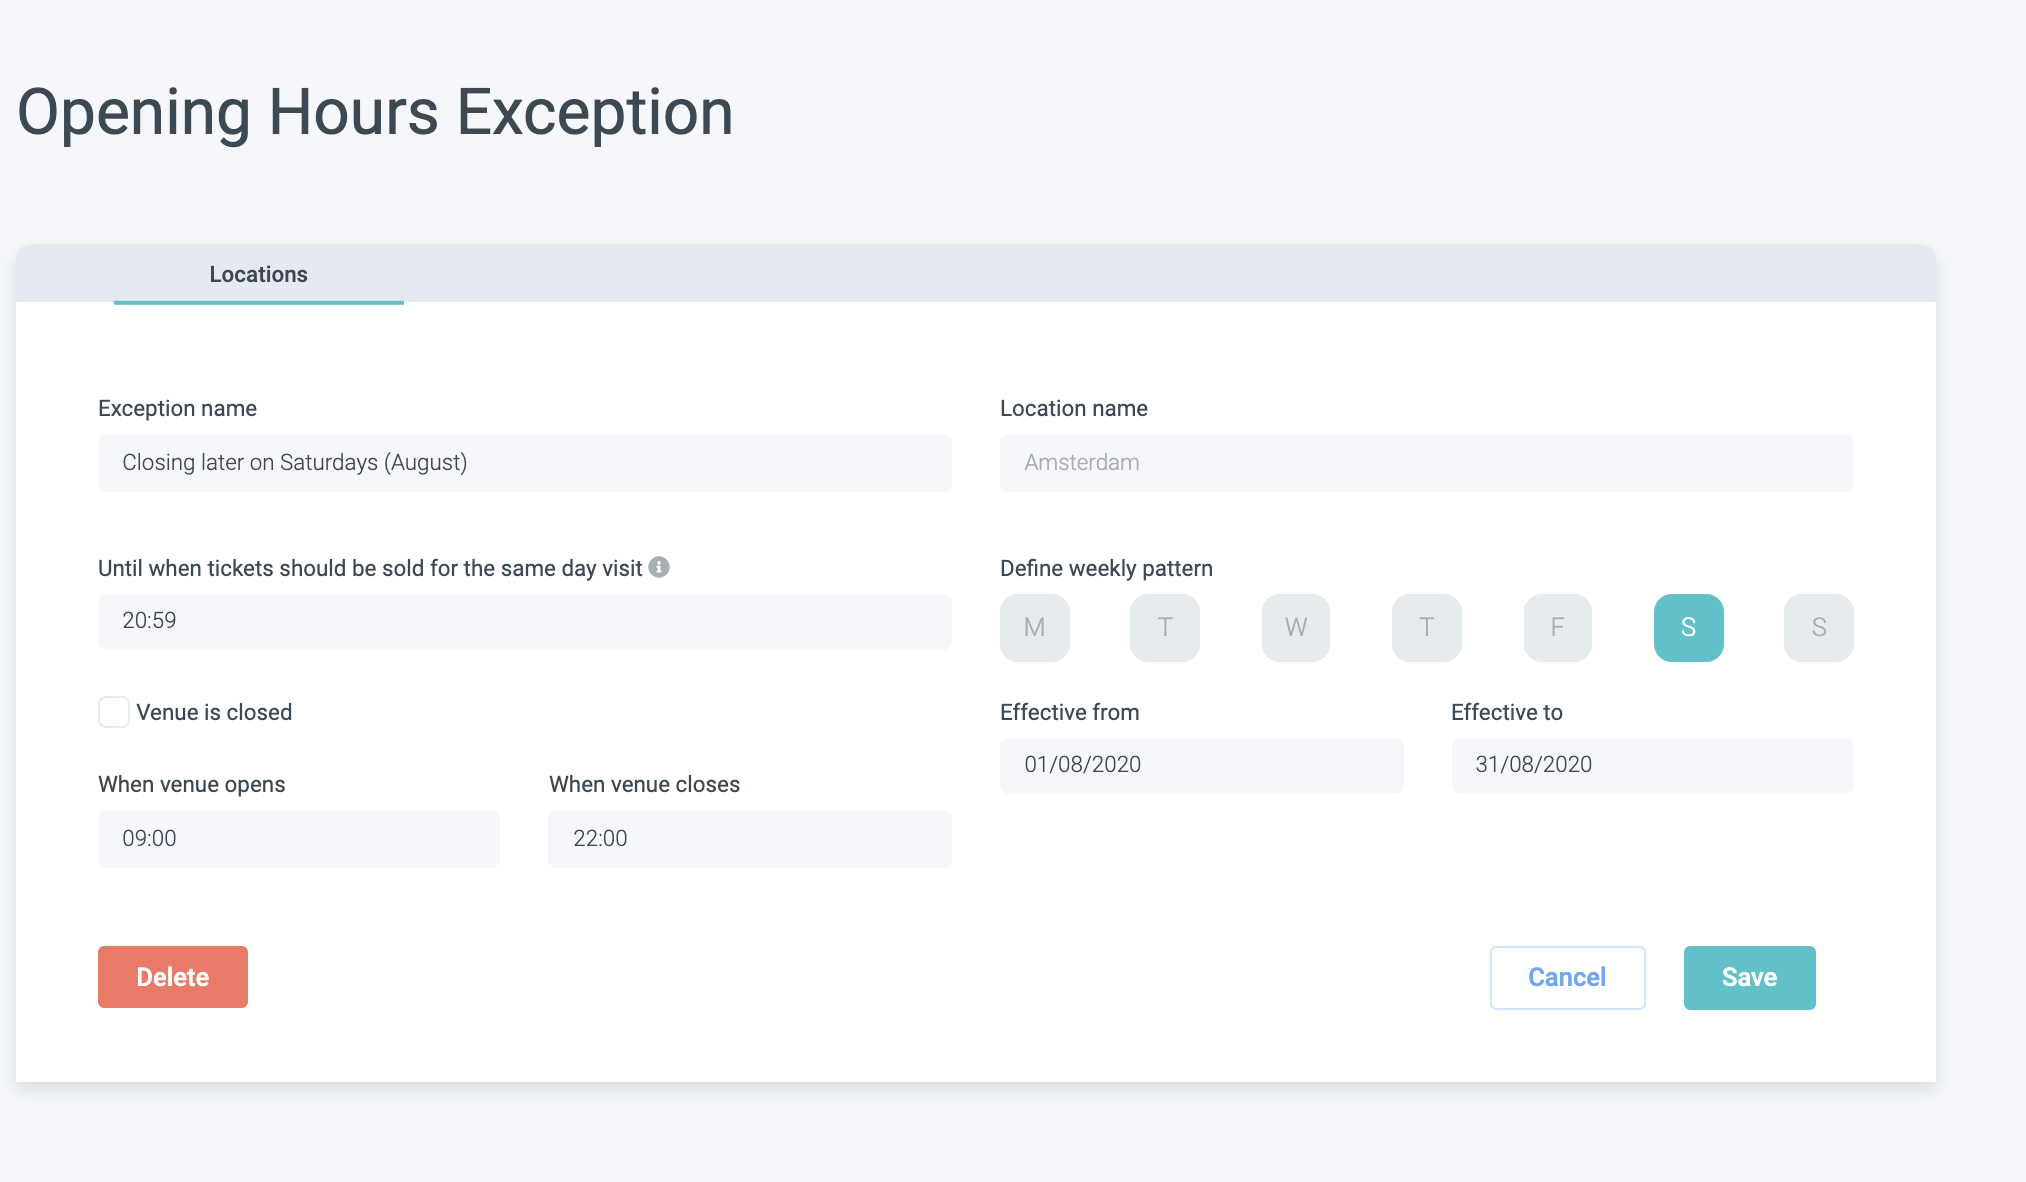
You will be redirected to the following screen:
- Exception name: Give a clear descriptive internal name to your exception such as the one shown in the example above.
- Until when tickets should be sold for the same day visit: In this field you can choose to keep the same time as you have in your Default Opening Times or adjust it to your new Opening Hours. For example, if you have extended the opening hours of Saturdays you might also want to extend the time up until when people can still buy tickets. Instead of putting the limit at 18:00, you might want to move it a couple hours forward, since people can now visit your venue until later.
- When venue opens: If what you want is to delay or anticipate the time when your venue opens, this is the field where you can change that.
- When venue closes: If as in the example shown above, what you want is to have your venue close at a different time (in this case we have extended the opening times but you might also want to close earlier), this is where you can do that.
- Define weekly pattern: By clicking on the different boxes (which represent the different days of the week) you can select the days to which you would like this exception to be applied. As you can see for the chosen example, the only day chosen and highlighted in blue is Saturday - the day we wanted to extend the opening hours for.
- Effective from and effective to: This is the date range field where you can decide from when you would like this exception to be active as well as when you would like it to loose its effect.
- Venue is closed: You can check this box if your exception is to close your venue for certain dates or period of time. See the entire article on how to close your venue here.
- Don't forget to hit the SAVE button to save the exception you have just created!
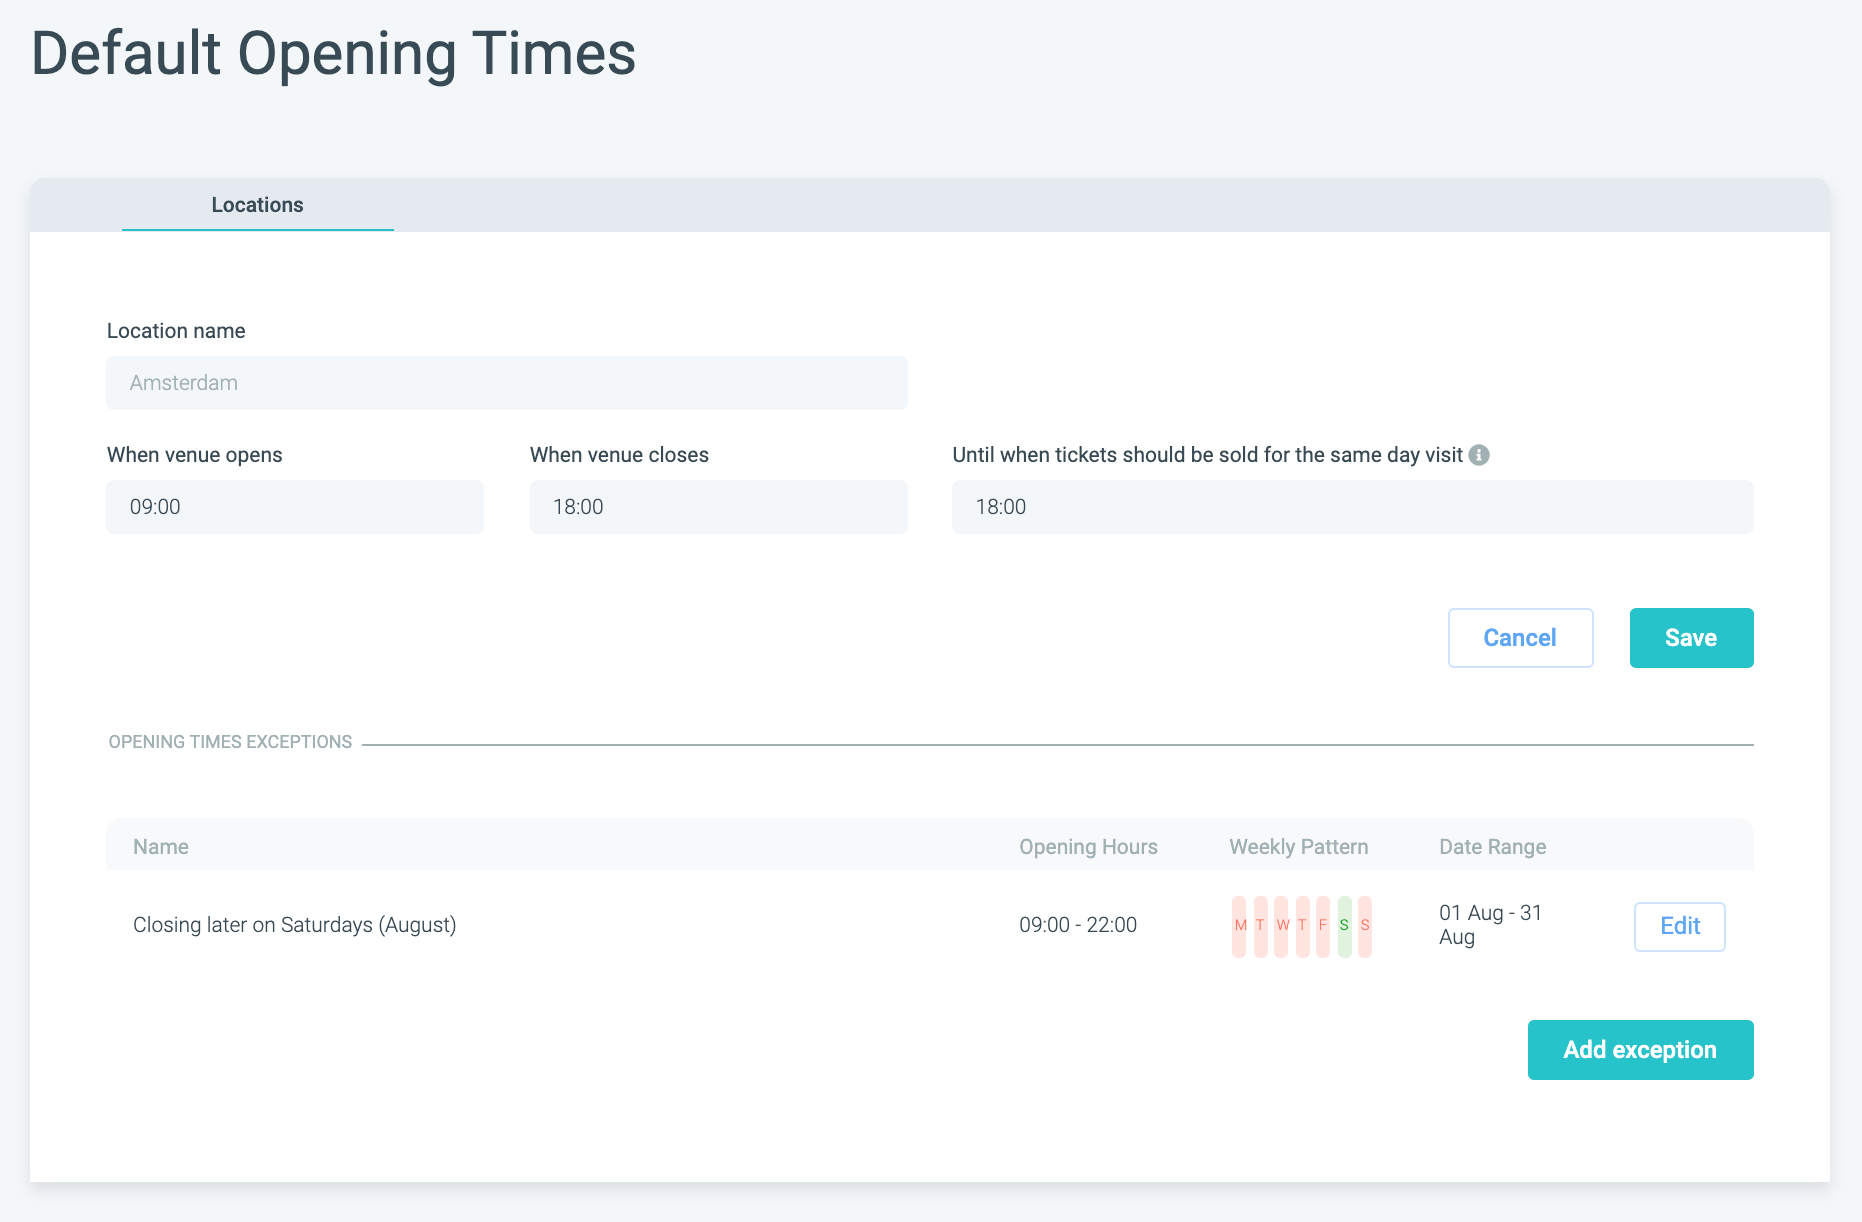
Once you do, your exception will show as such in your main Opening Hours overview screen:
Remember you can always go back to it and edit its configuration and settings by simply clicking on the "Edit" button to its right.
You are all set now and ready to take full control over your venue's opening and closing times!


