Especially in uncertain times where things change quickly, flexibility is key. That is why you can now close your venue on a specific day or for a particular data change with the tick of a box. There is no need to use validity exceptions anymore to make your products unavailable.
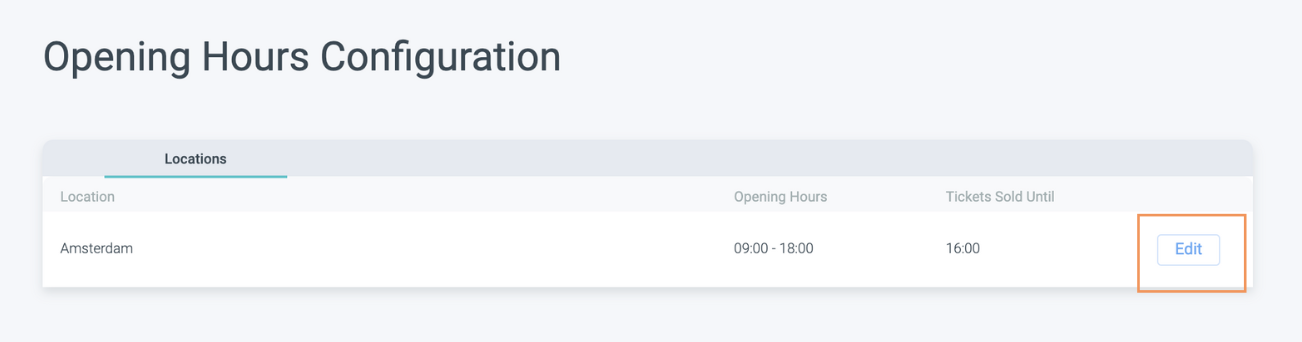
1. Navigate to Opening hours on your left-hand menu.

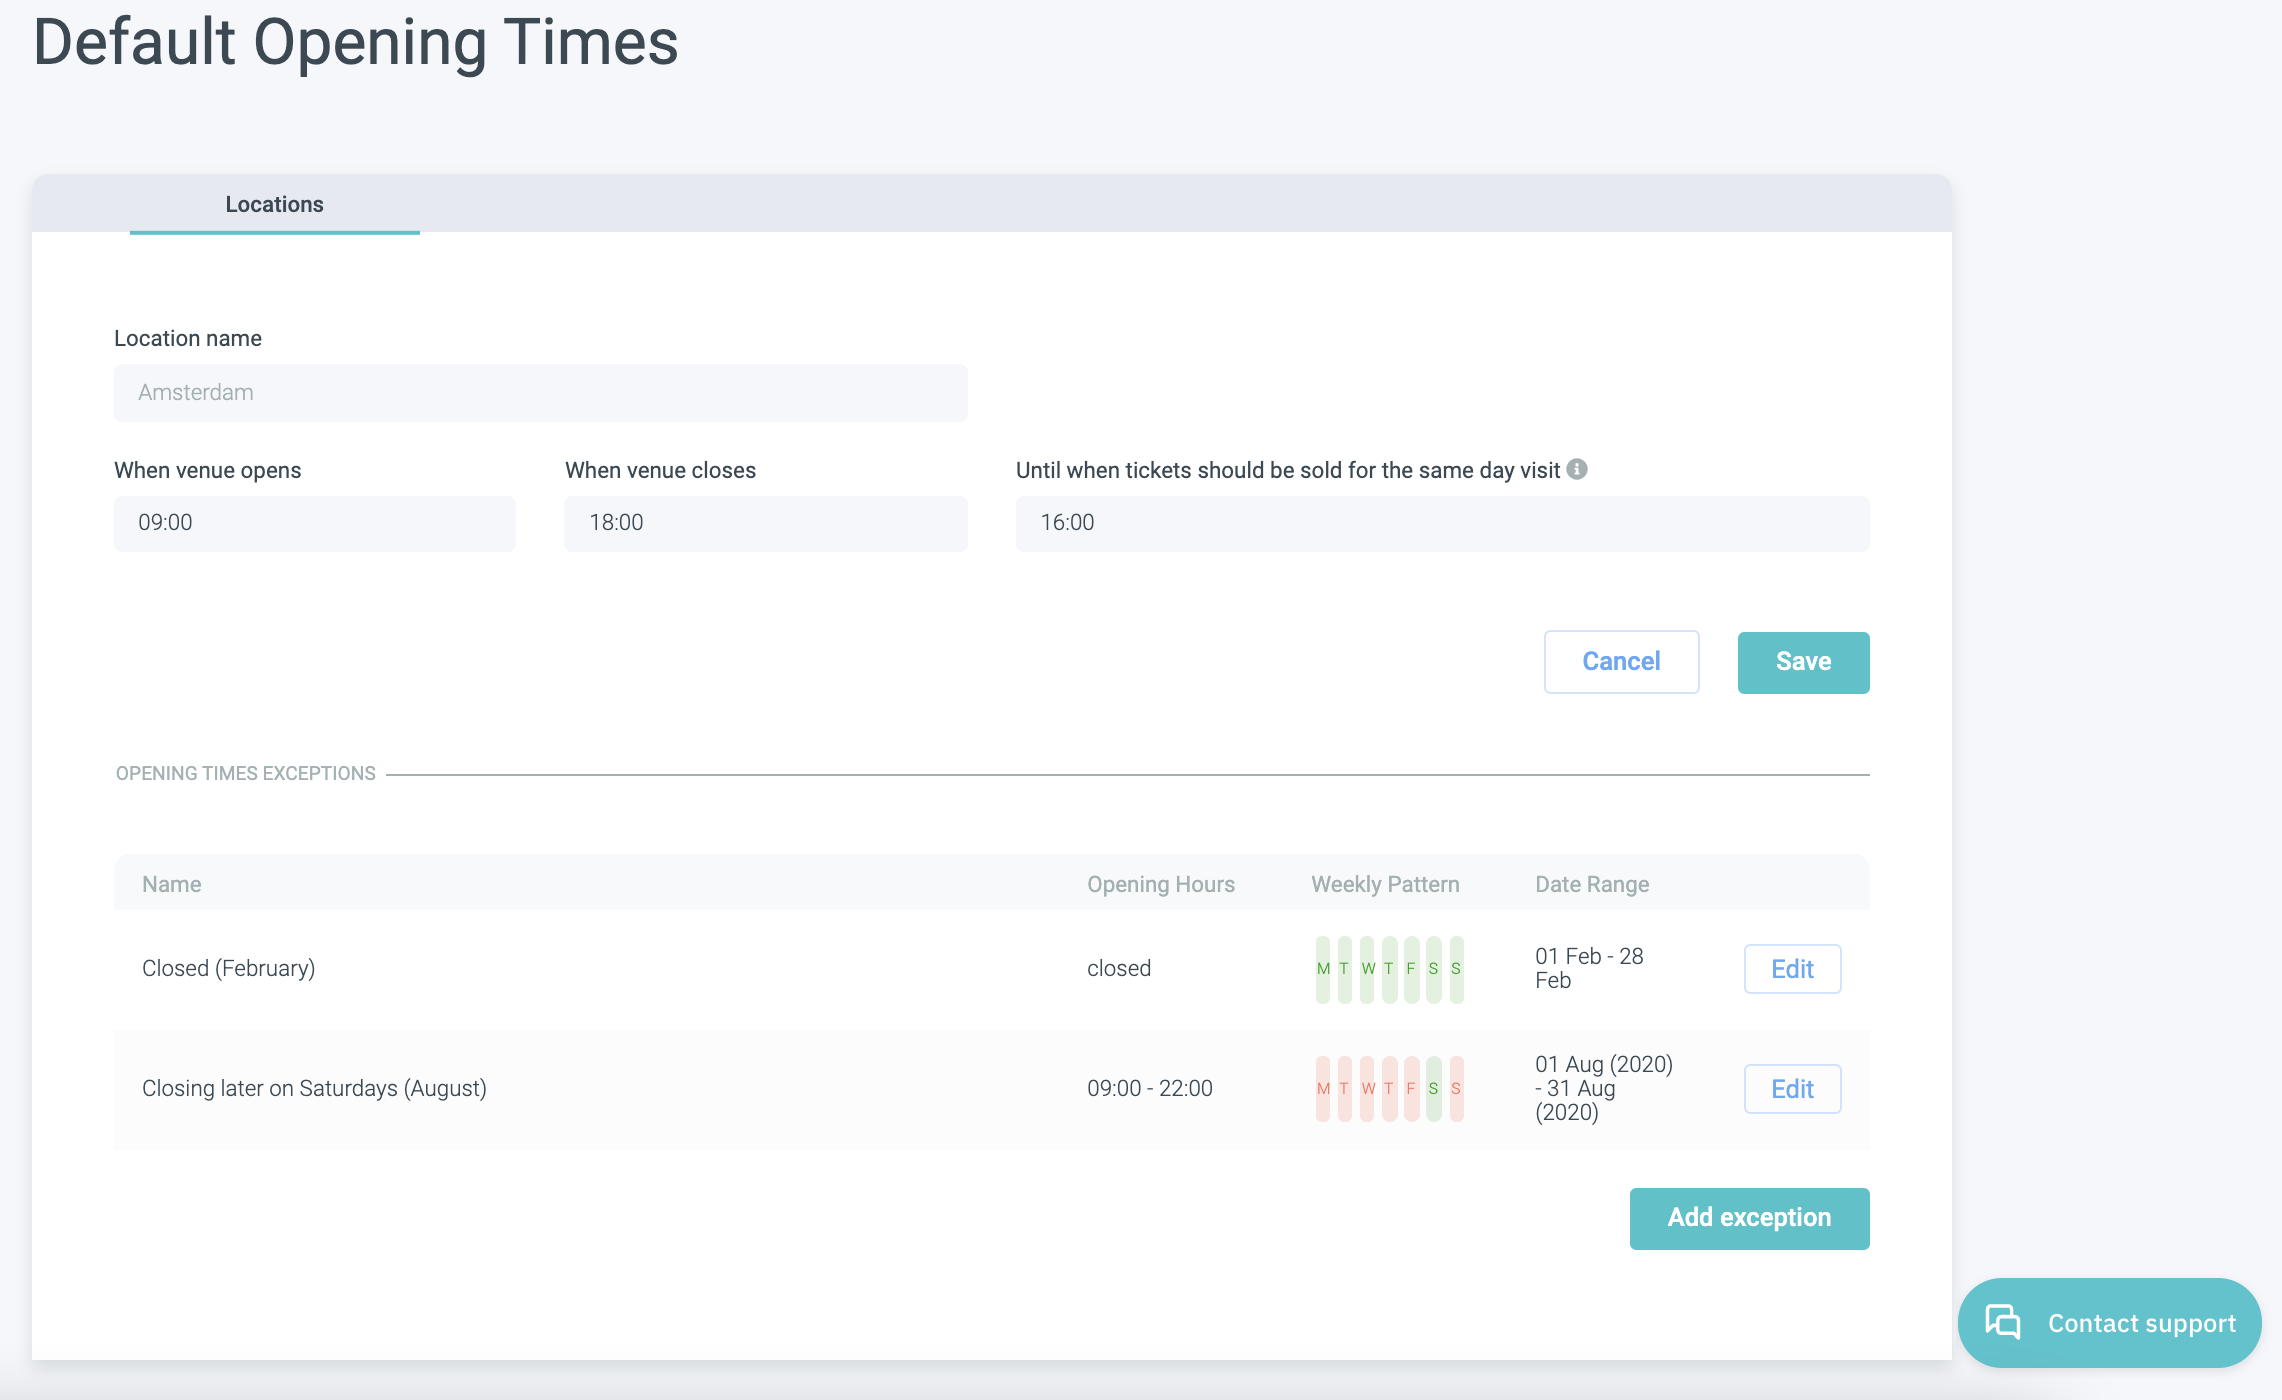
Here, you will see your configured default opening hours and the indication until when Tickets are sold within the same day.
2. Click on Edit.
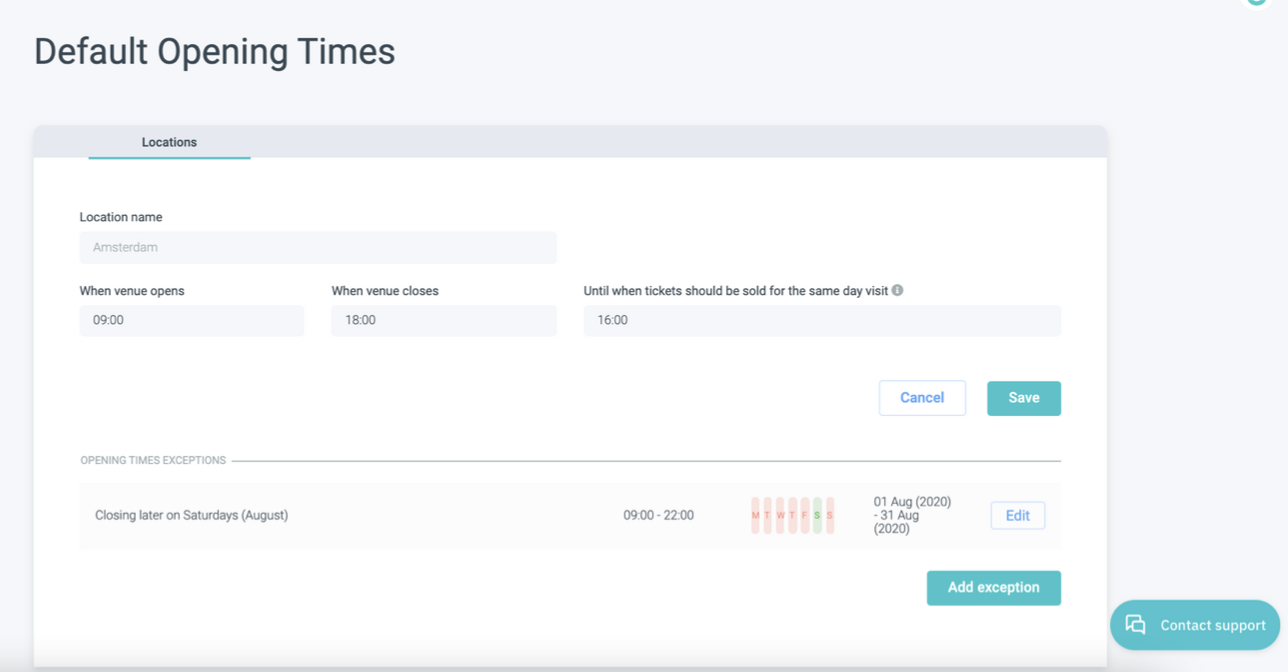
Here, you can edit your Default opening times and add exceptions. For example, as you can see, we had an exception for the Weekends in August where the venue was open longer than on other days.
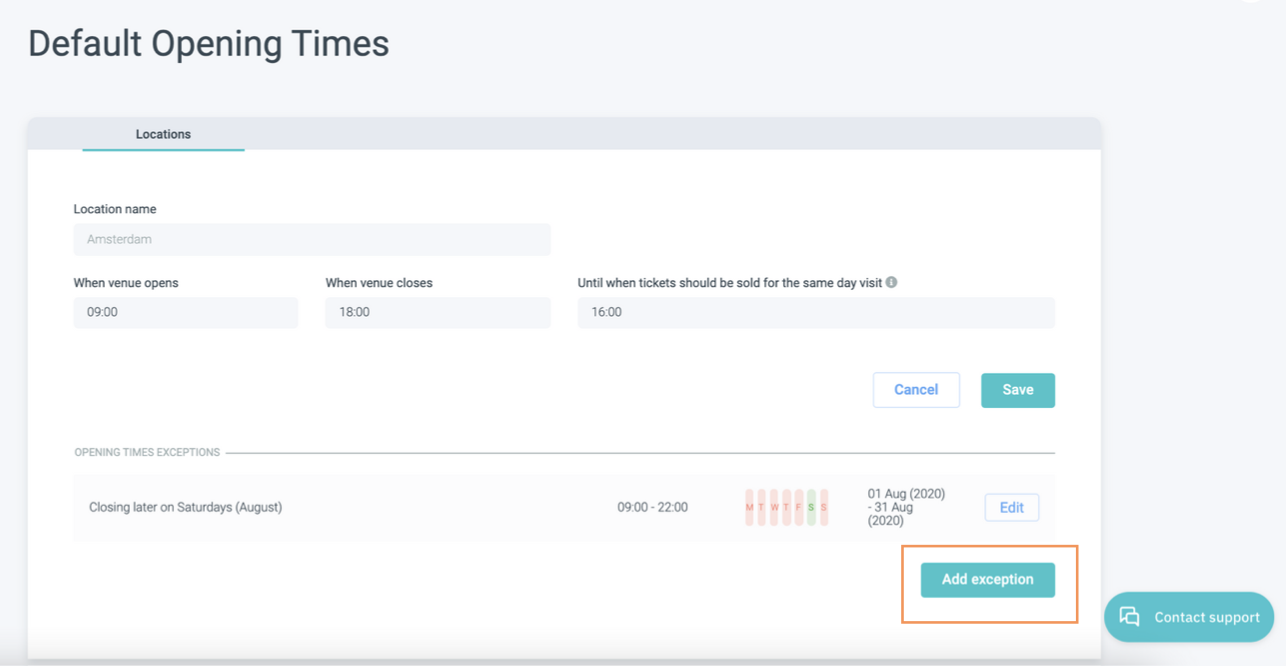
Closing your venue is as easy as adding a new exception!
3. So, click add exception.
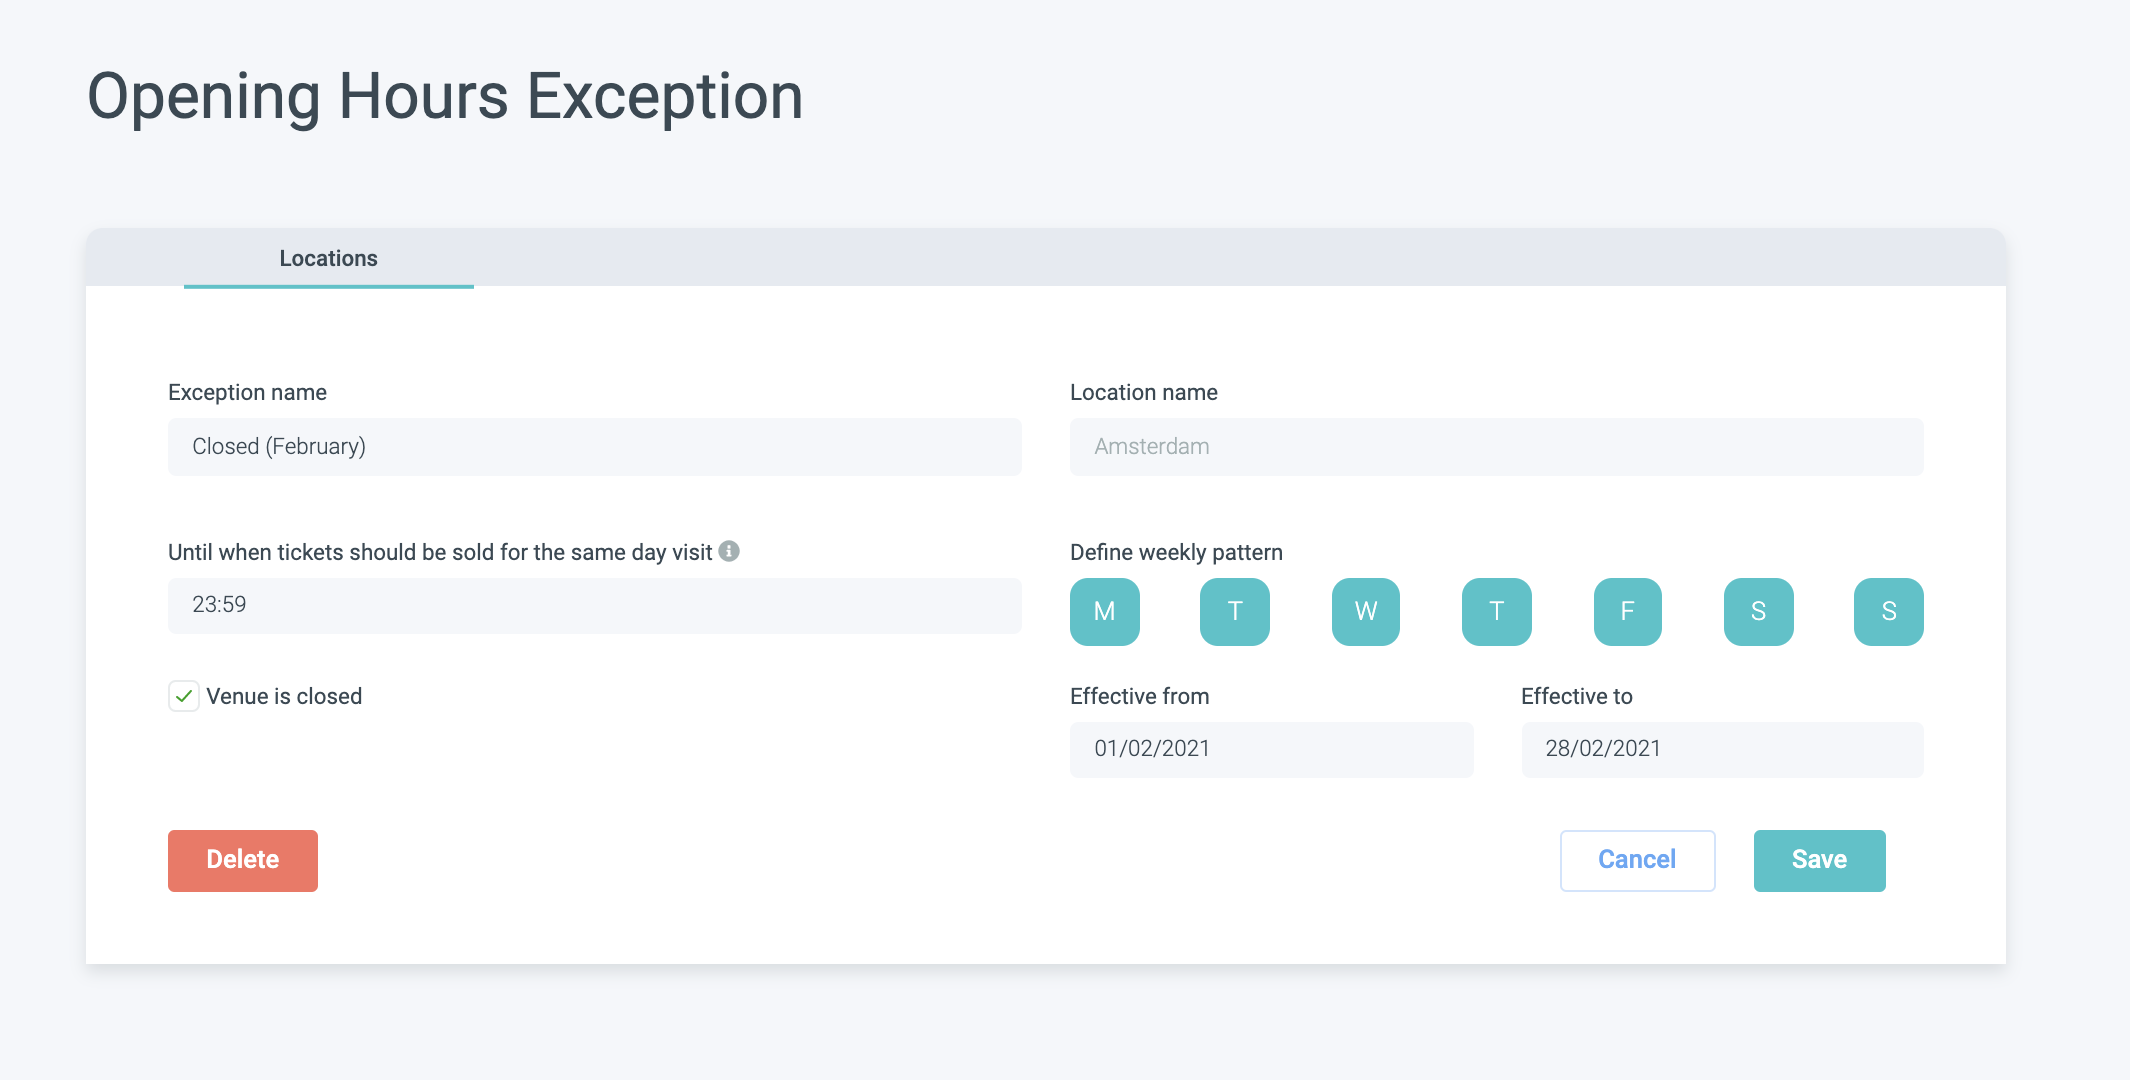
Now, you will see the familiar window of setting an exception.

4. First, give your exception a name.
Please note:
The location will be preset for you.
If you close your venue for a certain day or period, then you won't have to set until when tickets should be sold for the same day visit.
5. Tick the Venue is closed box.
6. Now, you need to set the weekly pattern and when your closure will be effective by setting the dates (Effective from, Effective to).
If you want to close your venue for the entire month of February, you select the entire week by clicking on the days. Remember: selected days are filled with color and non-selected days are white. And then, you add the dates as shown below.
7. Hit Save & you are done!
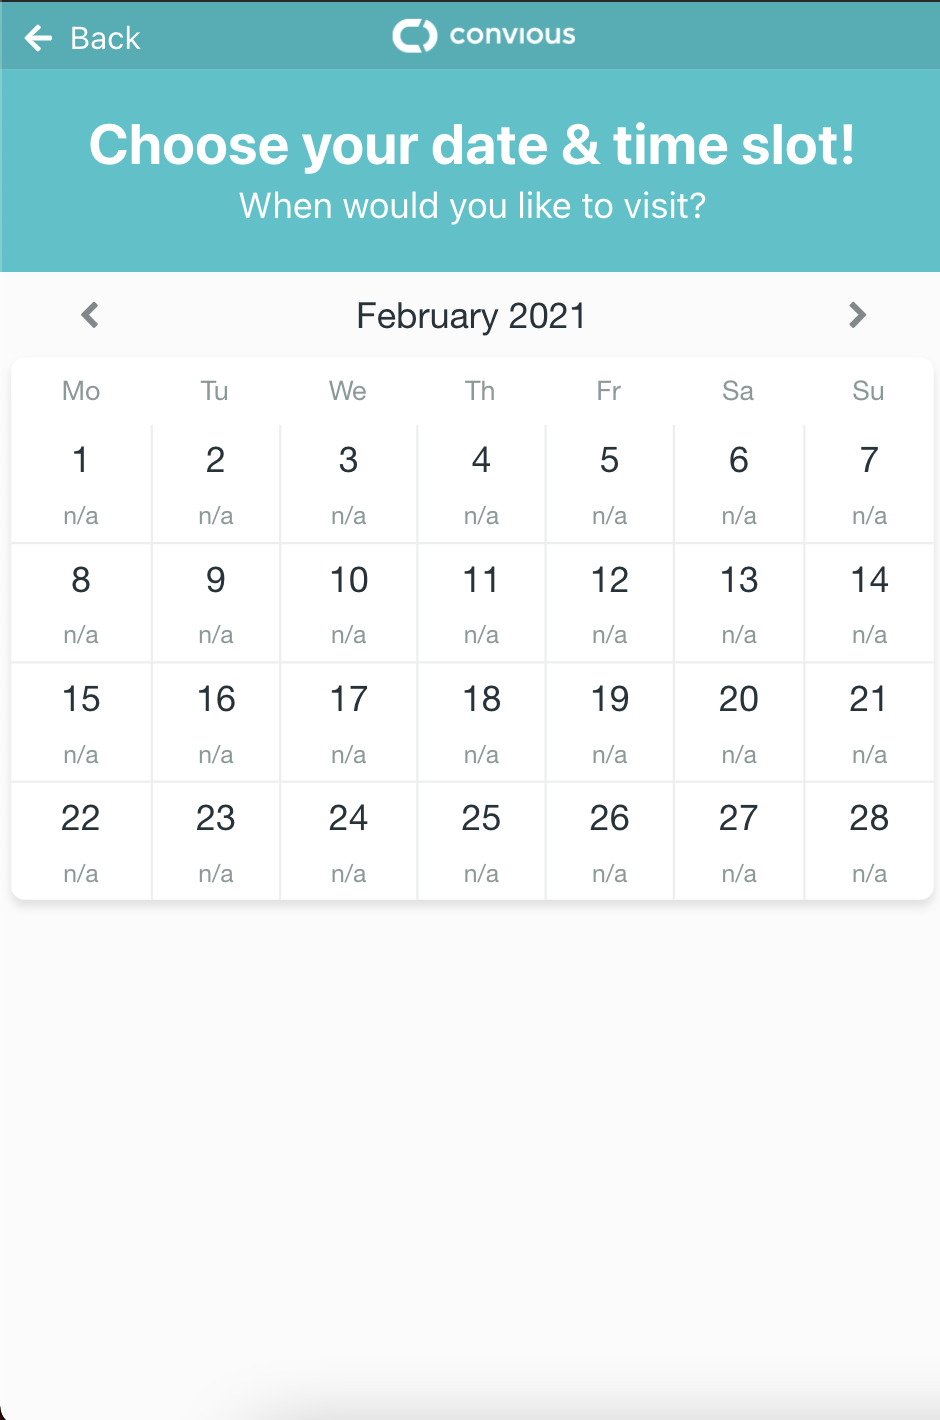
This is how it will show in your Checkout ⬇️