The Convious Retailer Module allows you to facilitate and track the sales and usage of tickets that are distributed to retailers, such as supermarket chains, including Tesco or the Albert Heijn. Have a look at our Convious Retailer Module presentation.
First things first: What does the retailer journey look like for you and your customers?

1. Create retailers & campaigns
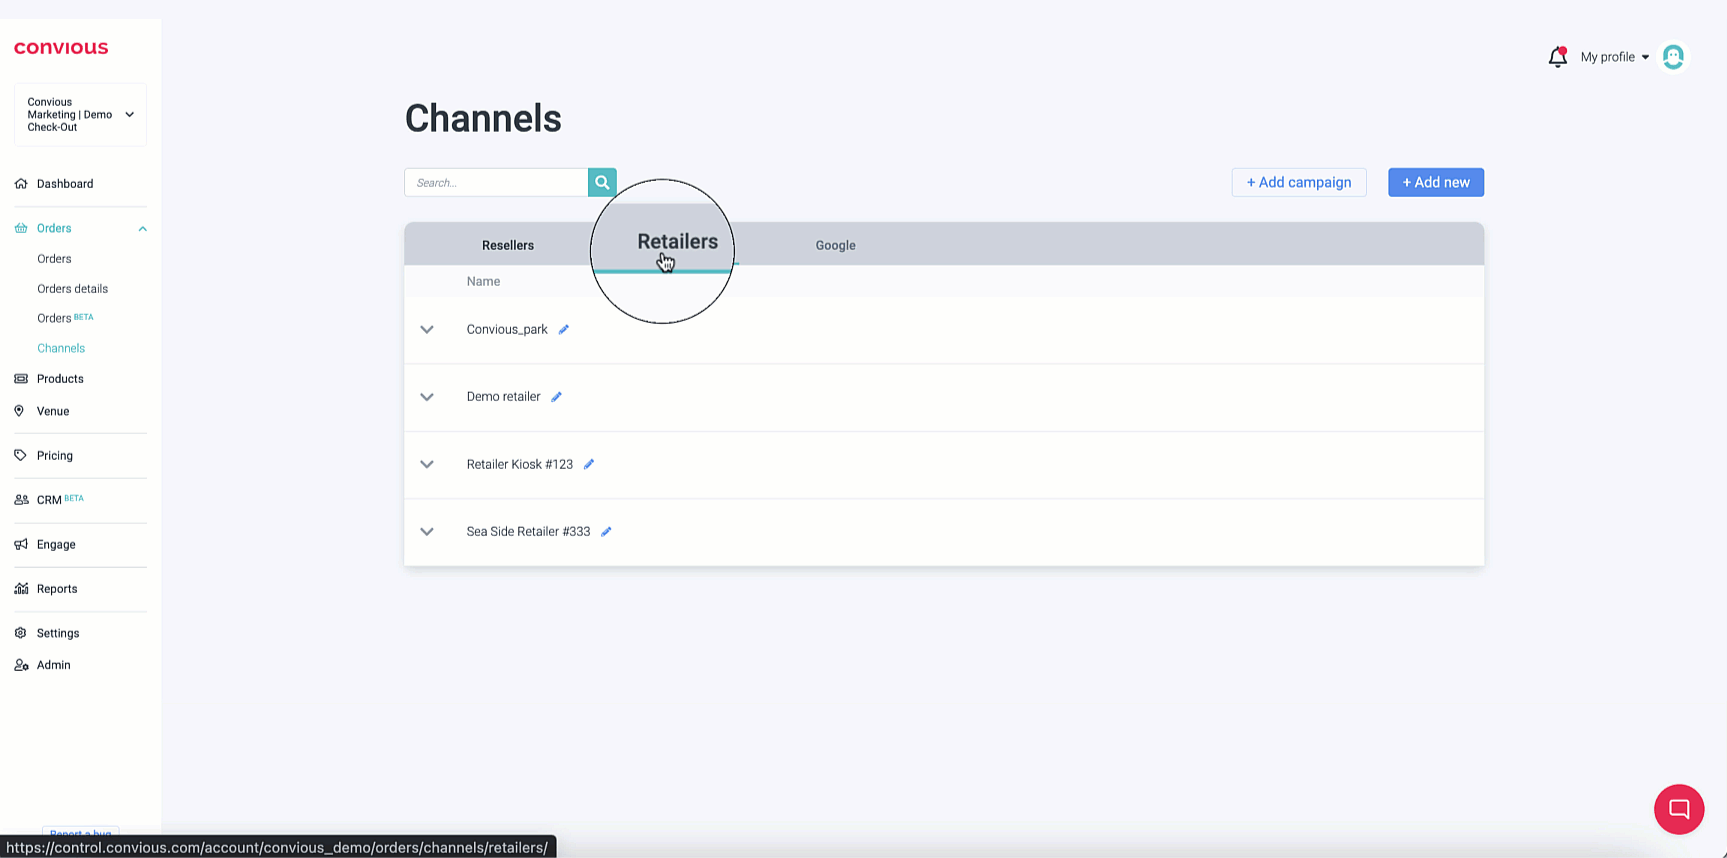
1. Navigate to your retailers via Channels.
Here you see all your retailers and the campaigns you have set up with them.
If you do not see the Retailer module enabled for you, please get in touch with your Customer Success Manager to discuss your opportunities or send us an email to support@convious.com.
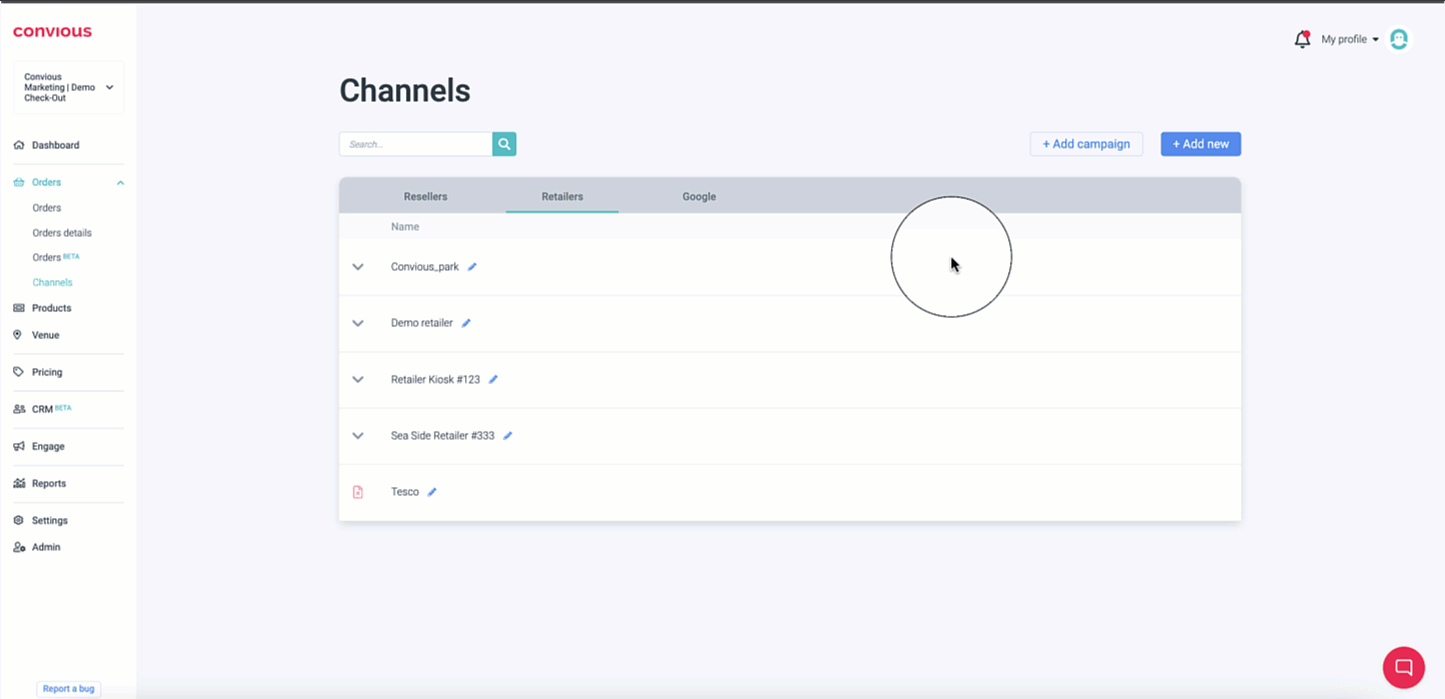
2. To add a new retailer, choose +Add new
3. To create a new campaign with your newly added retailer, click +Add campaign.
4. Give your campaign a name and assign the retailer.
5. Define whether the codes that will be part of this campaign will be scannable at your gate.
Now you can see your Retailer and its campaign In your overview.

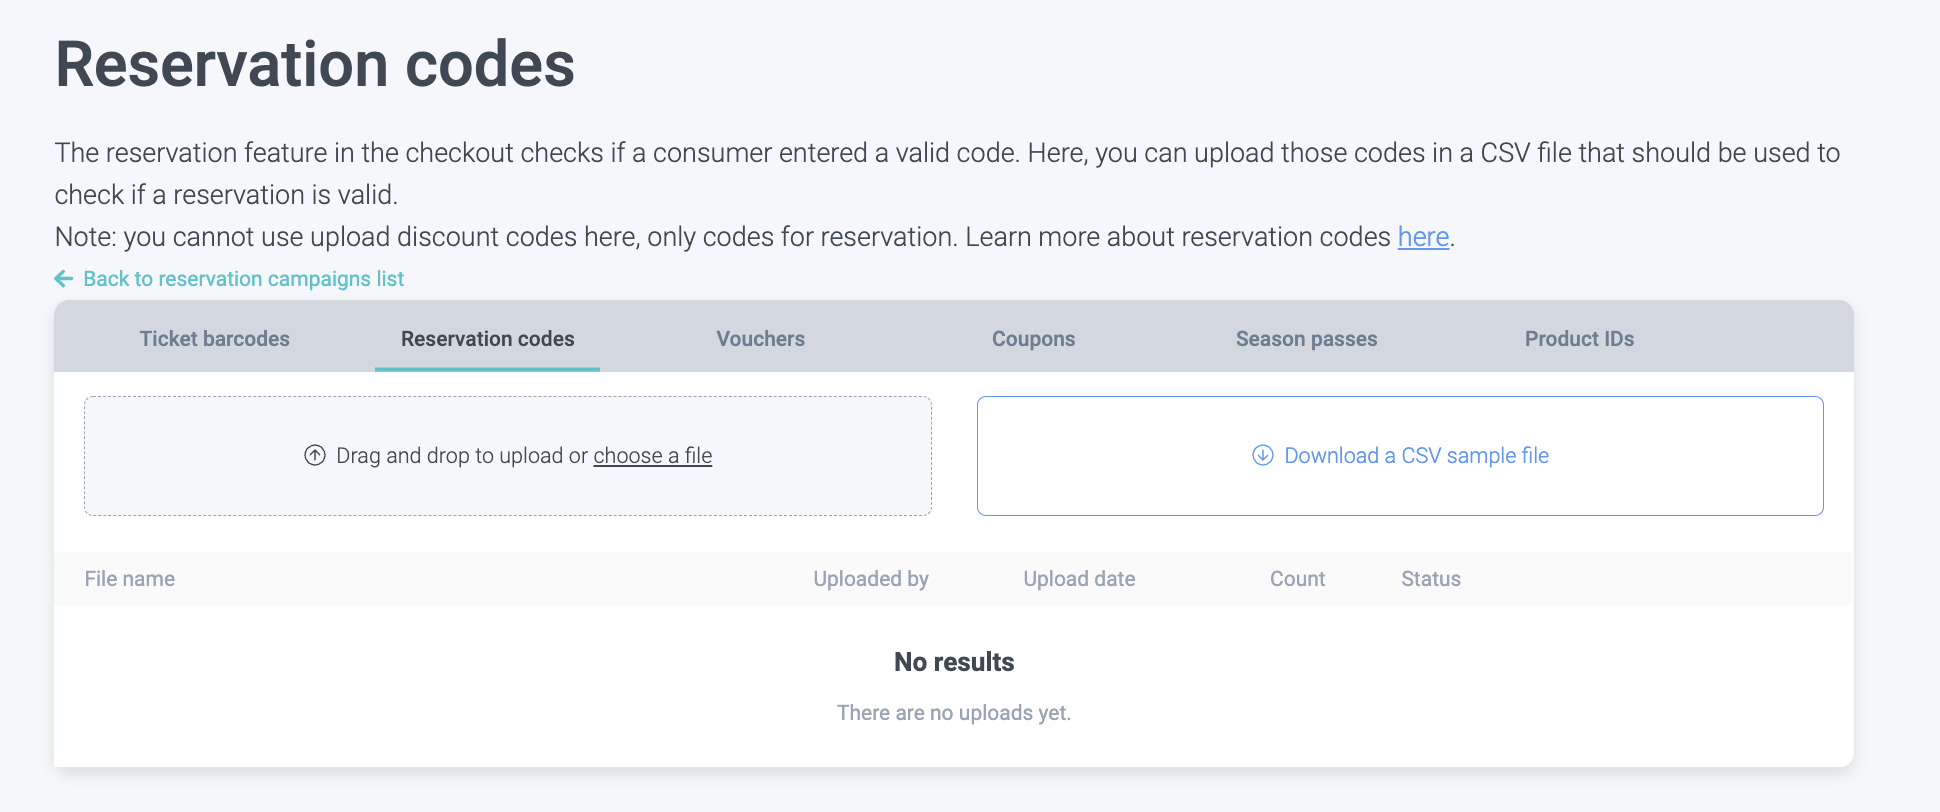
2. Upload or generate batches of barcodes or reservation codes per campaign
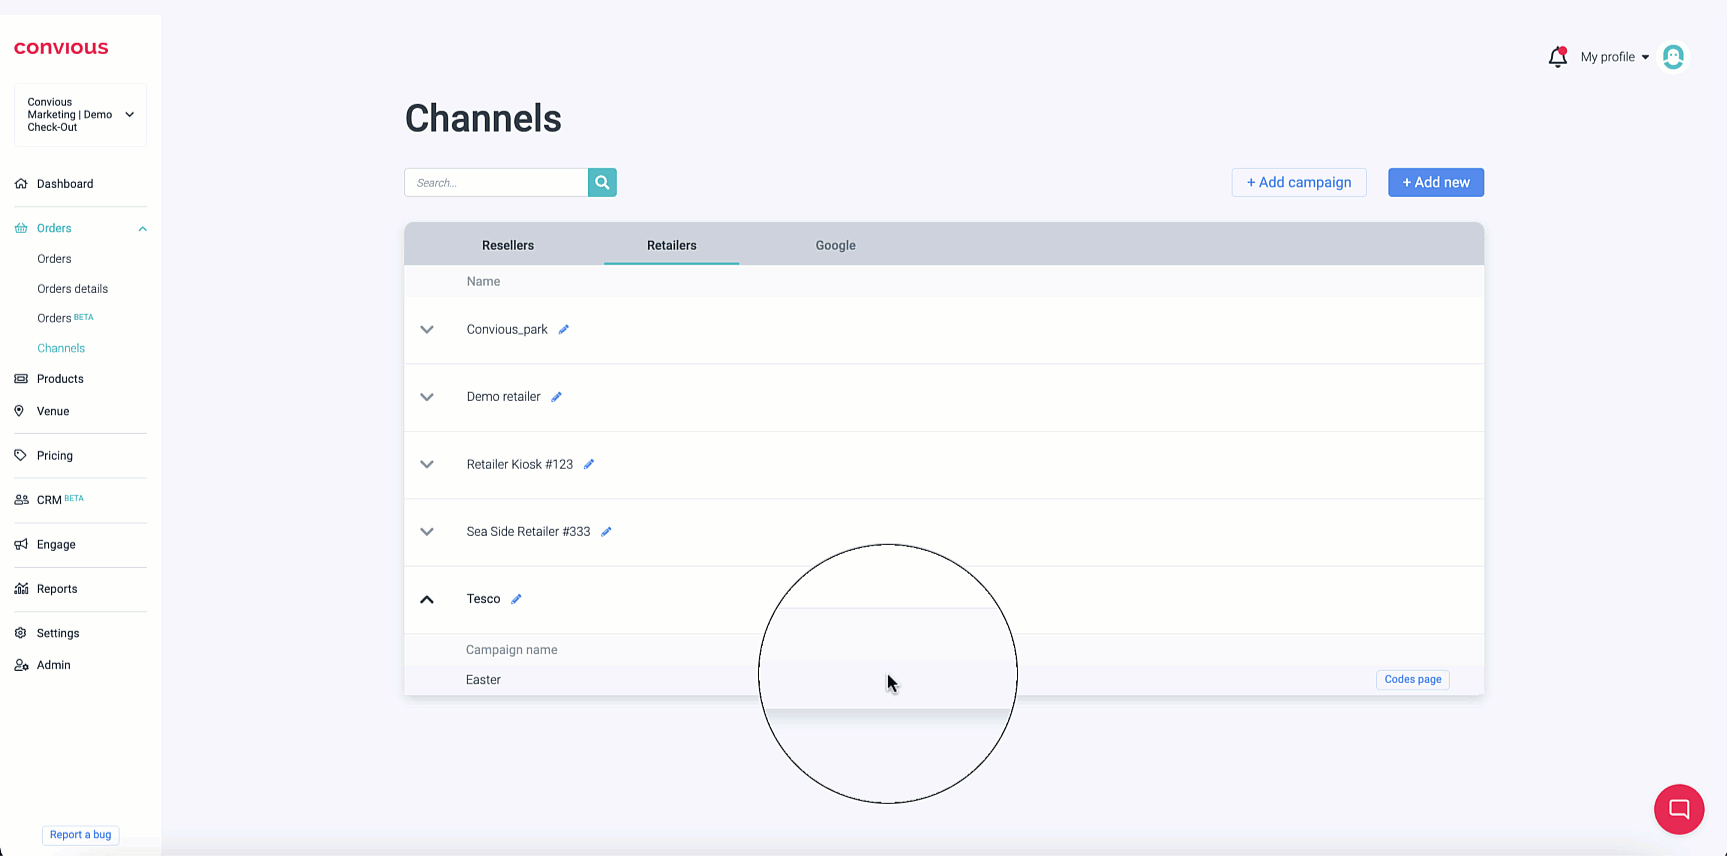
After creating the retailer and its campaign, click on the Codes page next to the campaign.
You will automatically be taken to reservation codes. Here you can generate a batch of codes, upload a file, edit the existing file or delete it.
2. a) Uploading a batch of codes
In case you have a file of codes ready to use, you can upload them easily. Hit Upload batch, and you will be guided to the reservation codes upload. You can find detailed information on how to proceed here.
2. b) Generating a batch of codes
In case you do not have a file of codes ready to use, you can generate a batch of codes right in your Control Panel.
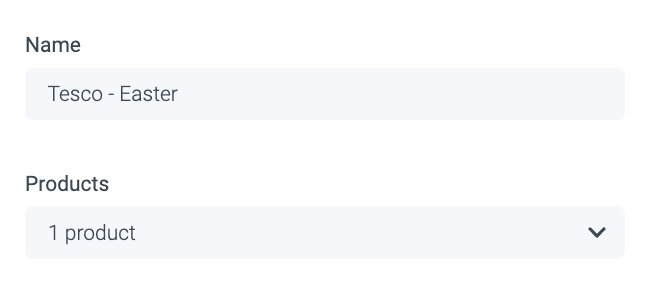
First, you need to give your batch a name. For easy recognition, we advise giving it the retailers' name and the campaign.
Then, assign the product the codes apply to. In our example, they only apply for one special type of day ticket.
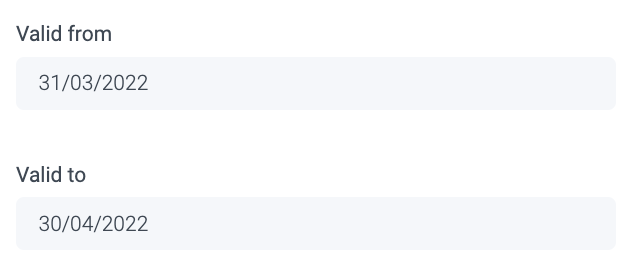
Next up is validity: How long is your campaign running for, and for how long should the codes be redeemable?
Our easter campaigns' validity starts on the 31st of March and allows customers to redeem them until the 30th of April.
Now, how many codes are part of the campaign? This probably depends on the deal you have with your retailer. For the sake of the example, our batch should be 2000 codes.
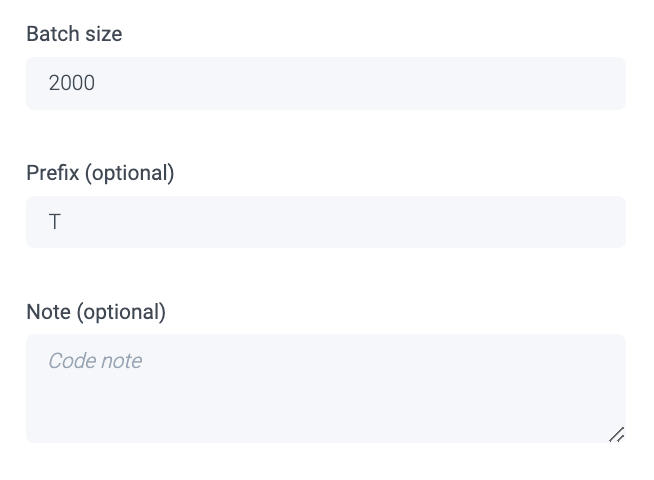
You can also add a prefix to the code, such as a T, for Tesco to make these codes quickly and easily recognisable.
Lastly, you can leave a note about the batch in case there is useful information you want to have at hand when in doubt. Maybe you want to add a short description, or you want your team to indicate who created the batch - the choice is yours!
Hit Save, and you have generated your batch for your campaign.
Generating the codes may take a while. You can follow the status of the generation in the overview.

To hand over the generated batch of codes to your retailer, all you need to do is download the file you have generated.

Pro tip: If you have several campaigns set up and want to find the campaign you are looking for quickly, you can search for it in the search bar on the reservation codes page.

3. Track your campaign performance & barcode usage
Now that you have your campaign all ready to go and your retailer starts selling or giving them away, you want to track how many codes have been used and how your campaign is doing. The great news is that you can do that right from your reservation codes overview in the redeemed column of your campaign's batch.
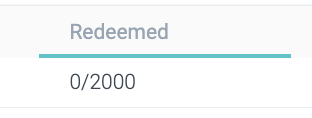
As soon as the first codes have been redeemed, you will see it here.
If you want to see if a specific code has been redeemed, you can do that by searching for a code on the Orders page using the extended search.
4. Invalidate non-used codes after your campaign ends/h2>

After your campaign had a good run and most of your codes have been redeemed and led to many happy faces in your venue, there will most likely be a few codes that aren't used. To ensure the customer cannot redeem them past the campaign's duration, you can remove all unused codes from the file. This makes them invalid instantaneously.
Do you have any feedback or unanswered questions? Get in touch with us via support@convious.com